When to Use a Palette Knife in Painting — and How to Get the Most From It
Use a palette knife when you want to mix paint cleanly, build thick texture, create bold expressive marks, scrape back paint, or add energy to a painting that feels too tight. Palette knives work best with heavy-body acrylics and oil paints. They are not ideal for fine detail but are excellent for everything from impasto landscapes to loose abstract work.
A palette knife is one of the most underused tools in a home artist’s kit. It mixes paint faster than a brush, builds texture that brushes simply cannot replicate, and brings a bold energy to painting that can transform a flat-looking piece into something with real depth and movement.
I’m Julian Mercer. I first picked up a palette knife because I kept ruining my good brushes mixing paint. Within a week I was using the knife to paint with as well — and I haven’t looked back.
If you have a palette knife sitting in your art box but you’re not sure when or how to use it, this guide will answer every question you have. From mixing to mark-making, from landscapes to abstract work — here is everything you need to know.
What Is a Palette Knife and How Does It Work?
A palette knife is a flexible, flat metal blade attached to a handle. It comes in two main forms — a straight mixing knife and an angled painting knife. Both are used for painting and mixing, but the angled knife keeps your knuckles off the canvas and gives you more control when applying paint.
The blade flexes under pressure. This is what makes it so useful. You can drag, press, scrape, dab, and flick paint in ways that a brush simply cannot do. The result is texture, dimension, and a kind of spontaneous energy that is very hard to fake with a brush.
Many of the most celebrated oil painters in history — including Vincent van Gogh and Gustave Courbet — used palette knives extensively to create the distinctive thick, sculptural texture in their most famous works. The technique is called impasto, from the Italian word for paste or dough.
When to Use a Palette Knife in Painting — 8 Key Situations
Knowing when to reach for the knife instead of the brush is one of the most useful instincts you can develop as a painter. Here are the eight situations where a palette knife makes the biggest difference.
This is the most practical use of all. Using a brush to mix paint wears the bristles down quickly and pushes pigment deep into the ferrule. A palette knife mixes colour thoroughly in seconds and cleans with a single wipe. If you do nothing else with a palette knife, use it for mixing.
Impasto is the technique of applying paint so thickly that it stands off the surface and casts its own shadow. You cannot achieve this with a brush — the bristles simply move paint around. A palette knife loads up a thick wedge of paint and deposits it on the canvas with real physical presence.
Rocky cliffs, choppy water, bark on trees, stormy skies, snow, and stone walls all come alive with a palette knife. The flat edge creates sharp lines and ridges. The tip can dig in for scratched detail. The broad side can sweep a sky or field in one smooth drag.
When you want bold, immediate, physical marks that feel alive on the canvas, a palette knife delivers that energy instantly. Drag it. Twist it. Press and lift. Every move creates a different mark. Abstract work especially benefits from the unpredictability of the knife edge.
Made a mistake, or the paint has become muddy and overworked? Use the palette knife as a scraper. Pull the flat edge across the wet surface and remove paint cleanly. This is much faster and gentler on the canvas than trying to paint over a muddy area while it is still wet.
Sometimes a painting gets overworked. Every mark becomes careful and self-conscious. Switching to a palette knife for even five minutes forces you to work more loosely. You cannot be precious with a knife. The marks are bolder and the result almost always brings more life back into the work.
For blocking in broad areas of a painting — a sky, a wall, a field — a wide palette knife is faster and smoother than a brush. You can cover a large area with even colour in seconds, using long horizontal strokes.
The edge of a palette knife — used vertically — makes clean, straight lines that a brush struggles to match. Horizon lines, architectural edges, the edge of a table or wall, sharp shadows — all become crisp and confident with a knife edge rather than a brush.
Palette Knife vs Brush — When to Use Each
| Situation | Brush | Palette Knife | Best Choice |
|---|---|---|---|
| Fine detail and line work | Excellent | Limited | Brush |
| Mixing paint on palette | Poor — damages bristles | Excellent | Palette knife |
| Heavy impasto texture | Cannot replicate | Excellent | Palette knife |
| Smooth blended gradients | Excellent | Moderate | Brush |
| Bold expressive marks | Moderate | Excellent | Palette knife |
| Scraping back wet paint | Poor | Excellent | Palette knife |
| Large flat colour areas | Good | Excellent | Palette knife |
| Loose abstract mark-making | Good | Excellent | Palette knife |
| Glazing and thin washes | Excellent | Not suitable | Brush |
| Sharp straight edges | Difficult | Very good | Palette knife |
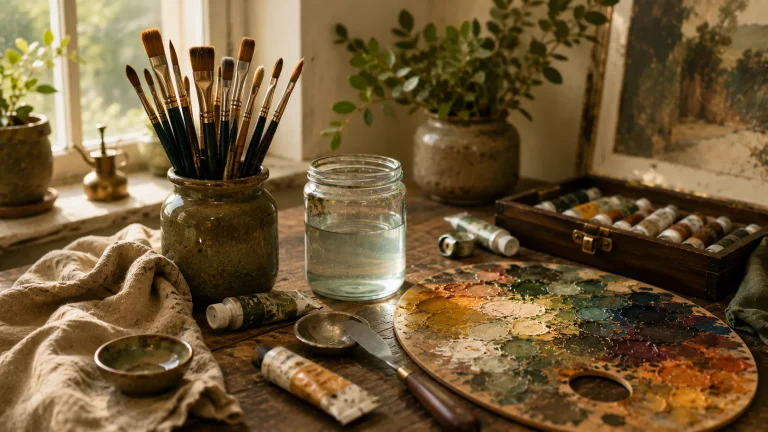
Why Palette Knives Matter for Home Artists
At home, you are probably working at a small desk or table. You may not have a large studio or lots of space. Palette knives are actually ideal for this kind of setup — they are compact, quick to clean, and create work that looks bold and confident even on a small canvas.
There is also something genuinely enjoyable about painting with a knife. It is direct. It is physical. You can feel the paint moving under the blade in a way that brushwork rarely gives you. Many painters find that knifework reconnects them with the pleasure of painting after they have been grinding through technical brush exercises.
Some of the most arresting small paintings I have seen were done entirely with palette knives on 6×6 inch panels — thick strokes of oil paint catching the light from every angle, looking almost sculptural. You do not need a large canvas or a professional studio to create something genuinely beautiful with a palette knife. A small panel, some heavy-body paint, and twenty minutes of focused work is all it takes.
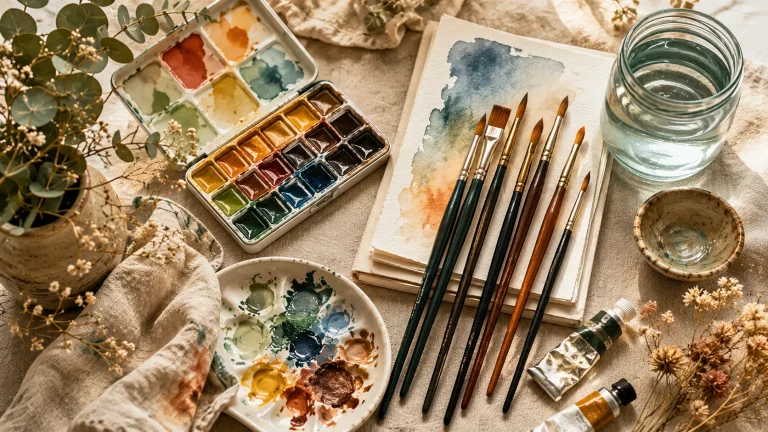
What Paint Works Best With a Palette Knife?
Not all paint is suitable for palette knife work. The key requirement is body — paint needs to be thick enough to hold the marks you make.
| Paint Type | Suitable for Palette Knife? | Notes |
|---|---|---|
| Heavy-body acrylic | Excellent | Best choice for beginners — dries fast, easy clean-up |
| Oil paint | Excellent | Traditional impasto medium — stays workable longer |
| Soft-body acrylic | Moderate | Thinner — add acrylic gel medium to build body |
| Watercolour | Not suitable | Too liquid — no body for knife marks |
| Gouache | Limited | Can be used for light knife work when thick |
| Acrylic gel medium | Excellent | Mix with any acrylic to add body for impasto work |
If your acrylic paint is too thin for satisfying knife work, mix in a tablespoon of heavy gel medium or impasto medium directly on the palette. It thickens the paint without changing the colour and gives you that sculptural body that holds the knife marks beautifully after drying.
Types of Palette Knives Explained
Not all palette knives are the same. Using the right shape makes a significant difference to your results.
If you are building out your home art supplies, our Art & Frames guide also covers how to display finished palette knife paintings at home — textured impasto work deserves the right frame and the right lighting.
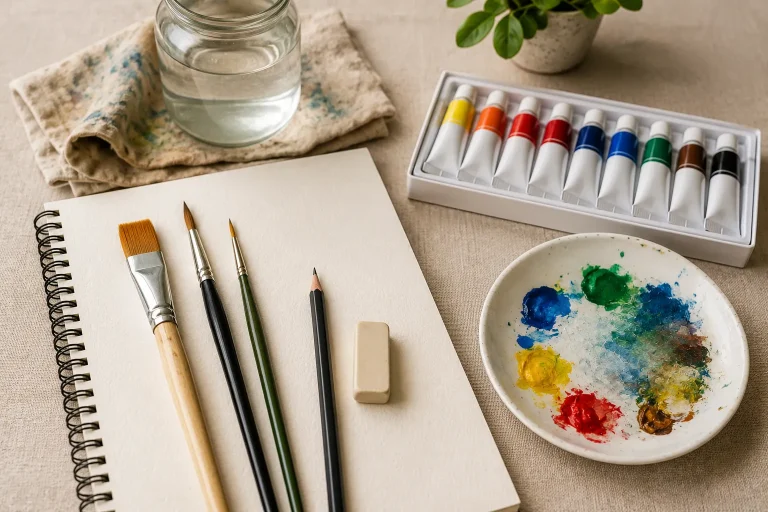
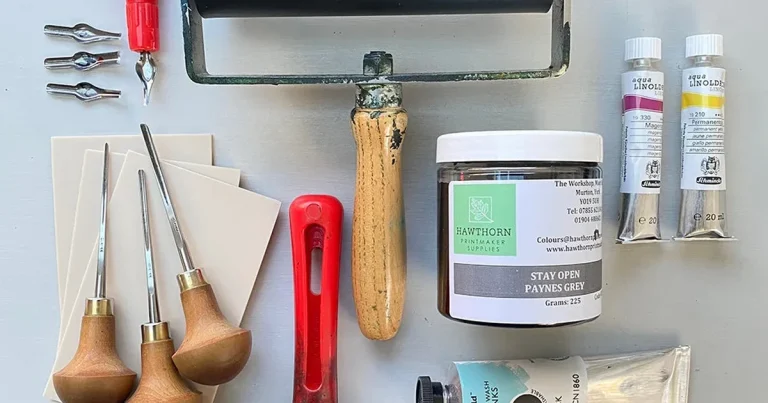
What You’ll Need to Start Painting with a Palette Knife
Dos and Don’ts of Palette Knife Painting
- Use the knife for all paint mixing on the palette
- Start with heavy-body acrylic for easier clean-up
- Use the flat of the blade for smooth strokes and the edge for sharp lines
- Load the knife generously — thin knife work looks weak
- Clean the knife between colour mixes with a rag
- Experiment on small canvas boards before working large
- Combine knife marks with brush passages for varied texture
- Don’t use a palette knife for fine detail or thin lines
- Don’t use watercolour or fluid acrylics — they have no body
- Don’t overwork a wet area — it muddies quickly
- Don’t use a stiff, inflexible knife — the flex is essential
- Don’t leave paint drying on the blade — it hardens fast
- Don’t force the knife — let the flex do the work
Pro Tips for Better Palette Knife Painting
- Hold the knife near the end of the handle for more expressive, fluid strokes. Hold near the blade for tighter control.
- Use the tip of the knife to scratch through wet paint and reveal an underlayer — a technique called sgraffito.
- Mix two colours incompletely on the palette, then apply — the slight variation in the stroke creates natural-looking colour variation in rocks, wood, and skin.
- Wipe the knife clean between strokes when working with light colours over dark — otherwise the colours mix on the canvas and muddy quickly.
- Build up impasto in multiple passes once lower layers are firm rather than piling all the paint on at once — this gives sharper ridges and edges.
- Use a larger knife than you think you need — bigger marks feel more confident and intentional on the canvas.
- Try palette knife work on toned canvas rather than white — the warm or cool ground beneath the knife strokes adds depth to the finished painting.
Common Palette Knife Painting Mistakes
Using Too Little Paint
Thin knife marks look tentative and flat. Load the blade generously. You should have enough paint on the knife that it can leave a ridge on the canvas. If the mark disappears into the surface, the paint is too thin or there is not enough of it.
Overworking the Same Area While Wet
Palette knife paint muddies very quickly if you keep going back into a wet passage. Make your mark, lift the knife, and leave it. Come back when it is dry if you need to adjust.
Using the Wrong Knife Shape for the Task
A broad flat knife is great for mixing and large colour areas but clumsy for fine knife work. A small diamond knife is perfect for detail but tedious for blocking in a sky. Match the knife to the task.
Expecting Fine Detail From a Palette Knife
A palette knife cannot replace a fine brush for small precise marks. If you need to paint eyelashes, flower stamens, or text — use a brush. The knife is for everything bold and physical, the brush is for everything delicate and precise.
Not Cleaning the Knife Between Mixes
A dirty blade carries the previous colour into every new mix. Keep a rag beside you and wipe the blade clean between mixes. It takes two seconds and saves you from muddy colour throughout the painting.
Do not leave palette knives soaking in water or solvent — the handles can crack and the metal can rust at the joint where blade meets handle. Wipe clean after every session with a dry rag. For oil paint, wipe with a rag dampened with odorless mineral spirits, then dry immediately. For acrylic paint, rinse quickly under warm water before the paint hardens — dried acrylic on a blade is very difficult to remove without scratching the metal.
According to conservation guidance from MoMA, impasto oil paint layers can remain chemically active for years — which is why palette knife paintings on canvas benefit from proper framing with a deep-set or float-mount frame that keeps glass well away from the textured paint surface.
For information on how to frame and display textured artwork at home, our Creative Living section covers studio setup, display ideas, and making your creative space work beautifully.
How to Care for Your Palette Knives
Good palette knives last for years with basic care. The blade should stay flexible and the edge should stay clean.
- Wipe the blade clean after every painting session
- For acrylic — rinse under warm water before paint dries
- For oil — wipe with mineral spirits, then dry the blade
- Never soak the knife — it damages handle and joint
- Store flat, not standing in a jar
- Check the blade for rust after cleaning — dry fully before storing
- If the blade bends permanently, replace it — flexibility is everything
As Smithsonian Magazine has noted in its coverage of artist health, good ventilation in a home studio also matters when using oil paint solvents for cleaning — even odorless mineral spirits should be used in a well-aired space.
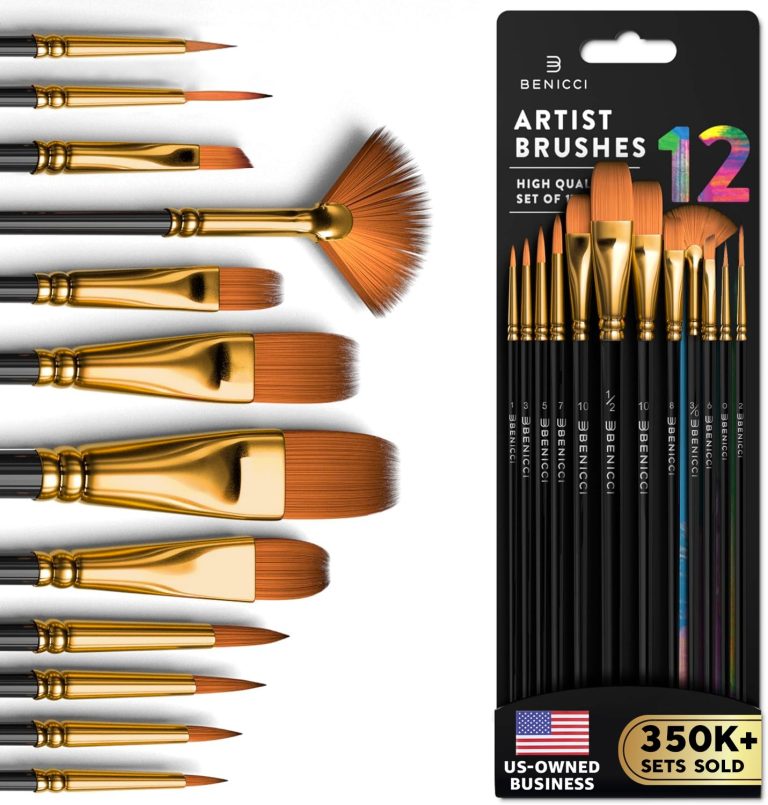
Recommended Palette Knife Products
If palette knife work inspires you to give a beautifully made art tool as a gift, our gift guide for art lovers includes thoughtful picks for artists at every level.
- Use a palette knife for mixing, texture, bold marks, scraping, and impasto work
- Palette knives work best with heavy-body acrylics and oil paints
- The angled trowel knife is the most versatile shape for canvas painting
- Load the blade generously — thin marks look flat and tentative
- Do not overwork a wet passage — make the mark and leave it
- Clean the knife between mixes and after every session
- Combine knife and brush in the same painting for the most interesting results
A palette knife belongs in every home painter’s kit — not just for mixing, but for building the kind of bold, textured, expressive painting that brushes alone cannot create. Use it with heavy-body acrylic or oil paint, load the blade well, make confident marks, and clean it properly after every session. Start with a medium trowel knife and a small diamond knife — those two shapes will handle almost everything you need.
Frequently Asked Questions
Use a palette knife when you want thick texture, impasto effects, bold expressive marks, or to mix paint without damaging your brushes. Switch to a brush when you need fine detail, thin washes, soft blending, or controlled line work. Many painters use both in the same painting for variety.
Yes — palette knives are very beginner-friendly. They are forgiving, direct, and encourage loose confident mark-making rather than overworked, fussy painting. Start with a medium trowel knife and heavy-body acrylic paint on a small canvas board and experiment freely.
Heavy-body acrylics and oil paints work best because they have enough body to hold the marks the knife makes. Soft-body or fluid acrylics are too thin — add heavy gel medium to thicken them. Watercolour is not suitable for palette knife work at all.
A palette knife typically has a straight, flat blade — ideal for mixing paint on the palette. A painting knife has an angled, cranked blade that raises your hand off the canvas while painting, giving you more control and keeping your knuckles clean. Most painters use a straight knife for mixing and an angled trowel knife for painting.
For acrylic paint, rinse the blade under warm water immediately after your session — before the paint dries and hardens. Wipe dry with a cloth. For oil paint, wipe with a rag dampened with odorless mineral spirits, then dry the blade fully before storing. Never soak the knife in water or solvent as this damages the handle and can rust the blade joint.
Not in the traditional sense — watercolour is too fluid to hold knife marks. However, you can use the edge of a palette knife to scratch into wet watercolour paper to create light lines (a technique called sgraffito). You can also use it to scrape paint back on very wet paper for textural effects, but the knife is not suitable for applying watercolour in the way it works with oil or acrylic.
The main cause of muddy knife work is overworking a wet area. Make your mark decisively, lift the knife, and do not go back into it while wet. Also wipe the blade clean between each colour you pick up — carrying wet paint from the previous mix into a new one is the fastest way to muddy a palette knife painting.
Start with a medium angled trowel knife — roughly 2 to 3 inches of blade. It is versatile enough for most techniques, including impasto, broad strokes, and moderate detail work. Add a small diamond knife for finer marks and a large straight knife for mixing. A set of five to six knives in different sizes covers almost every situation you will encounter as a home painter.
Conclusion
Knowing when to use a palette knife in painting comes down to one guiding question: do you want texture, boldness, and physical energy in this mark — or do you need control and finesse? If the answer is the first, reach for the knife.
Use it every time you mix paint. Use it when you want to build texture that stands off the canvas. Use it when a painting feels overworked and tight. Use it for landscapes, abstracts, impasto backgrounds, and scraping back mistakes.
Start with a medium trowel knife and heavy-body acrylic on a small canvas board. Give yourself permission to make bold, messy, experimental marks. You will quickly develop a sense for what the knife can do — and you will find yourself reaching for it far more often than you expected.