How to Organise Art Supplies in a Small Space
Organise art supplies in a small space by editing down what you keep visible, grouping materials by use and care needs, and using vertical and hidden storage together. A compact, well-labelled system with clear work zones will make the room feel calmer and more inspiring.
Small-space studios can feel crowded fast, but they do not have to feel chaotic. The best way to organise art supplies in a small space is to edit ruthlessly, store by category and frequency, and let the room keep some visual breathing space.
- Edit first: Keep only daily-use tools visible.
- Sort by need: Group supplies by medium, frequency, and protection.
- Use height: Walls, doors, and narrow gaps save floor space.
- Create zones: Separate making, drying, and cleanup areas.
- Protect materials: Guard paper, pastels, and finished work from light and moisture.
Small-Space Art Storage Starts With a Creative Edit
Before you buy a single basket or shelf, look closely at what you actually use. In a compact home, organisation begins with deciding what deserves prime real estate and what can live in a closed box, a drawer, or a higher shelf.
What to keep visible, what to tuck away, and how to avoid visual clutter
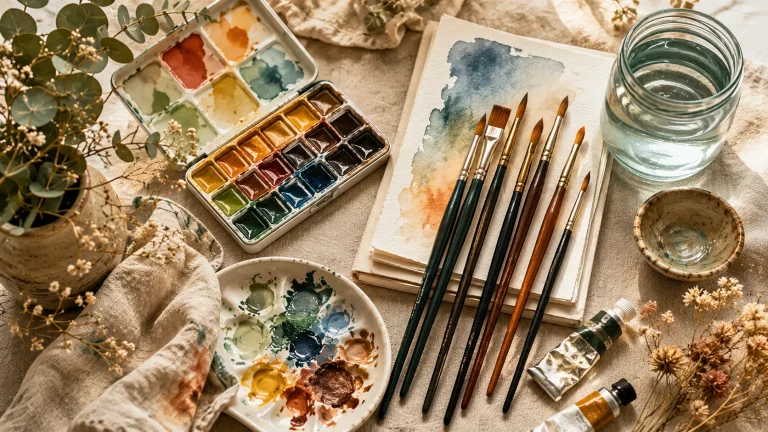
Keep the tools you reach for daily within arm’s reach: pencils, brushes, a sketchbook, one current palette, and perhaps a few favourite paints. Everything else can be tucked away so the room still feels calm rather than overfilled.
Open storage is lovely when it is edited. A few jars of brushes or a neat row of pencils can look intentional; ten half-used containers, spare tubes, and loose paper stacks usually do not. In a small space, restraint is part of the design.
Think of your art supplies like a small gallery wall: a few carefully chosen items can create atmosphere, while too many competing pieces dilute the effect.
Reader intent: practical organisation for artists, illustrators, and hobby makers living small
This approach suits illustrators, painters, collage makers, students, and hobbyists who may be working from a dining nook, bedroom corner, or shared living room. The goal is not a perfect studio fantasy. It is a system that supports making art without taking over the entire home.
If your space also needs to feel presentable for guests, think in layers: a beautiful visible layer, a practical hidden layer, and a protected layer for delicate materials. That simple structure keeps the room flexible.
Map Your Supplies by Medium, Frequency, and Mess Level
Sorting supplies by type is useful, but sorting them by how often you use them is even better. A small-space system works when the most active materials are the easiest to reach and the messiest materials have the most controlled storage.
Separate daily-use tools from occasional materials
Start with three groups: daily-use, weekly-use, and occasional-use. Daily-use items might include graphite pencils, erasers, scissors, sketchbooks, or one favourite brush set. Occasional-use items can live deeper in storage without slowing you down.
This one change often reduces clutter immediately. Instead of spreading supplies across every surface, you create a clear “active kit” that can be packed away at the end of a session. It is especially helpful in apartments where the work area doubles as another room.
Group paints, pencils, paper, inks, and wet-media items by storage needs
Different mediums need different homes. Pencils and pens like dry, tidy containers. Paints need visibility and easy sorting. Paper needs flat support. Inks, glues, and other wet-media items need stability and lids that close properly.
Grouping by material also helps with inventory. If all your acrylics are together, all your sketchbooks are together, and all your adhesives are together, you can see what you have before buying duplicates.
Identify which supplies need light, dryness, or extra protection
Not every supply is equally forgiving. Paper, charcoal, pastels, and finished work are more vulnerable to dust and humidity. Some paints and adhesives can also suffer if they are stored in heat or damp conditions. A small room often magnifies those risks, so location matters.
Keep paper, pastels, and finished pieces away from direct sunlight, radiators, and damp corners. If your room runs humid, sealed boxes or archival sleeves are worth prioritising.
- How often you use each supply
- Whether it needs to stay dry
- How easily it can be crushed or bent
- Whether it should be shielded from light
Choose Storage That Works With Interiors, Not Against Them
Good storage should feel like part of the room, not a temporary fix. In a small home, the most successful art storage solutions are usually the ones that blend into the interior palette, support the layout, and avoid bulky visual weight.
Wall shelves, under-table drawers, lidded boxes, and slim trolleys for compact rooms
Wall shelves are ideal for lightweight items and display-worthy containers. Under-table drawers or rolling units make use of dead space beneath desks. Lidded boxes are excellent for paper, backups, and fragile materials. Slim trolleys can move from work zone to storage zone with ease.
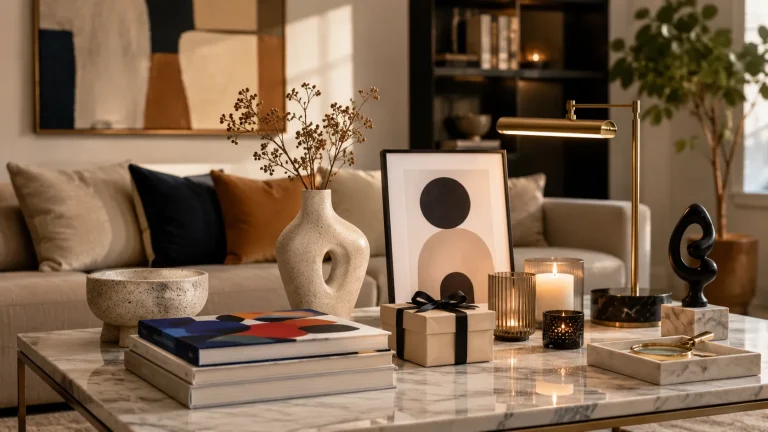
If you want a more polished look, choose containers that repeat the room’s materials and colours. Neutral boxes, timber trays, woven baskets, or matte metal can help the whole setup feel more considered.
Open display versus closed storage: style trade-offs in a studio corner
Open storage is convenient, but it can make a room feel busier than it is. Closed storage hides visual noise and makes it easier to keep a living area looking calm. The best balance is often a hybrid: display the beautiful, hide the bulky, and protect the delicate.
- Frequently used brushes and tools
- Decorative jars and trays
- Quick access during active work sessions
- You dislike visual clutter
- Your supplies are varied and colourful
- The space must also function as a living room
How to make storage feel calm, curated, and apartment-friendly
Try to keep one visual language across the room. That might mean all-white boxes, a soft wood tone, or a mix of glass and natural fibre. When storage materials echo the rest of the interior, the art corner feels intentional rather than improvised.
For broader room planning, it can help to think about the whole creative zone, not just the containers. Our guide on how to set up a home art studio space is a useful companion if you are starting from scratch.
Build a Vertical System for Easels, Paper, Brushes, and Portfolios
When floor space is limited, vertical storage becomes your best friend. Walls, doors, and narrow gaps can hold more than you might expect, especially if your supplies are tall, flat, or lightweight.
Use walls, doors, and narrow gaps to reclaim floor space
Wall-mounted shelving can hold jars, bins, and smaller tools. Over-door organisers are useful for slim items and packaged supplies. Narrow gaps beside furniture often fit a slim file holder, a canvas rack, or a vertical portfolio stand.
The key is to use vertical space without making the room feel crowded at eye level. Keep heavier or more active items lower down, and lighter or less-used items higher up.
Practical examples for storing sketchbooks, canvases, and long tools
Sketchbooks store neatly in magazine files or upright bins. Canvases and boards can stand in a vertical rack or between dividers. Long tools such as rulers, palette knives, and brushes are easier to manage in slim containers than in wide drawers where they slide around.
For framed work or display-ready pieces, a dedicated ledge or narrow shelf can keep things tidy while preventing damage. If you enjoy displaying finished pieces as part of the room, our article on how to display framed art on a console table offers a good visual reference for making art storage feel decorative too.
When to choose pegboards, rails, or magazine files for art materials
Pegboards are ideal when you want customisable access to tools and small containers. Rails work well for hanging lightweight items or frequently reached tools. Magazine files are one of the simplest solutions for paper, sketchbooks, and thin pads.
| Option | Best For | Note |
|---|---|---|
| Pegboard | Tools and modular accessories | Flexible, but can look busy if overfilled |
| Rails | Light hanging storage | Best for slim items, not heavy supplies |
| Magazine files | Paper, pads, and sketchbooks | Clean and compact for desk-side storage |
If your walls are in a rental, lean on freestanding vertical storage first. You can still gain height without committing to permanent fixtures.
Create Work Zones for Making, Drying, and Cleaning Up
A small art space feels much easier to manage when each task has its own mini-zone. Even if the zones overlap, the act of separating making, drying, and cleaning helps prevent tools from drifting across the room.
Set up a compact “making station” with only the essentials at hand
Your making station should hold only what you need for the current project. That might include your main medium, a small water container, a cloth, tape, and a few tools. Everything else can stay stored away until needed.
Keep a small “project tray” ready to go. When one piece is finished, clear the tray, reset it, and start fresh instead of spreading materials across the whole room.
Plan a drying area for paintings, prints, and mixed-media work
Drying space is often the hardest part of small-space organisation. A narrow shelf, an unused tabletop, or a dedicated rack can prevent wet work from being stacked or damaged. If you make prints or layered collage, allow extra room so pieces do not stick together.
For watercolour artists, drying and paper handling deserve special care. If you work in that medium, our guide on how to stretch watercolor paper at home can help you reduce buckling before the work even begins.
Keep water jars, rags, masking tape, and cleaning tools contained
Cleaning tools are small, but they create a lot of mess if they are left loose. A lidded container or shallow tray can hold water jars, cloths, masking tape, wipes, and brush-cleaning supplies together so cleanup becomes a single habit rather than a scavenger hunt.
A shallow lidded box with a removable tray is one of the most versatile small-space choices. It can hold active tools during a session, then close up neatly when the room needs to return to everyday life.
Protect Delicate Materials With Proper Care and Labelling
Organisation is not only about tidiness. It is also about preservation. In a small space, where shelves may be close together and light can be intense, protecting your materials is just as important as storing them neatly.
Storage tips for paper, pastels, charcoal, adhesives, and finished work
Paper should stay flat, dry, and supported. Pastels and charcoal are best kept in boxes or drawers that prevent smudging. Adhesives should be sealed tightly and stored upright if possible. Finished work benefits from sleeves, folders, or archival boxes depending on size and medium.
If you collect or store coffee table books alongside your art materials, keep them away from damp floors and overcrowded shelves. Our piece on how to store coffee table books is helpful if your creative corner also doubles as a design-led reading nook.
Moisture, dust, and sunlight: what damages supplies in small spaces
Dust settles quickly in open systems, especially near windows or busy hallways. Sunlight can fade paper and affect some pigments over time. Moisture can warp paper, weaken packaging, and shorten the life of adhesives or unfinished work.
Simple labelling systems for fast access and better inventory control
Labels do not have to look utilitarian. A simple handwritten tag, a discreet printed label, or a colour-coded tab system can make finding supplies much faster. Label by medium, project, or frequency depending on how your brain naturally sorts things.
For example, “paper,” “wet media,” “tools,” and “backup” may be enough. If you share the space, labels also help other people put things back in the right place without asking.
Curator-Style Recommendations for Budget, Mid-Range, and Elevated Setups
There is no single best storage style for every artist. The right choice depends on your budget, the size of the room, how often you create, and whether the space needs to look more studio-like or more domestic.
Affordable options for students, renters, and weekend artists
Entry-level storage can be wonderfully effective: stackable boxes, desk organisers, secondhand shelves, and simple magazine files often do the job well. These choices are especially useful if you are still refining your process or expect your setup to change.
Mid-range pieces that blend storage with decorative appeal
Mid-range storage usually offers a better finish and a more cohesive look. Think slim rolling carts, well-made wall shelves, woven storage with structure, or modular organisers that can stay visible without looking temporary. These are strong choices for artists who want the room to feel designed, not improvised.
Investment storage for long-term collections, tools, and archival materials
Investment storage makes sense when you have a larger body of work, valuable tools, or materials that need better preservation. Archival boxes, custom shelving, and sturdy portfolio storage are worth considering if you want a system that can grow with your practice.
These pieces cost more, so suitability matters. They are best for artists who create regularly, need reliable protection, or want one setup that will last through many projects and room changes.
- Clearer access to supplies
- Less visual clutter in small rooms
- Better protection for fragile materials
- Easier cleanup after each session
A Final Creative Reset: Keep the Space Flexible, Inspiring, and Easy to Maintain
The most successful small art spaces are not the ones with the most storage. They are the ones that can reset easily, stay visually calm, and still invite you to make work without friction.
Weekly tidy-up routines that prevent overflow in small studios
A short weekly reset is usually enough to keep overflow under control. Put returned items back in their categories, clear the active surface, check for dried paint or damaged packaging, and remove anything that no longer belongs in the making zone.
This habit protects both the room and your creative momentum. When the space is easy to return to order, it is easier to begin again the next time you sit down to work.
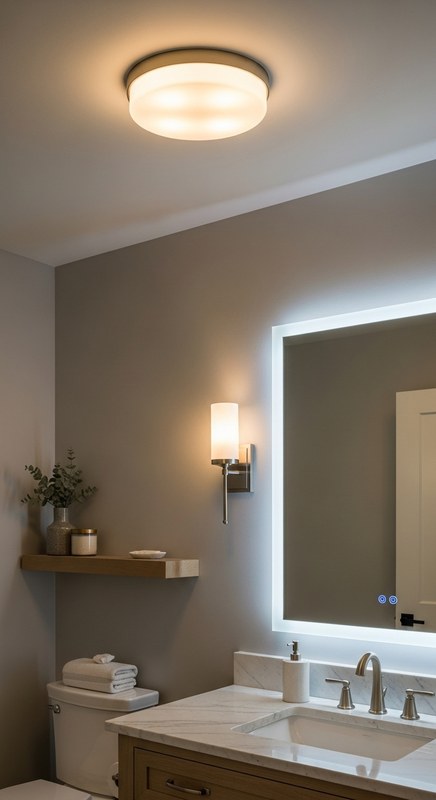
How thoughtful organisation supports creativity, lighting, and focus
Good organisation does more than save time. It improves light, because surfaces stay clearer. It improves focus, because your eye is not constantly pulled toward clutter. And it improves creativity, because the supplies you love are easier to reach when inspiration arrives.
Many artists find that a smaller, well-edited supply set actually encourages more consistent making, because fewer choices can mean less setup friction.
Closing recap: a small space can still feel like a generous art room
When you organise by use, medium, and protection needs, even the smallest corner can function beautifully. Add vertical storage, a tidy work zone, and a few thoughtful containers, and the room starts to feel calm, capable, and distinctly yours.
For Hurrell Editions, that is the heart of a good art space: not excess, but clarity. A small space can still feel generous when every supply has a place and every place has a purpose.
Frequently Asked Questions
Start by sorting supplies by medium, frequency, and mess level. Keep daily-use tools close at hand and store occasional materials in closed boxes or higher shelves.
Use a mix of open and closed storage so only a few attractive items stay visible. Repeat the same colours or materials across containers to make the setup feel calm and intentional.
Sketchbooks, paper pads, canvases, portfolios, rulers, and long tools often work well in vertical storage. Magazine files, racks, and slim bins can help save floor space.
Keep paper and finished work flat, dry, and away from direct sunlight. Archival sleeves, folders, or lidded boxes offer better protection in compact spaces.
No. Affordable boxes, trays, and secondhand shelves can work very well if they match your workflow. Higher-end storage mainly helps when you need better durability, archival protection, or a more polished finish.
A short weekly reset is usually enough to prevent overflow. Put tools back in their categories, clear the active surface, and check for damaged or dried-out materials.