How to Care for Natural Hair Art Brushes (and Make Them Last for Years)
To care for natural hair art brushes, rinse them gently after every use, reshape the bristles while damp, store them upright or flat once dry, and deep clean with mild soap or brush cleaner every few sessions. Never leave them soaking in water — that single habit ruins more brushes than anything else.
Natural hair brushes are the gold standard for watercolor, oil, and gouache work. But they need real care to stay in shape. A few simple habits after every painting session will keep them performing like new for years.
I still have a kolinsky sable round brush I bought almost eight years ago. It still snaps to a perfect point. That did not happen by accident — it happened because I learned early how to treat natural hair brushes properly.
If you have invested in quality brushes, or you are thinking about it, this guide will show you exactly what to do. And what not to do.
Why Natural Hair Brushes Need Special Care
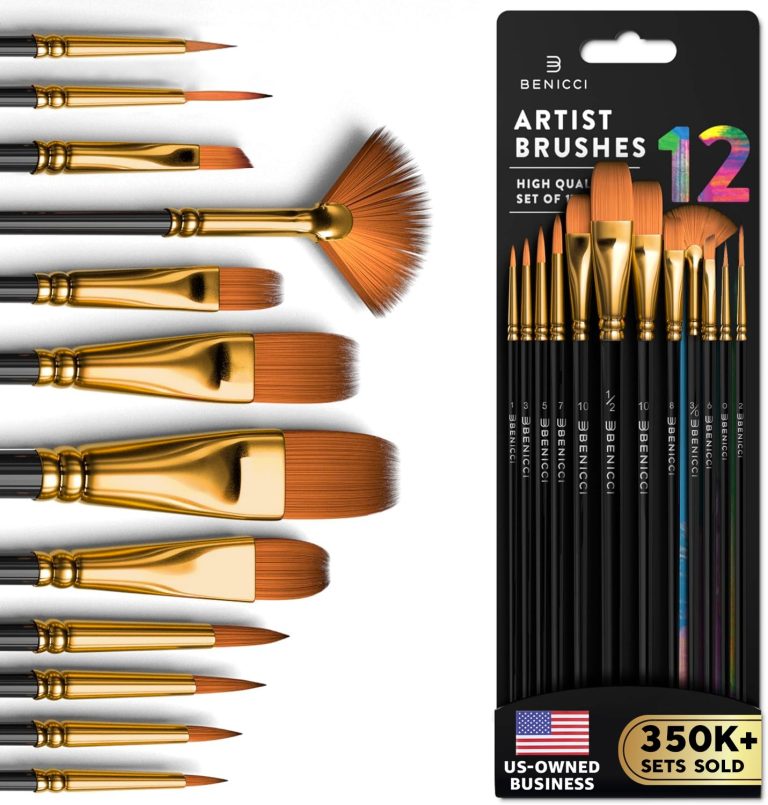
Natural hair brushes — made from kolinsky sable, squirrel, hog bristle, or mongoose — behave differently from synthetic ones. The hairs have natural scales along the shaft that grip paint beautifully. But those same scales make them more sensitive to harsh treatment.
Water, heat, and rough handling are the three main enemies. Water weakens the glue inside the ferrule. Heat dries out the natural oils in the hair. Rough scrubbing separates and splits the hairs permanently.
Kolinsky sable brushes are made from the tail hairs of the Siberian weasel, not a sable or a mink. The best ones come from male animals during winter, when the hair is at its finest and most resilient. Smithsonian Magazine has explored just how extraordinary this material really is.
What You Will Need
How to Clean Natural Hair Art Brushes Step by Step
Cleaning does not have to be complicated. This routine takes about two minutes per brush and makes a huge difference over time.
As soon as you finish a session, swirl the brush gently in clean water. Do not jam it into the bottom of the jar. Use a light circular motion near the surface of the water. Repeat with fresh water until the water runs clear.
Lather a tiny amount of brush soap or gentle dish soap into your palm. Swirl the damp brush in the lather using soft circular strokes. You will see pigment releasing almost immediately. Rinse and repeat if needed.
This step is critical. Use your fingers to gently press the hairs back into their original shape — a point for rounds, a flat edge for flats. Do this while the brush is still damp so the hairs will dry in the correct form.
Gently blot excess water on a clean cloth. Then either lay the brush flat on a towel or use a brush holder that keeps bristles pointing downward. Never stand wet brushes upright — water runs into the ferrule and loosens the glue.
Every few weeks, work a tiny drop of brush conditioner or even hair conditioner through the bristles, leave it for one minute, then rinse out. This restores softness and helps the hairs stay aligned and supple.
Never leave natural hair brushes sitting in a water jar with bristles submerged. Even 30 minutes of soaking can soften the ferrule glue, loosen bristles, and permanently bend the hairs out of shape. Always rinse and remove immediately.
How to Store Natural Hair Art Brushes
Storage is just as important as cleaning. Good storage protects the shape of the bristles between sessions and keeps them from getting crushed or bent.
- Store completely dry brushes upright in a cup or jar, bristles up
- Use a brush roll for travel or transport
- Keep brushes away from direct sunlight and heat sources
- Store large brushes flat if the bristles are too heavy to hold their shape upright
- Use a cedar block nearby to deter moths if storing long-term
- Do not store wet brushes upright — water will run into the ferrule
- Do not store brushes in an airtight container without ventilation
- Do not rest brushes on their bristles at any time
- Do not leave brushes near a radiator or heater
- Do not mix natural and synthetic brushes carelessly — natural hairs can get bent by heavier synthetics
Deep Cleaning for Stubborn Paint Buildup
If you paint regularly, you will eventually get paint buildup near the ferrule — that hardened area close to where the hairs meet the metal. This is one of the most common reasons brushes lose their shape over time.
A deep clean once a month keeps this under control.
For dried acrylic or oil near the ferrule, try working a small amount of brush cleaner and preserver into the base of the bristles using your fingertips. Let it sit for two minutes before rinsing. Never use acetone or strong solvents on natural hair — they strip the natural oils and leave bristles brittle and prone to snapping.
Natural Hair Brush Types and Their Specific Needs
Not all natural hair brushes are the same. Different hair types have slightly different needs worth knowing about.
| Brush Type | Best For | Key Care Note |
|---|---|---|
| Kolinsky Sable | Watercolor, fine detail | Condition monthly, reshape after every wash |
| Squirrel Hair | Soft washes, watercolor | Very delicate — never scrub or press hard |
| Hog Bristle | Oil painting, heavy texture | Tougher — tolerates firmer cleaning but still no soaking |
| Mongoose | Oil, pastel blending | Rinse thoroughly — holds paint deep in bristles |
| Goat Hair | Ink, wash, calligraphy | Very absorbent — press out water fully before drying |
Common Mistakes That Ruin Natural Hair Brushes
I have made almost every one of these mistakes myself, usually early on when I did not know better. Learning from them will save you a lot of expensive brushes.
- Leaving brushes in the rinse jar: The number one killer. Even short soaks loosen the ferrule and bend the hairs permanently.
- Scrubbing bristles against a rough surface: This splays the hairs and removes the natural taper that makes fine brushes so responsive.
- Using hot water: Hot water loosens ferrule glue faster than anything. Always use cool or lukewarm water.
- Painting past the ferrule: Paint gets packed into the base of the bristles where it is very hard to remove, causing a permanent splay.
- Storing while still damp: Damp bristles in a closed container grow mildew and develop a musty smell that is very difficult to remove.
- Using harsh solvents on delicate hair: Turpentine and strong cleaners strip natural oils from sable and squirrel, leaving them dry and prone to splitting.
Brush Care Routine at a Glance
I follow a simple rhythm that keeps my brushes in great shape without adding much time to a session.
How Much Does Brush Care Cost?
Proper brush care tools are inexpensive — especially compared to the cost of replacing a quality brush.
The Best Products for Caring for Natural Hair Brushes
You do not need a lot of products. A good brush cleaner and a proper storage solution cover most of what you need.
Brush Care by Medium
The medium you paint with changes how you need to clean your brushes. Here is a quick reference for the most common ones.
| Medium | Rinse With | Cleaner Type | Extra Note |
|---|---|---|---|
| Watercolor | Clean water | Mild soap | Rinse thoroughly — pigment stains near ferrule area |
| Gouache | Clean water | Mild soap | Dries fast — clean immediately after every session |
| Oil Paint | Odourless mineral spirits first, then soap | Brush cleaner and preserver | Two-stage clean: solvent then soap |
| Acrylic | Water while wet — solvent if dried | Brush restorer if hardened | Speed matters — dried acrylic is very hard to remove |
| Ink | Clean water immediately | Mild soap | India ink dries permanent — never let it dry in bristles |
Why It Is Worth Taking Care of Quality Brushes
A well-made natural hair brush is not just a tool. It is an extension of how you paint. The spring, the snap-to-point, the way sable holds and releases paint — those qualities take years to develop in a brush and they are worth protecting.
If you are building out your creative space at home, the way you look after your tools matters as much as the tools themselves. I have written more about setting up an inspiring workspace in our Creative Living section — it is full of practical ideas for artists who paint at home.
And if you are looking for gifts for an artist friend, our gift guide for art lovers includes some thoughtful brush and studio care options worth exploring.
There is something deeply satisfying about a clean, well-kept brush. When you pull it out before a session and the bristles are perfectly shaped and ready, it puts you in the right mindset before you even touch the paper. Good brush care is part of good studio practice — and good studio practice is part of making better art.
When to Replace a Natural Hair Brush
Even with perfect care, brushes eventually wear out. Knowing when to let go saves you the frustration of fighting a brush that is past its best.
- The bristles permanently splay outward and will not reshape after cleaning
- Hairs are falling out regularly, leaving gaps in the bristle head
- The ferrule is loose or wobbles on the handle
- The brush no longer holds a point or edge even when freshly shaped
- There is a persistent smell that does not go away after deep cleaning
Worn rounds make excellent flat wash brushes before you retire them completely. Repurposing an old fine brush as a texture or dry-brush tool extends its life usefully before it goes to the bin.
For advice on displaying finished work beautifully, our Art & Frames guide is a great companion read. You might also enjoy the Books & Gifts section for art books that cover materials, techniques, and studio craft in depth.
- Unmatched spring and snap-to-point
- Superior paint loading and release
- Last many years with proper care
- Preferred by watercolourists and oil painters
- More durable and forgiving of neglect
- Better for acrylics — resist harsh cleaners
- Lower cost and easier to replace
- Improving in quality but still lack the feel of sable
- Rinse natural hair brushes immediately after every session — never let paint dry in the bristles
- Clean with mild soap, reshape the bristles while damp, and dry flat or bristles-down
- Never soak brushes in water — even brief soaking loosens the ferrule glue
- Deep clean monthly and condition sable and squirrel brushes to restore softness
- Store dry brushes upright or in a brush roll — never resting on their bristles
- Different mediums need different cleaning approaches — oil paint needs solvent first
Natural hair brushes reward care with years of exceptional performance. The habits that protect them — immediate rinsing, gentle cleaning, proper reshaping, and smart storage — take almost no time and save you significant money in replacements. Treat your brushes the way you treat your best tools, and they will stay with you through hundreds of paintings.
Frequently Asked Questions
Clean them after every single painting session. A quick rinse and gentle soap wash takes about two minutes per brush. Deep cleaning with a brush preserver or conditioner should happen once a month for brushes you use regularly.
Yes, a gentle dish soap or hand soap works fine for routine cleaning. Avoid harsh antibacterial soaps or anything with strong detergents. Dedicated brush soap is better for frequent use because it conditions as it cleans.
The most common causes are storing brushes wet and standing upright, leaving brushes soaking in water, and painting with paint loaded past the ferrule. All three push the hairs outward over time. Reshape bristles while damp after every clean to reverse early splay.
For dried watercolor or gouache, soak only the bristle tip in lukewarm water for a few minutes then work in brush soap. For dried oil paint, use odourless mineral spirits first, then follow with soap. For dried acrylic, a brush restorer solution is your best option.
You can, but it is not ideal. Acrylic dries very fast and is extremely hard to remove from natural hair once dry. Synthetic brushes are more forgiving for acrylics. If you do use natural hair for acrylic work, clean immediately and thoroughly after every session.
Make sure they are completely dry before long-term storage. Roll them in a canvas brush wrap with a small cedar block to deter moths and insects. Never store in an airtight container — bristles need air circulation to avoid mildew and odour.
If the bristles permanently splay and will not hold a shape after cleaning, if hairs are falling out frequently, or if the ferrule is loose, it is time to replace the brush. Minor splay on a quality brush can often be corrected with reshaping and conditioning over a few weeks.
Final Thoughts
Taking care of natural hair art brushes is one of the simplest investments you can make in your practice. The tools are inexpensive, the habits take only minutes, and the result is brushes that feel and perform beautifully for years.
Start with the basics: rinse immediately, clean gently, reshape while damp, and store flat or bristles-up once dry. Those four steps alone will transform how long your brushes last.
If you are serious about your brushes, pick up a jar of brush cleaner and preserver and a soft canvas brush roll. Make cleaning part of your studio ritual. Your future self — and your brushes — will thank you.