Ring Light Portrait Photography

Ring light portrait photography is a simple way to get even, face-centered lighting for headshots and creator portraits. It works best in small spaces and for polished, approachable looks, but it can look flat if you want more dramatic depth.
ring light portrait photography works best when you want even, face-forward light with a clean catchlight and a simple setup. It is especially useful for headshots, creator portraits, and small-space shooting, but it is not always the most flattering choice for every face, room, or style.
- Best use: Clean headshots, beauty portraits, and social content with a polished look.
- Most important specs: Size, dimming, color temperature control, and stand stability.
- Best placement: Keep the light near eye level and centered close to the camera.
- Main limitation: Ring lights can create flatness and visible reflections in glasses.
Ring Light Portrait Photography: What It Is and Why It Works in 2026
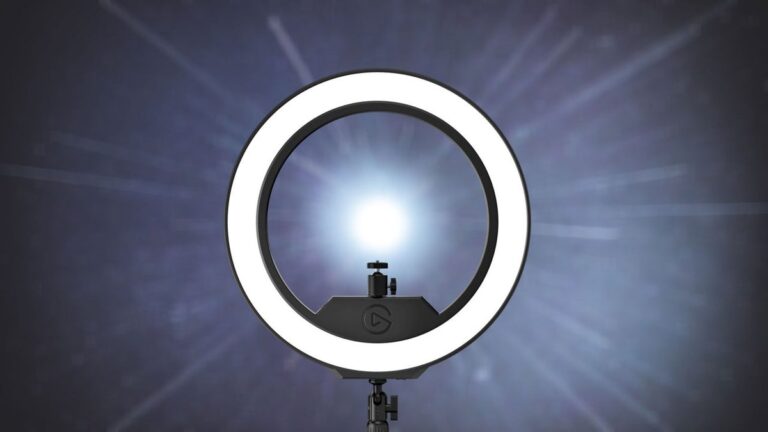
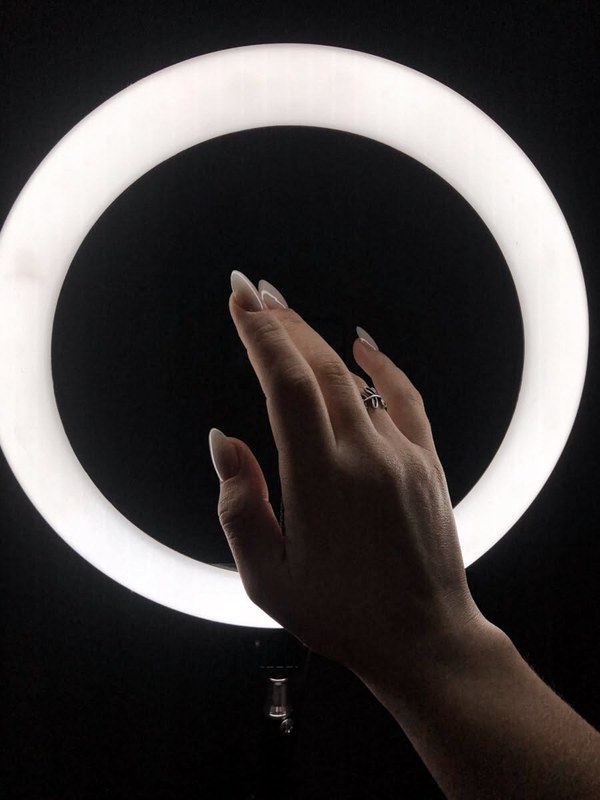
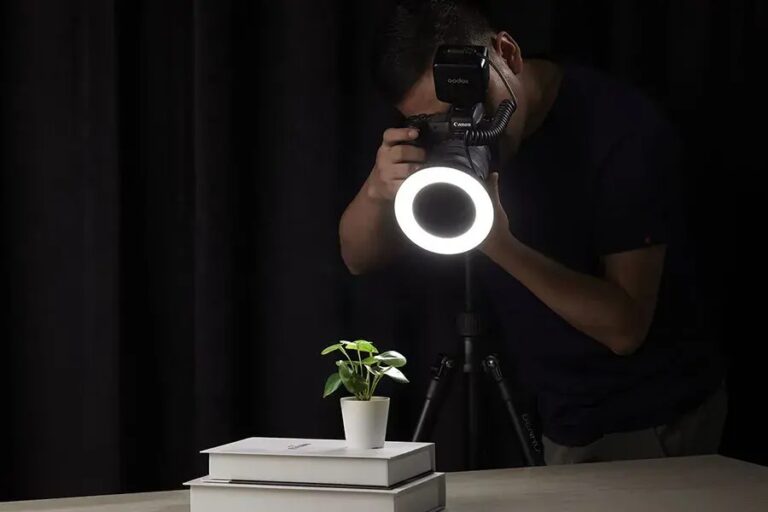
A ring light creates a circular light source that surrounds the camera or sits very close to it, which helps reduce directional shadows on the face. In portrait work, that usually means smoother-looking skin tone, more consistent illumination, and a signature ring-shaped catchlight in the eyes.
For readers comparing lighting options, the appeal is straightforward: ring lights are easy to position, simple to understand, and often more compact than larger studio lighting. That makes them popular for remote professionals, social creators, and anyone setting up a portrait corner at home.
Answering the core question early: when ring lights improve portraits—and when they do not
Ring lights improve portraits when the goal is clarity, symmetry, and a polished, modern look. They are a strong fit for clean headshots, beauty portraits, profile photos, and content that needs a consistent face-lit result with minimal setup.
They do not work as well when the portrait needs deep shadows, dramatic modeling, or a more cinematic feel. Because the light is so centered, faces can look flatter than they would under side lighting, and reflective glasses or shiny surfaces may pick up obvious glare.
If you want a softer or more dimensional look, a diffused softbox or a window with indirect daylight may be a better fit. For many people, the decision comes down to whether they want convenience and uniformity, or more sculpted light.
The 2026 context: creator content, remote headshots, and at-home portrait setups
In 2026, ring lights remain relevant because so much portrait use now happens in small indoor spaces: home offices, bedrooms, spare corners, and compact creator studios. They are also common in remote work setups where a sharp, approachable face on camera matters as much as a still portrait.
That shift has made practical features more important than flashy claims. Buyers are paying closer attention to brightness range, color temperature control, stand stability, and whether a light can move easily between portrait sessions and everyday video calls.
The most important question is not whether a ring light is “good,” but whether its light quality and size suit the portrait style you want.A small light can be convenient, but a larger, dimmable model usually gives more control over facial softness and framing.
How to Choose the Right Ring Light for Portrait Photography
Choosing a ring light for portraits is less about brand language and more about a few practical specifications. Size, brightness, color temperature, control options, and build quality will affect how flattering the final portrait looks and how easy the setup is to use regularly.
Size, brightness, and color temperature: the specs that matter most
Size affects how soft the light appears. In general, larger ring lights create a broader, gentler look on the face, while smaller ones can feel more direct and specular. For portrait photography, that difference matters more than many shoppers expect.
Brightness should be adjustable so you can match the light to the room and the camera settings. A dimmer is especially useful in small rooms where a powerful light may otherwise look harsh or wash out facial detail.
Color temperature determines whether the light leans warm, neutral, or cool. If the model offers adjustable temperature, it is easier to match room light, skin tone preference, and background style. When manufacturer claims are unclear, confirm the usable range in the official listing or manual before buying.
Color temperature ranges, brightness output, and diffusion quality vary widely by model. Two ring lights with similar-looking listings can produce very different portrait results.
Power source and control options: USB, mains, battery, dimming, and app features
Power source affects where and how you can shoot. USB-powered models are convenient for desk setups, mains-powered lights are usually better for longer sessions, and battery options can help when the portrait space is not near an outlet.
Control features also matter. Built-in dimming is the baseline to look for, while remote controls or app controls can make small adjustments easier when the light is out of reach. That said, extra features are only useful if they are reliable and simple enough to use without interrupting the session.
If you are comparing models for a compact room, it can also help to read related guidance such as best gallery picture light for small spaces to think more clearly about scale, visual clutter, and how lighting occupies a room.
Build quality and materials: stands, mounts, diffusion, and durability
For portrait use, the stand often matters as much as the light itself. A light that feels bright on paper but wobbles on a thin stand can be frustrating, especially when adjusting height or moving it around furniture.
Look for a secure phone or camera mount if you plan to shoot selfies, headshots, or short-form content. Also check whether the ring light includes any diffusion layer or softening panel, since that can reduce the “hard LED dot” look that some budget models create.
Before You Buy
- Choose a size that matches your room and portrait distance
- Confirm dimming and color temperature control if you want flexibility
- Check stand stability, mount compatibility, and cable length
- Verify what is included versus what must be purchased separately
Best Ring Light Placement for Flattering Portraits
Placement has a bigger effect on portrait quality than many beginners realize. Even a good ring light can look unflattering if it is too close, too high, too low, or aimed at the face without considering the camera position.
Camera-to-subject alignment and the ideal eye-level position
The simplest setup is to place the camera near the center of the ring light so the light wraps around the lens axis. That alignment helps keep shadows even and makes the catchlight appear balanced in the eyes.
Eye level is usually the safest starting point for flattering portraits. When the light sits too high, it can create deeper under-eye shadows; too low, and the face can look unnatural or theatrical in ways that may not suit a standard headshot.
Start with the ring light centered just above or at eye level, then make small adjustments rather than large ones. Small changes in height often have a bigger impact than changing the brightness setting.
Distance, height, and angle: reducing harsh shadows and glare
Distance affects both softness and intensity. If the light is very close, it may brighten the face quickly but also exaggerate highlights on skin and glasses. If it is farther away, the light can feel more even, though you may need more brightness to maintain exposure.
A slight downward angle is often enough to shape the face without creating deep shadow under the eyes. The key is moderation: ring lights are usually most flattering when they are not forced into extreme angles.
- Keep the light close enough for even exposure but far enough to avoid hotspot glare
- Adjust the angle in small increments while checking reflections in glasses and eyes
- Placing the light so close that it flattens facial features
- Aiming it sharply downward or upward without checking the portrait in camera
Background separation and working in small rooms or home studios
Ring lights illuminate the subject well, but they do not automatically create separation from the background. If the wall behind the subject is too close, the portrait may look flat because the face and background receive similar attention from the viewer.
In small rooms, the easiest fix is often distance: move the subject a little forward from the wall if space allows. If that is not possible, use a darker backdrop, a textured wall, or a carefully styled corner so the frame still has depth.
For readers who also want lighting ideas beyond portrait use, it may help to compare with a dimmable picture-light approach like what is a dimmable picture wall light, especially when you are thinking about controlled light in tighter spaces.
Styling Ring Light Portraits for Different Looks and Rooms
The same ring light can produce very different results depending on the room and the styling around it. Background choice, wardrobe, and the amount of visible clutter all shape whether the portrait feels polished, casual, or creator-led.
Clean headshots, beauty portraits, and social-first content styles
For clean headshots, keep the frame simple and the lighting even. Neutral clothing, a tidy background, and moderate brightness usually create the most versatile result for professional profiles or personal branding.
Beauty portraits often benefit from slightly closer placement and careful attention to skin reflections. Social-first content can be a little more stylized, with brighter framing, bolder color, or a visible catchlight that reads well on smaller screens.
Think of the ring light as a precision tool for clarity, not as the whole portrait style. The mood still comes from the background, expression, and wardrobe choices.
Matching the setup to room style: bedroom corner, office, studio, or living space
A bedroom corner usually calls for the least visually intrusive setup, so a slim stand and a tidy cable path matter. In an office, the portrait can feel more polished if the background includes shelves, art, or a neutral wall that does not distract from the face.
In a studio, you have more room to separate the subject from the background and experiment with layering. In a living space, the challenge is to keep the setup from looking temporary or cluttered when it is not in use.
If you are building a more room-conscious setup, related lighting articles such as best gallery picture light for bedroom can be useful for thinking about how lighting interacts with furniture, walls, and visual calm.
Using reflectors, backdrops, and props without overcomplicating the frame
Reflectors can help fill in shadow if the ring light alone feels too direct, but they should support the setup rather than compete with it. A simple white reflector or nearby light surface can subtly improve balance without adding complexity.
Backdrops work best when they are intentional and restrained. Solid colors, soft textures, or a single art object usually read better than a crowded wall filled with unrelated items. Props should add context, not distraction.
- Use one focal point: the face should remain the clearest visual anchor
- Choose a background that is quieter than the wardrobe, or vice versa
- Keep props sparse so the portrait still feels timeless
Benefits and Limitations of Ring Light Portrait Photography
Ring lights are popular because they solve a very specific problem well: they make it easier to light a face evenly in a compact space. But that strength comes with tradeoffs, and it helps to understand both sides before committing to one.
Why creators and casual users choose ring lights: even light and catchlights
The biggest benefit is evenness. A ring light reduces the need for multiple light sources, making it easier to get a clean portrait without much setup time. That simplicity is valuable for beginners and for anyone shooting frequently at home.
The circular catchlight is another reason people like them. It can make eyes appear brighter and more defined, which is especially useful in close portraits and creator content where the face is the main subject.
- Simple setup for face-forward portraits
- Even illumination in small spaces
- Recognizable catchlight and polished look
- Can look flat if used without variation
- May create reflections in glasses or shiny skin
- Not ideal for dramatic or highly dimensional portraits
Common limitations: flatness, eye reflections, limited depth, and color shifts
Flatness is the most common complaint. Because the light comes from near the camera axis, it does not sculpt the face the way a side light or larger diffused source can.
Eye reflections can also be noticeable, especially in close-up portraits. Skin tone may shift if the light’s color temperature is inconsistent or if the room has mixed lighting from lamps and daylight. That is why model-specific color control matters more than many first-time buyers expect.
Care Note
Do not assume a ring light will automatically flatter every face, lens, or room. Reflective glasses, glossy makeup, and mixed color temperatures can change the result dramatically.
When to use alternatives such as softboxes, LED panels, or natural light
Choose a softbox when you want a broader, more cinematic portrait with softer shadow transitions. LED panels can be better when you need directional control or a more flexible shape of light. Natural light is still excellent when the room has a large window and the subject can be placed where the light is indirect and even.
If you are deciding between portrait and art-focused lighting, it may also help to review how to choose a picture light for artwork to better understand how controlled light sources behave in a room. The principles are different, but the attention to placement and visual balance is similar.
Common Mistakes to Avoid in Ring Light Portrait Photography
Most ring light problems come from setup mistakes rather than the light itself. A few small corrections can often make the difference between a harsh portrait and a clean, flattering one.
Overexposure, incorrect color temperature, and poor subject distance
Overexposure happens when the light is too close or too bright for the camera settings. If the face loses detail, reduce brightness first, then adjust camera exposure if needed.
Color temperature problems usually appear when the ring light clashes with overhead room lights or daylight from a window. Try to keep the room lighting consistent, or let the ring light be the dominant source so the portrait does not look patchy or uneven.
Subject distance matters too. Sitting too close can exaggerate shine and reduce facial depth, while sitting too far away may make the setup less effective unless the light is powerful enough to compensate.
Unflattering reflections in glasses and shiny skin
Glasses can reflect the ring shape clearly, which is not always a problem but can become distracting if the reflection covers the eyes. Small changes in height, angle, or camera position often help more than changing the brightness alone.
For shiny skin, the goal is not to remove all shine but to avoid hot spots. A slightly softer light, a bit more distance, or basic skin prep before the shoot can improve the result without overediting later.
Ignoring background clutter, framing, and posture
Even a well-lit face can look awkward if the background is messy or the frame cuts off the subject uncomfortably. Check the edges of the shot as carefully as the light itself, especially in home setups where furniture and cables can creep into view.
Posture also affects the portrait more than many people expect. A slightly lifted chest, relaxed shoulders, and a forward-but-natural chin position often look better than leaning back or slouching into the frame.
Care, Maintenance, and Value: What to Expect from a Ring Light Setup
A ring light can be a practical long-term tool if it is cared for properly. Maintenance is usually simple, but it should be handled carefully because stands, cables, and diffusion surfaces can wear down with frequent adjustment.
Cleaning lenses, diffusion surfaces, stands, and cables safely
Use a dry or lightly damp microfiber cloth for most surfaces, and follow the manufacturer’s care instructions if the light has a special diffuser or coated ring. Avoid harsh cleaners unless the product documentation explicitly allows them.
Stands and joints should be checked periodically for looseness. Cables should be routed so they do not get bent sharply, stepped on, or pulled when the setup is moved.
Storage, transport, and protecting adjustable parts from wear
If the ring light is used only occasionally, store it in a dry place where the stand will not be knocked over. Folding and unfolding adjustable parts gently can help preserve the joints and locking mechanisms.
When transporting the setup, protect the light surface and mount hardware from abrasion. Even inexpensive models tend to last longer when they are not tossed loosely into a bag with heavier items.
A portrait light does not need to be the brightest light in the room to be effective; it only needs to be the most controlled light on the subject.
Assessing long-term value: budget models versus premium options
Budget ring lights can be perfectly adequate for casual portraits, but they may offer less stable stands, narrower color control, or weaker diffusion. Premium options usually justify themselves through more consistent output, sturdier hardware, and better usability over time.
The right value choice depends on how often you plan to use the light and how important portrait quality is to your work. If the light will be part of a regular content or headshot routine, durability and control often matter more than the lowest upfront cost.
Final Recommendation: Who Should Buy a Ring Light for Portrait Photography?
Ring lights are best for beginners, content creators, remote professionals, and small-space users who want a straightforward way to make portraits look even and polished. They are also a smart choice when the setup needs to be portable, repeatable, and easy to adjust without a studio full of gear.
They are less compelling for photographers who want dramatic depth, highly directional shadow, or a more editorial look. In those cases, a softbox, LED panel, or natural window light may produce a richer result.
Choose a ring light if your priority is clean, face-centered portrait lighting in a compact room. Skip it if you need sculpted, moodier light or if glasses glare and flatness would undermine the style you want.
Best fit for beginners, content creators, and small-space users
For beginners, the main advantage is predictability. A ring light gives a repeatable starting point that is easier to learn than a multi-light setup. For creators, it offers fast setup and a recognizable on-camera look. For small-space users, it can deliver portrait lighting without taking over the room.
Transparent verdict: when a ring light is the right choice and when it is not
The right choice is the one that matches your portrait goals. If you want a clean, flattering, low-fuss light source for headshots or creator portraits, a ring light is often a strong buy. If you want depth, mood, or a more traditional photographic look, it is better to keep shopping.
Frequently Asked Questions