How to Move Framed Pictures Without Breaking Glass Safely

Pack each framed picture in a cardboard sandwich with corner protectors, then place it upright in a padded box. Keep frames upright in the car, avoid temperature extremes, and never stack heavy items on glass.
If you’ve been searching for how to move framed pictures without breaking glass, you already know the stakes: one bad bump can turn a beloved piece into a pile of sharp shards. The good news is that with the right materials and a little patience, you can move almost any framed picture safely. This guide walks through the entire process—from inspecting the frame before you pack it to choosing the right spot on the new wall.
- Inspect first: Check glass type, loose joints, and backing board before packing.
- Protect the face: Use corrugated cardboard or foam board larger than the frame, never tape directly to.
- Transport upright: Keep frames vertical in the car with padding between pieces, never flat under weight.
- Let frames acclimate: Wait a few hours before unpacking to prevent condensation.
- Know when to call a pro: Valuable, oversized, or fragile pieces warrant professional art handling.
The Short Answer: How to Move Framed Pictures Without Breaking Glass
Treat every framed picture as if the glass is already under stress. Use corrugated cardboard or foam board to cover the full face, protect the corners, keep frames upright during transport, and avoid temperature extremes. If you do those four things consistently, you can move framed pictures without breaking glass.
Know Your Frame Before You Move It: Glass Type, Weight, and Condition
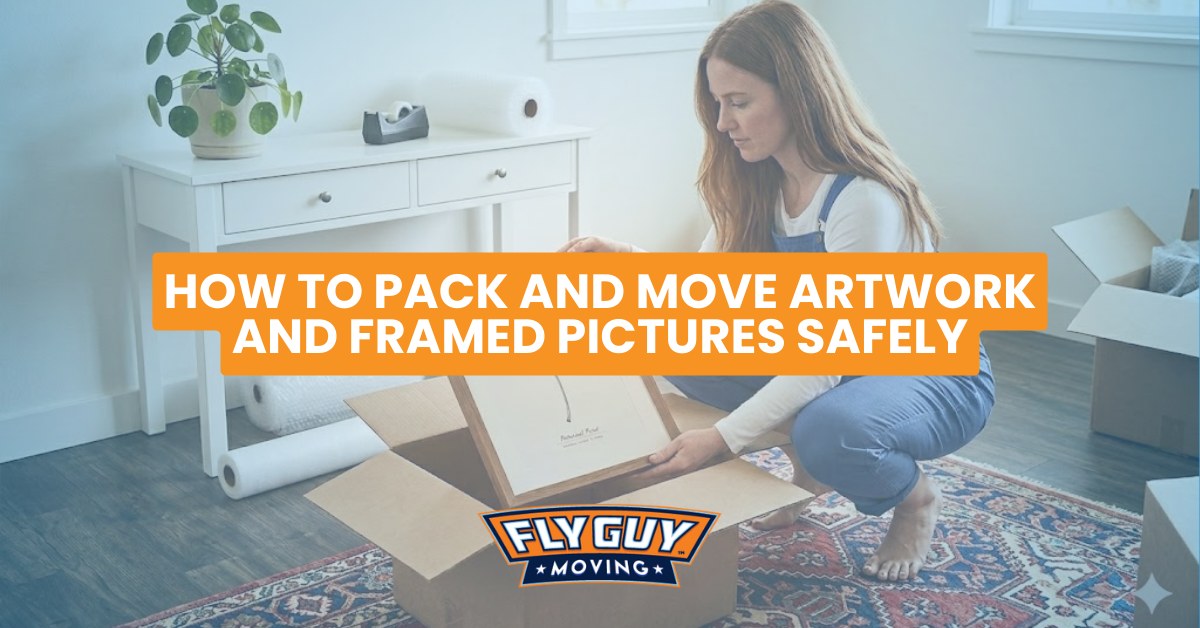
Checking the frame's glass type and weight before lifting.
Not all picture frames are created equal. A lightweight poster frame with acrylic glazing behaves very differently from a heavy antique mirror frame with old float glass. Before you gather packing supplies, take a few minutes to assess what you’re actually moving.
Identifying Tempered vs. Non-Tempered Glass
Standard picture frame glass is usually non-tempered float glass, which breaks into sharp, dangerous shards when struck. Tempered glass, by contrast, is designed to shatter into small, relatively harmless pieces. Some modern frames also use acrylic glazing—a lightweight, shatter-resistant plastic that scratches more easily than glass.
How can you tell which you have? Check the frame’s labeling or any manufacturer documentation you still have. If you can’t verify, treat the glass as non-tempered and handle it with extra caution. Acrylic glazing is often lighter and can feel less cold to the touch than glass, but that’s not a definitive test. When in doubt, assume the worst and pack accordingly.
Acrylic glazing is common in children’s rooms and high-traffic areas because it resists shattering. The trade-off is that acrylic scratches far more easily than glass, so it needs careful handling during cleaning and packing.
Checking Frame Joints, Backing Boards,and Hanging Hardware
Before you pack, inspect the frame’s corners. Look for gaps, loose miters, or joints that wiggle when you gently press them. A frame that is already loose will flex during the move, transferring stress directly to the glass. If you notice loose joints, consider having a framer tighten them before moving day.
Next, check the backing board. It should be flat, snug, and secured with glazing points or clips. If the backing board is warped or pops out easily, the glass can shift inside the frame. Finally, remove any hanging hardware—D-rings, wires, sawtooth hangers, and hooks—that could snag on packing materials. Store small hardware in a labeled bag and tape the bag to the back of the frame, not to the glass.
If you’re not comfortable disassembling or reinforcing a frame yourself, a local framer can secure loose joints and replace a warped backing board quickly. That small investment can save you from a broken pane later.
Packing Materials That Protect Glass —and What to Avoid
You don’t need museum-grade crating for most household frames, but you do need the right combination of stiff boards, corner protection, and cushioning. The goal is to keep the glass from flexing and to absorb any impact before it reaches the frame.
The Best Materials: Cardboard, Foam Board,and Corner Protectors
Corrugated cardboard is the workhorse of frame moving. Cut two pieces slightly larger than the frame on every side—this creates a “sandwich” that keeps the glass flat and shields it from direct bumps. Foam board is stiffer than cardboard and works well for large or heavy frames because it resists bending. Corner protectors, whether purchased foam corners or homemade cardboard triangles, defend the most vulnerable part of any frame.
You’ll also want a soft interlayer such as acid-free tissue paper or glassine to place between the glass and any plastic wrap. This prevents moisture from getting trapped against the glass and keeps abrasive materials from scratching it.
Why Newspaper and Bare Bubble Wrap Are Risky for Glass
Newspaper seems harmless, but it offers almost no impact protection. It also transfers ink onto frames, mats, and even the edges of glass. Bare bubble wrap is trickier: the bubbles can create uneven pressure points against the glass, and if moisture gets trapped between the plastic and the glass, it can leave marks or encourage condensation during temperature changes.
If you want to use bubble wrap, place a layer of glassine or acid-free tissue between the bubbles and the glass first. Better yet, rely primarily on stiff cardboard for face protection and use bubble wrap only around the edges and corners.
Step-by-Step: How to Pack a Framed Picture for a Move<
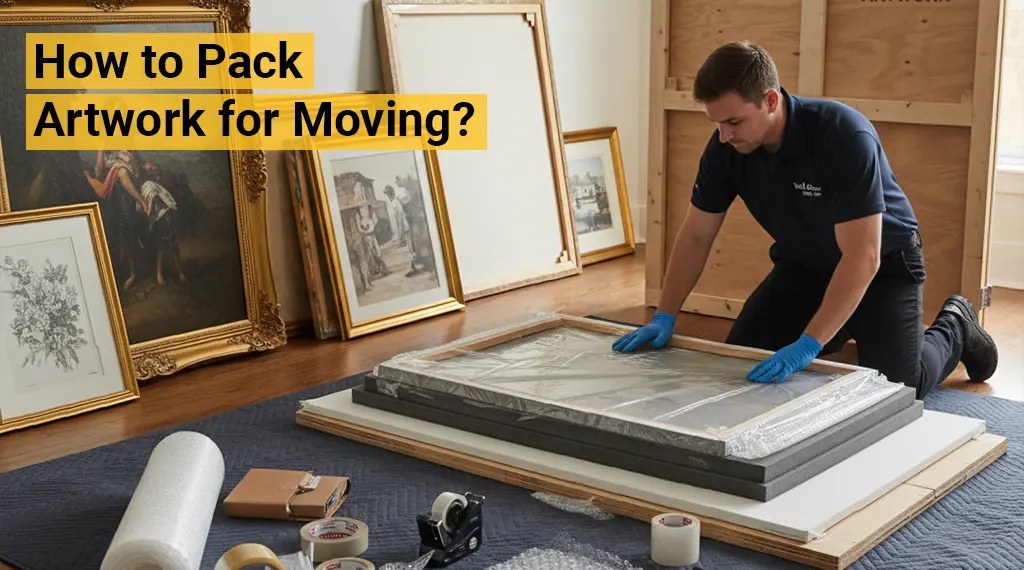
Wrapping a framed picture in bubble wrap before placing it in a moving box.
Wrapping a framed picture in bubble wrap before placing it in a moving box.
/h2>
Once your materials are ready, follow this sequence. Work on a clean, flat surface and give each frame its own packing station.
Step 1: Remove Hardware and Secure the Glass in the Frame
Take off all hanging hardware and set it aside in a labeled bag. Gently press on the glass near the corners to see if it moves. If the glass rattles or shifts freely, don’t try to fix it with tape—take the frame to a framer before moving. A loose pane is almost guaranteed to crack during handling.
Never apply tape directly to the glass surface. Adhesive can bond to the glass, leave residue, and create stress points when the tape is pulled off. Tape only to the frame edges or over the cardboard cover.
Step 2: Build a Cardboard Sandwich for Full-Face Coverage
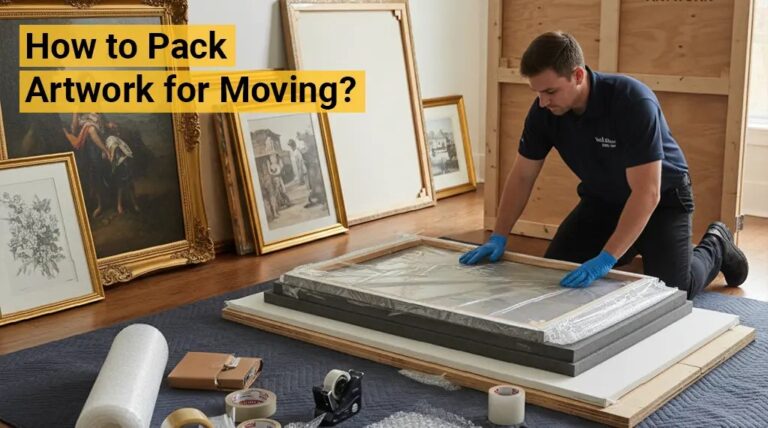
Cut two pieces of corrugated cardboard a few inches larger than the frame on all sides. Place one piece flat on your work surface, lay the frame face-down on top of it, then place the second piece over the back of the frame. The frame is now sandwiched between two stiff panels. Wrap the whole sandwich with stretch wrap, or tape around the edges of the cardboard—never across the glass area.
For large or valuable frames, add a layer of foam board between the front cardboard and the glass for extra rigidity. This sandwich approach keeps the frame from twisting when you lift it, which is the most common cause of glass breakage during a move.
Step 3: Add Corner Protectors and Edge Wrapping
Attach foam or cardboard corner protectors to all four corners of the sandwich. Then wrap the edges with a layer of bubble wrap or foam padding, securing it with tape. The corners are the first thing to hit a doorframe, a box wall, or another piece of furniture, so they need the thickest protection.
Step 4: Box, Seal,and Label Correctly
Choose a sturdy moving box that gives at least two inches of clearance on every side of the wrapped frame. Place the frame upright in the box—not flat. Fill empty space with crumpled paper, foam peanuts, or clean rags so the frame cannot shift. Seal the box with packing tape and write “FRAGILE — GLASS” and “THIS SIDE UP” on multiple sides. If you can’t lift the box easily without straining, it’s too heavy—split the contents into smaller boxes.
Transporting Framed Art: Loading, Positioning,and Climate
How you load the car matters as much as how you pack the box. Even a perfectly wrapped frame can break if it slides, gets crushed, or sits in extreme temperatures.
Positioning Frames in the Vehicle for Maximum Stability
Place framed pictures upright in the vehicle, never flat under other items. Lean them against a padded surface—such as the back seat or a folded blanket—with the glass side facing the padded surface. This way, a sudden stop presses the frame into the soft surface rather than allowing the glass to flex forward. Wedge boxes or rolled blankets around the frames so they cannot slide or tip over.
If you’re moving multiple framed pieces, place a layer of cardboard or foam between each one. Don’t lean two frames directly against each other glass-to-glass; the slight vibration of the drive can cause them to knock together. For unframed prints, the same upright-and-padded principle applies; see our guide on how to pack art prints for moving without bending for a print-specific approach.
Temperature and Humidity Considerations During Transit
Glass expands and contracts with temperature changes. Extreme heat can soften frame adhesives, cause wood to warp, and make glass more vulnerable to stress. Extreme cold can make glass brittle. Avoid leaving framed pictures in a parked car in direct sun, especially in summer. If you’re moving in winter, keep the boxes in the heated cabin if possible, rather than in an unheated moving van for hours.
Let packaged frames sit in the new room for a few hours—ideally overnight—before unwrapping. This lets the glass and wood gradually adjust to the new temperature and humidity, reducing the risk of condensation forming on the glass.
Unpacking, Re-Hanging,and Long-Term Care
Once you arrive, resist the urge to rip open every box immediately. Move the boxes into the room where the frames will hang, then give them time to acclimate. After a few hours, unpack carefully and inspect each frame for damage before hanging.
Choosing the Right Wall Type and Hanging Hardware
Before you hammer a nail, know what’s behind the wall. For drywall, use appropriate wall anchors for anything heavier than a small poster; for plaster, brick, or concrete, use masonry anchors or consult a professional installer. The frame’s hanging hardware has a weight rating too—check it, and don’t assume a single hook will hold a heavy framed mirror.
If a frame has a wire, use two hooks spaced so the wire sits level when hung. Measure from the top of the frame to the lowest point of the wire when pulled taut, then mark that distance on the wall. If frames tend to tilt after hanging, our guide on how to stop picture frames from tilting on the wall explains common causes and fixes.
Spacing and Layout for a Balanced Gallery Wall
If you’re hanging several frames, lay them out on the floor first to experiment with spacing. A common starting point is 2 to 3 inches between frames, but adjust based on wall size and frame proportions. Keep the center of the grouping at eye level—roughly 57 to 60 inches from the floor, though this varies by room and personal preference. Align the outer edges or use a consistent center line to create a cohesive arrangement.
Cleaning and Maintaining Glass After the Move
Once the frames are hung, clean the glass with a microfiber cloth and a glass cleaner. Spray the cleaner onto the cloth, not directly onto the glass, to prevent liquid from seeping into the frame. Avoid ammonia-based cleaners if the frame has special coatings, antique glass, or if you’re unsure of the manufacturer’s recommendations.
Also think about long-term placement. Direct, prolonged sunlight can fade prints and weaken frame materials over time. If your new spot gets strong sun, consider how to protect framed art from sunlight at home before you commit to hanging the piece there.
Five Common Mistakes That Crack Frame Glass
Even with good intentions, small oversights cause most broken glass during moves. Here are the mistakes to avoid.
Mistake 1: Taping Directly to the Glass Surface
Tape applied to glass creates localized stress when the frame flexes, and the adhesive can bond permanently to the surface. Always keep tape on the frame edges, the cardboard cover, or the stretch wrap—never on the glass itself.
Mistake 2: Stacking Frames Flat in the Box
Stacking framed pictures flat puts the full weight of every upper frame onto the glass of the bottom one. Even with cardboard between them, the weight can cause flexing and cracking. Pack frames upright, side by side, with padding between each piece.
Mistake 3: Overloadinga Single Box with Heavy Frames
A box that is too heavy is harder to carry safely and more likely to be dropped. The bottom frame absorbs the most force. Use smaller boxes and distribute weight; if you can’t lift the box comfortably, it’s overloaded.
Mistake 4: Ignoring Loose or Warped Frames
A frame with loose joints or a warped backing board cannot protect the glass. The frame flexes during handling, transferring stress directly to the pane. Fix loose joints or replace the backing board before moving—it’s cheaper than replacing the glass.
Mistake 5: Moving Large or Oversized Art Alone
Large frames are awkward, and one person often ends up grabbing a corner, twisting the frame. Two people should carry large pieces, one at each side, keeping the frame vertical and avoiding any bending. For very large or especially valuable pieces, consider professional art handlers.
When to Call a Professional Art Handler —and the Final Verdict
DIY moving works for most standard framed pictures, but it has limits. Knowing when to step back can save you from a costly, heartbreaking break.
Signs You Should Hire a Specialist
Call a professional art handler if the piece is valuable, irreplaceable, or has sentimental weight beyond what money can replace. Also hire a pro if the frame weighs more than you can comfortably lift, has fragile or antique glass, or requires disassembling a complex frame. For long-distance moves or moves involving a moving company, ask whether they offer art-specific crating services—custom foam-lined crates are far safer than cardboard boxes.
Final Verdict: Is DIY Moving Safe for Framed Pictures?
Yes, for most standard framed pictures, DIY moving is safe if you follow the core principles: full-face cardboard coverage, corner protection, upright transport, and climate control. The risk increases with size, weight, value, and pre-existing frame damage. When in doubt, call a professional—it’s a small price compared to replacing a broken frame or damaged artwork.
- Inspect the frame first: check glass type, loose joints, and backing board.
- Use a cardboard sandwich with corner protectors; never tape directly to glass.
- Transport frames upright with padding, avoiding temperature extremes.
- Let frames acclimate before unpacking, then hang with proper wall anchors.
- Call a professional for valuable, oversized, or fragile pieces.
Frequently Asked Questions