How to Rotate Children’s Art Without Damaging It
To rotate children’s art without damaging it, handle each piece by the edges, avoid tape on the artwork, use acid-free storage materials, choose gentle display methods, and keep sunlight, moisture, and pressure under control. The safest setup is a simple rotation system: display a few pieces, store the rest flat, and swap them on a regular schedule.
The easiest way to rotate children’s art without damage is to use removable display tools, keep the paper flat, and store older pieces in acid-free sleeves or folders. Avoid strong tape, pins through the artwork, damp areas, and direct sunlight.
I love children’s art because it feels honest. A crayon house, a painted rainbow, or a wobbly family portrait can bring more warmth to a room than a perfect print.
But there is one problem. Kids create a lot of art. If you display everything, the wall gets crowded. If you pile it in a drawer, the corners bend and the colors fade.
In this guide, I will show you how I rotate children’s art in a way that keeps it neat, safe, and easy to enjoy. This is a practical system for parents, grandparents, teachers, and anyone building a creative home.
What Does It Mean to Rotate Children’s Art?
Rotating children’s art means changing which pieces are on display while keeping the older pieces protected. Instead of trying to show every drawing at once, you create a small display zone and refresh it often.
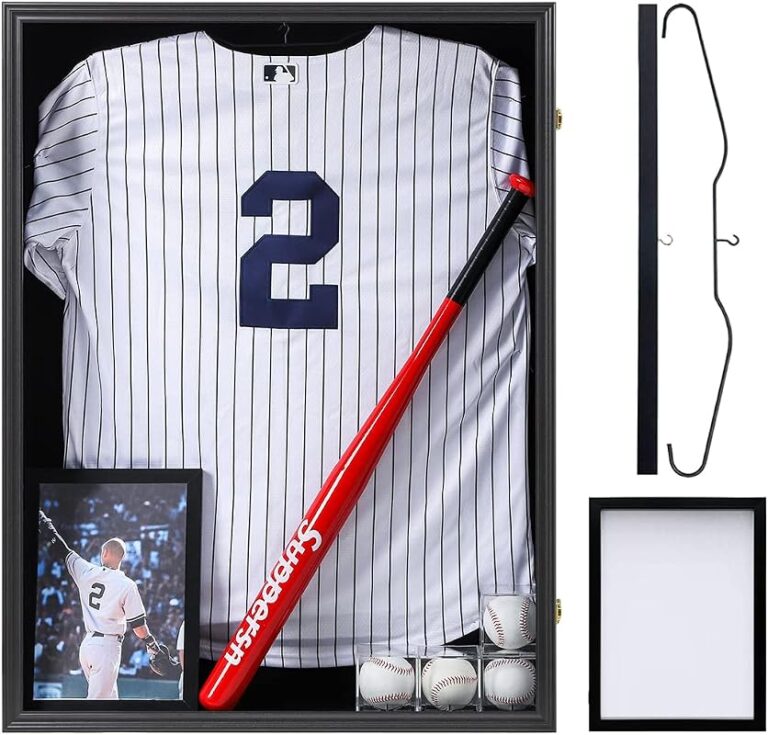
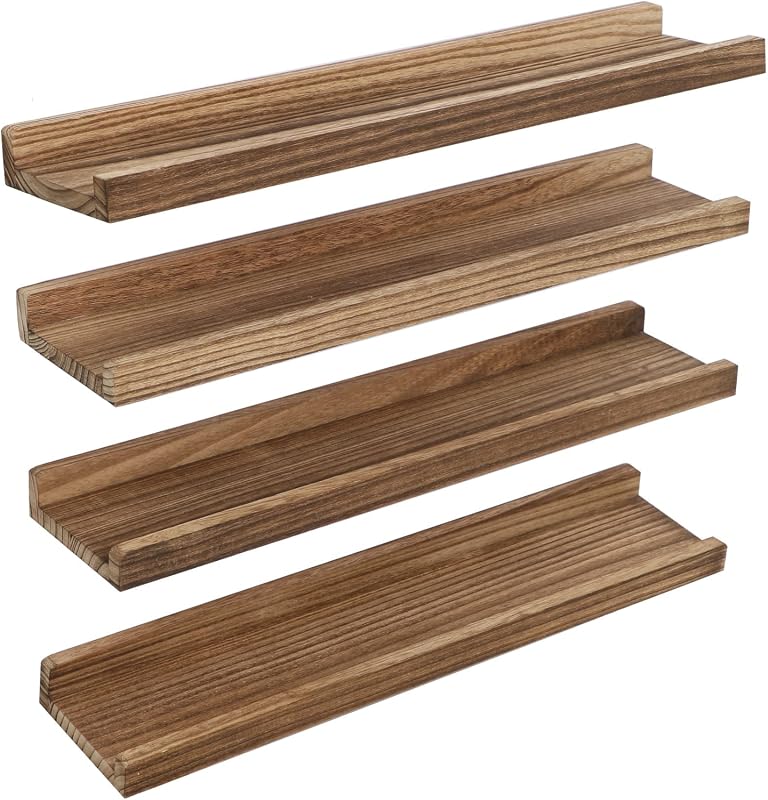
This can be a wall, a shelf, a front-opening kids art frame, a magnetic poster hanger, or a simple art rail. The goal is not to make the display perfect. The goal is to make the art feel seen without ruining it.
For more display ideas, I often connect this kind of project with our framing and display collection. It helps to think of children’s art as real artwork, not just paper clutter.
Many museums and archives store paper works flat, away from strong light, and in stable indoor conditions. The same basic care idea works at home, even if you use simple folders instead of museum storage boxes.
Why Children’s Art Gets Damaged So Easily
Children’s art is often made on thin school paper. It may include crayon, marker, watercolor, glue, glitter, stickers, or thick paint. Each material reacts differently to light, pressure, and moisture.
Most damage happens during normal handling. Corners fold. Tape tears paper. Pins make holes. Sunlight fades marker. A damp wall can make paper curl.
The Met Museum’s conservation work shows why careful handling and storage matter for works on paper. At home, we do not need museum-level care, but the same common-sense habits help.
How to Rotate Children’s Art Without Damaging It: My Simple Method
I like a three-part system: display, rest, and archive. This keeps the wall fresh and protects the art that matters most.
Pick one wall, shelf, or frame area. A small zone looks more intentional and is easier to update.
Choose three to six artworks. Mix color, size, and subject so the display feels lively but not crowded.
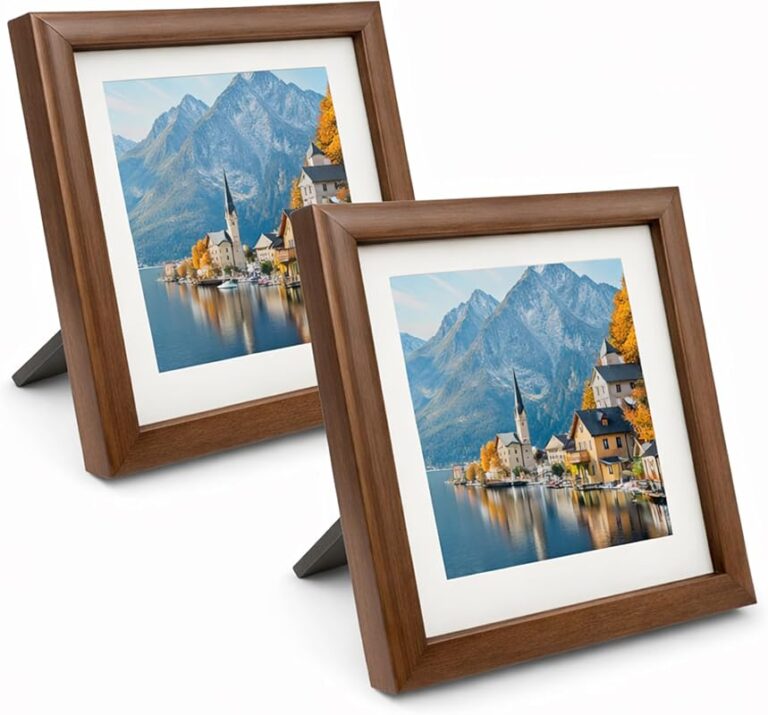
Use front-opening frames, art clips, magnetic hangers, or photo ledges. Avoid tape directly on the paper.
Use a soft pencil on the back corner. Add the child’s name, age, and date if you want a keepsake record.
Place older pieces in an acid-free folder, portfolio, or storage box. Keep them away from damp rooms and strong sunlight.
Pick one simple day each month. Remove the old display, check for damage, and add new pieces.
Take a quick phone photo of each artwork before storing it. This gives you a digital backup and makes it easier to create photo books later.
Best Display Methods for Children’s Art
The right display method depends on the art. A flat marker drawing needs different care from a thick collage or painted craft sheet.
| Artwork Type | Best Display Method | Why It Works |
|---|---|---|
| Crayon drawing | Front-opening frame or clip rail | Easy to swap and keeps the paper flat |
| Marker art | Frame with acrylic front | Protects from smudges and handling |
| Watercolor painting | Mat board and frame | Helps reduce curling and keeps edges clean |
| Collage with glue | Shadow box or shelf display | Gives raised pieces more space |
| Large poster art | Magnetic poster hanger | Holds the top and bottom without piercing the paper |
| School certificate or award | Simple document frame | Keeps it clean and formal |
If you enjoy flexible wall styling, a magnetic hanger can look soft and modern. It also pairs well with natural wood, warm white walls, and simple creative spaces. You can find more room ideas in the Creative Living section.
Why Rotating Children’s Art Matters
Rotating art is not just about neat walls. It tells a child, “Your work matters.” That small message can build pride and confidence.
It also helps the home feel calmer. Instead of a messy fridge full of curling paper, you get a small gallery that changes with the child’s growth.
For art-loving homes, this is a lovely habit. It turns daily family life into a living collection. The MoMA Magazine often reminds readers that art can live inside everyday spaces, not only formal galleries.
Try naming the display “This Month’s Little Gallery.” Let your child choose one favorite piece for the center. It makes the rotation feel like a celebration, not a cleanup task.
Do’s and Don’ts for Safe Art Rotation
- Handle art by the edges.
- Use removable display tools.
- Store older pieces flat.
- Keep art away from direct sun.
- Use acid-free folders for favorites.
- Label the back with pencil.
- Do not tape the front of the artwork.
- Do not push pins through keepsake pieces.
- Do not store art in damp basements.
- Do not stack wet paint or glue pieces.
- Do not overfill frames or folders.
- Do not leave marker art in strong sunlight.
Style Guide for a Children’s Art Display That Still Looks Beautiful
Children’s art is colorful by nature. To make it look more artful at home, keep the background calm and repeat one or two materials.
For a more finished look, pair the art wall with a small lamp, a book stack, or a simple plant. I often use ideas from our lighting section when I want a softer evening mood around a display.
Budget Estimate for a Safe Rotation Setup
You do not need an expensive setup. Start with a few protective basics, then improve the system over time.
For most families, I would start with one front-opening frame and one acid-free storage folder. That gives you both display and protection without making the system complicated.
Common Problems and Simple Fixes
Most art damage comes from a few common mistakes. The good news is that the fixes are simple.
| Problem | Likely Cause | Simple Fix |
|---|---|---|
| Corners bend | Loose drawer storage | Store flat in a folder or portfolio |
| Paper tears when removed | Strong tape on the back | Use clips, frames, or removable strips instead |
| Colors fade | Direct sunlight | Move display to indirect light |
| Paint sticks to other paper | Art was stored before fully dry | Let paint dry fully before stacking |
| Paper curls | Humidity or uneven pressure | Store flat with light support board |
| Glitter falls off | Loose craft materials | Display in a shadow box or store separately |
My Favorite Rotation Schedule
A good schedule keeps the system from becoming another chore. I like monthly rotation because it is easy to remember.
At the start of each month, choose new pieces. Put the previous display into a folder. Keep the best pieces in a special “favorites” section.
At the end of the school year, review the folder. Keep the most meaningful pieces, photograph the rest, and let go of duplicates. This keeps the collection special instead of overwhelming.
- Create one display zone, not five. It keeps the home calmer.
- Use the same frame color for a cleaner look.
- Let your child choose one featured piece each month.
- Store by year, not by subject, so pieces are easier to find later.
- Photograph bulky crafts before storing or recycling them.
- Use a flat portfolio for special paper art.
- Keep food, drinks, and candles away from the display area.
Common Mistakes to Avoid
The biggest mistake is using everyday tape on artwork you want to keep. Tape can stain, tear, and leave marks. Even if it looks fine today, it may damage the paper later.
Another mistake is hanging art in full sun. Bright light can fade marker, crayon, and watercolor. A hallway, shaded wall, or softly lit nook is usually safer.
Over-saving is also a problem. If every piece becomes precious, nothing feels special. Keep the ones that tell a story. Photograph the rest.
Do not frame damp paintings or fresh glue projects. Let them dry fully first. Trapped moisture can cause curling, sticking, staining, and mildew.
Best Products for Rotating Children’s Art
You do not need many products. I would choose tools that make swapping easy and protect the paper.
How to Store the Art You Are Not Displaying
Storage is just as important as display. A beautiful rotation system fails if the older art gets crushed in a drawer.
Use a flat folder, art portfolio, or shallow storage box. Place the newest pieces at the front and the oldest at the back. For favorite works, add acid-free tissue between sheets.
The Smithsonian has helpful preservation guidance for family papers and objects through its museum conservation resources, and the same calm storage habits work well for children’s artwork at home. You can explore Smithsonian care guidance for broader preservation ideas.
- Is the artwork fully dry?
- Did you remove tape, staples, or loose clips?
- Did you write the date on the back?
- Is the paper lying flat?
- Is the folder stored away from sunlight and moisture?
- Did you photograph bulky or fragile pieces?
Where to Display Children’s Art at Home
The best place is easy to see but safe from spills, heat, and strong sunlight. I like hallways, breakfast nooks, playroom walls, and home office corners.
Avoid bathrooms, laundry rooms, and windowsills. These spots often have moisture or heat changes. Paper does not like either one.
| Room | Best Display Idea | Care Note |
|---|---|---|
| Hallway | Small rotating gallery wall | Use frames or clip rails to avoid corner damage |
| Kitchen nook | One framed feature piece | Keep away from steam and food splashes |
| Playroom | Low art rail or front-opening frames | Use acrylic instead of glass where possible |
| Bedroom | Soft color display above a desk | Avoid direct sun near windows |
| Home office | One favorite piece in a clean frame | Rotate when the room starts to feel cluttered |
If the artwork is very special, frame a color copy and store the original. This is a smart option for fragile paper, old pieces, or art with fading marker.
How Many Pieces Should You Keep?
There is no perfect number. I like to keep the pieces that show growth, personality, or a clear memory.
For example, keep the first family drawing, a self-portrait, a funny spelling mistake, or a painting linked to a special day. You do not need to keep every worksheet or quick scribble.
A simple rule works well: display the current favorites, store the best of each month, and photograph the rest.
- Use a small display zone so the art feels special.
- Avoid tape, pins, damp rooms, and direct sunlight.
- Rotate monthly to keep the display fresh.
- Store older pieces flat in acid-free folders or portfolios.
- Photograph bulky crafts and fragile pieces before storing them.
To rotate children’s art without damaging it, choose gentle display tools, handle each piece by the edges, avoid adhesive on the artwork, and store older pieces flat in a dry, shaded place. A simple monthly rotation keeps the home beautiful and helps children feel proud of their creativity.
Frequently Asked Questions
Use gentle display tools like front-opening frames, clips, magnetic hangers, or art rails. Handle the paper by the edges and store older pieces flat in acid-free folders.
Yes, tape can tear paper, leave marks, and stain artwork over time. Use clips, frames, removable wall strips, or photo corners instead.
The best way is to use a small rotating gallery area with frames, clips, or magnetic hangers. Keep it away from direct sunlight, steam, and heavy handling.
Once a month works well for most homes. It keeps the display fresh without making the process feel like a chore.
Store it flat in an acid-free folder, portfolio, or shallow storage box. Keep it in a dry room away from sunlight and heat.
Yes, you can frame favorite pieces permanently. Use acid-free backing and avoid placing original artwork in direct sunlight.
Photograph bulky crafts first. Display special pieces on a shelf or in a shadow box, then store only the items that are strong enough to keep.
Final Thoughts
Rotating children’s art is one of the simplest ways to make a home feel warm, personal, and creative. It gives children a place of honor without letting paper piles take over.
My practical recommendation is simple: choose one display zone, use safe display tools, rotate once a month, and store the best pieces flat. Avoid tape on the artwork, strong sunlight, damp rooms, and overfilled folders.
When you treat children’s art with care, you protect more than paper. You protect memories, confidence, and the small creative moments that make a home feel alive.