how to store old family photos without damage the smart way

Store old photos flat, in the dark, in a cool dry room, inside acid-free and lignin-free enclosures. Digitize everything as a backup, and display only a small rotating selection under UV-protective glazing.
If you have been wondering how to store old family photos without damage, the short answer is reassuring: you do not need a museum budget or specialist training — just the right materials, a stable room, and a simple system. Most photo damage happens slowly, over years, which is exactly why the choices you make now matter more than any single accident.
This guide covers the five main causes of deterioration, what to look for in archival supplies, and which storage methods protect different types of prints. By the end, you will have a clear preservation plan that fits an ordinary home.
- The five enemies: Light, humidity, heat, acid, and pests cause almost all photo damage.
- Archival materials: Use acid-free, lignin-free, PAT-tested boxes and sleeves; avoid PVC and sticky-page albums.
- Safe handling: Hold prints by the edges, label enclosures not photos, and never force old mounts.
- Digitize as backup: Scan at 300–600 DPI and store files in two places; digital copies are not.
- Smart display: Frame with UV-protective glazing and archival matting, and rotate displayed photos regularly.
The Short Answer: How to Store Old Family Photos Without Damage
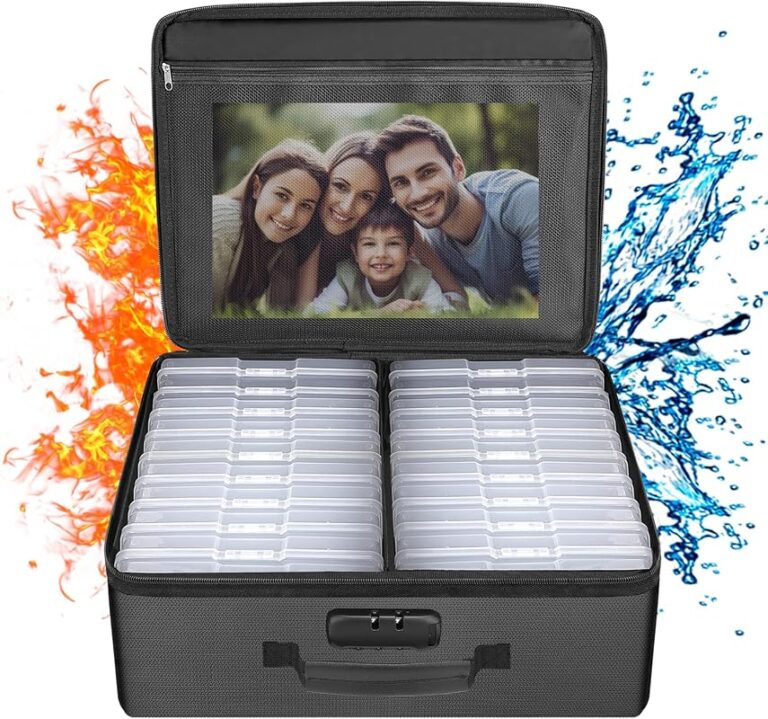
Store photos flat, in the dark, in a cool and dry room, inside acid-free and lignin-free enclosures. Keep them away from attics, basements, garages, direct sunlight, and any material that is not clearly labeled archival. Add a digitized backup so the images survive even if the paper does not.
Five Rules That Prevent Most Photo Damage
- Keep the room cool and stable — aim for consistent temperature and humidity rather than a specific number.
- Keep light away — store boxes in a dark closet or cabinet, never on a sunny shelf.
- Use only archival materials — acid-free, lignin-free boxes, sleeves, and tissue.
- Handle prints by the edges with clean, dry hands or cotton gloves.
- Store flat, not rolled, and separate photos so they do not rub against each other.
What “The Smart Way” Really Means for Your Collection
The smart way is not a single purchase — it is a system. You combine stable storage, careful handling, sensible display, and digital backup. A collection that is properly boxed but never digitized is still one flood or fire away from being lost. A collection that is only scanned still leaves the originals at risk in a damp drawer. The smart way protects both the physical print and the memory it carries.
Why Old Family Photos Deteriorate in the First Place
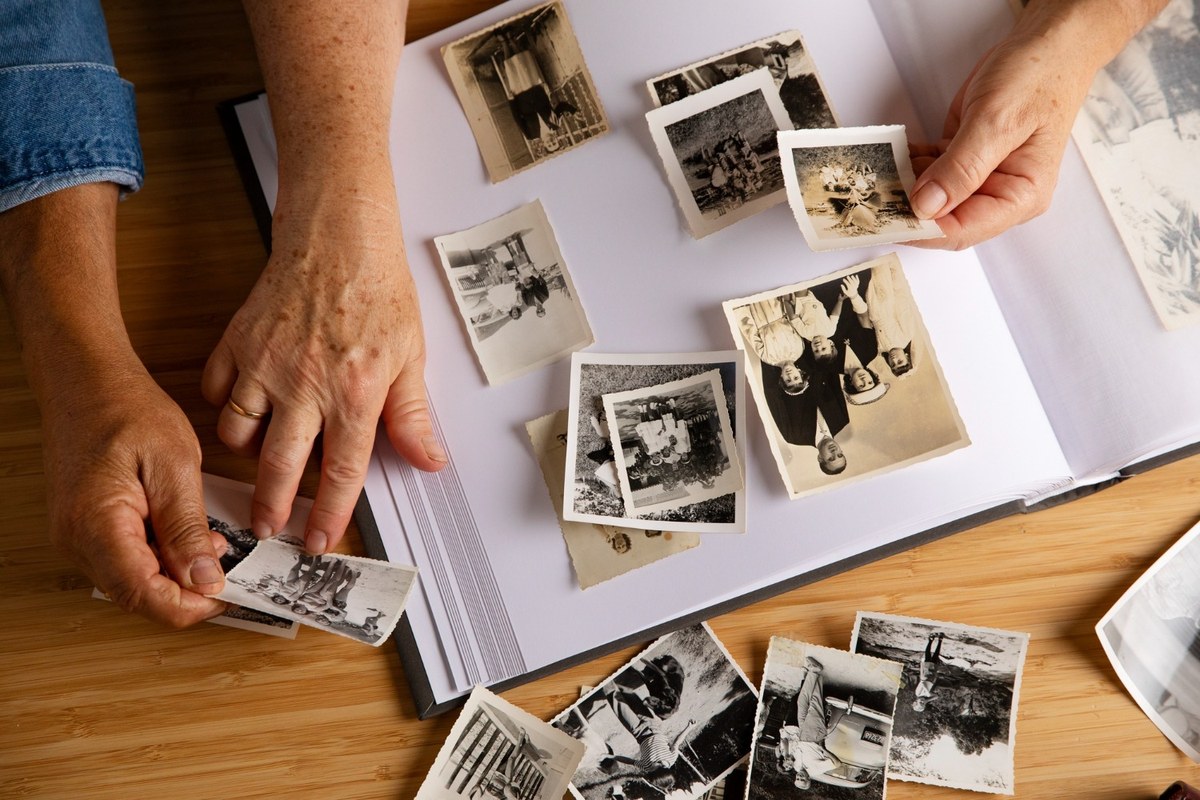
Old photos show fading and mold damage caused by heat, light, and humidity.
Photographic prints are layered objects. A typical print has a paper base, a gelatin or emulsion layer that holds the image, and sometimes a protective coating. Each layer reacts differently to its environment, which is why damage rarely has a single cause.
The gelatin emulsion on most traditional prints is protein-based, which means it can swell, stick, and even feed mold when humidity rises. This is why damp storage is so destructive — and why fingerprints, which contain oils and salts, can permanently etch into the surface over time.
Light, Humidity, Heat, Acid, and Pests: The Five Enemies
- Light — fades dyes and darkens paper.
- Humidity — causes mold, sticking, and chemical breakdown.
- Heat — accelerates fading, yellowing, and embrittlement.
- Acid — migrates from poor-quality paper, cardboard, tape, and wood pulp into photos.
- Pests — silverfish, booklice, and other insects eat paper and emulsion.
How Each Type of Damage Manifests on Prints
Light damage appears as faded colors and yellowed paper. Humidity damage shows up as mold spots, curled prints, and photos that stick together. Heat damage makes paper brittle and accelerates color shifts. Acid damage appears as brown spots (foxing), yellow edges, and dark stains where a photo touched a poor-quality mount. Pest damage is the most obvious: chewed edges and fine powdery debris.
The damage pattern tells you what went wrong: foxed photos point to acidic enclosures, curled prints point to humidity. Fixing the cause matters more than treating the symptom.
What to Look for in Archival Storage Materials
Acid-Free, Lignin-Free, and Buffered: Decoding the Labels
These three terms appear on almost every archival product, but they are not interchangeable.
- Acid-free means the material has a neutral or slightly alkaline pH, so it will not release acid onto your photos.
- Lignin-free means the material was made without lignin, a natural wood component that produces acid as it breaks down. A product can be acid-free when new but still turn acidic later.
- Buffered means an alkaline reserve was added to neutralize acids that might migrate from elsewhere. Buffered materials suit most photographs, though some conservators prefer unbuffered materials for certain early processes.
The most reliable sign of a photo-safe product is that it has passed the Photographic Activity Test (PAT), an industry standard that checks whether a material causes fading or staining on prints.
Archival Boxes, Sleeves, and Albums: Choosing the Right Format
Think of the format as a hierarchy. A sturdy archival box protects the whole collection from light, dust, and pressure. Individual sleeves protect single prints from handling and rubbing. Albums organize photos for viewing but expose them to more handling and light. Most collections benefit from all three: boxes for long-term storage, sleeves for individual protection, and an album for the photos you actually look at.
For sleeves, look for clear polyester, polypropylene, or polyethylene — never PVC, which gives off plasticizers that damage prints. For albums, choose archival pages and avoid the old “magnetic” albums with sticky pages, which are a major cause of damaged family collections.
How to Prepare Photos for Storage<
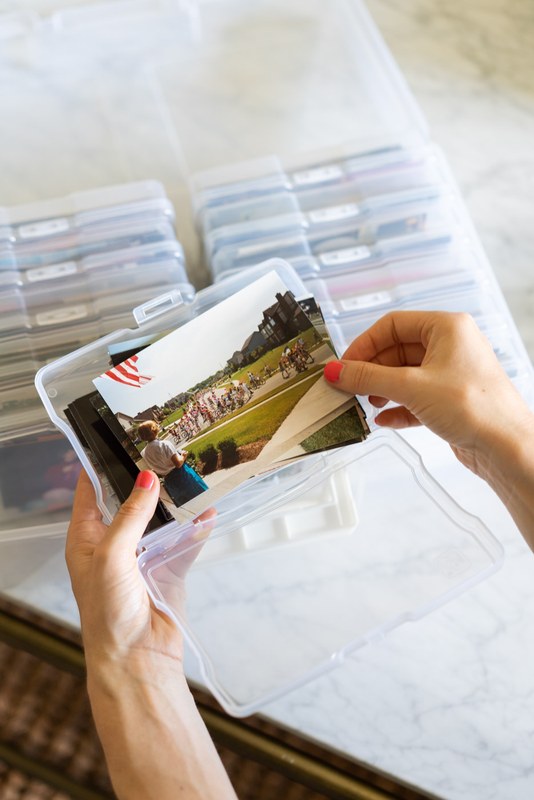
Sorting and placing old family photos into an archival storage box.
Sorting and placing old family photos into an archival storage box.
/h2>
Handling and Cleaning Basics Before You Store Anything
Start with clean hands. Wash and dry them thoroughly, or wear cotton or nitrile gloves. Hold photos by the edges with both hands, and never bend or flex them. If a photo is creased, do not try to flatten it by force — that causes new damage. Moving a collection? Our guide on how to pack art prints for moving without bending covers keeping prints flat in transit.
To remove surface dust, use a soft brush designed for photography or art, working gently from the center outward. Do not use cloths, paper towels, water, or cleaning sprays — the emulsion is fragile, and anything wet can permanently damage the image.
Sorting, Labeling, and Removing Old Mounts Safely
Group photos by date, person, or event so you handle each print only once. Decide what stays in the main collection and what gets digitized and stored separately.
Write on the box or sleeve with a soft pencil or an archival pen. If you must write on the photo itself, use a soft pencil on the back, near the edge — never a ballpoint pen or marker.
If a photo is glued to a mount, do not peel it off — forcing it can tear the emulsion. If the mount is staining the photo, consult a conservator first.
When you sort a large collection, work in batches and keep a notepad nearby. Note names, dates, and places as you go — the memory of who is in the photo is often more fragile than the photo itself.
The Best Storage Methods Compared
Archival Boxes for Long-Term Preservation
For the bulk of your collection, flat archival boxes are the safest option. Place photos in individual sleeves, lay them flat in the box, and interleave with acid-free tissue if you want extra separation. Do not overfill — pressure can crease prints. The same principle of stable, dark, flat storage applies to other fragile artworks; our guide on how to store canvas paintings at home without damage covers the differences for canvas.
Sleeves and Albums for Everyday Access
Sleeves are ideal for individual photos you handle often. Albums are the middle ground: they keep photos organized and viewable, but every flip exposes prints to light and handling. Use them for a small, rotating selection rather than the whole collection.
Digitizing as a Backup, Not a Replacement
Scanning protects the memory even if the paper is lost. Scan prints at 300 to 600 DPI and store files in at least two places — an external drive and a cloud service. A digital photo frame is a nice way to enjoy the scans, but the originals still need proper physical storage. Digitizing is a backup, not a substitute.
| Method | Best For | Key Consideration |
|---|---|---|
| Archival boxes | Long-term storage of the full collection | Store flat, in the dark, in a cool dry room |
| Sleeves and albums | Frequent viewing and organization | Use archival pages only; avoid sticky-page albums |
| Digitization | Backup and everyday sharing | Scan at 300–600 DPI; keep files in two places |
Common Storage Mistakes to Avoid
The Wrong Rooms: Attics, Basements, and Garages
Attics get hot in summer and cold in winter. Basements are damp. Garages combine temperature swings, humidity, and pests. Even a “dry” basement can hold enough moisture to damage prints over years. The right room is an interior closet in a living area, where temperature and humidity stay close to what feels comfortable to you.
Never store photos directly against exterior walls, under pipes, or on concrete floors. If your only option is a basement or attic, place the archival boxes on a raised shelf, off the floor, and check them seasonally for damp or mold.
The Wrong Materials: PVC, Rubber Bands, and Paperclips
PVC sleeves look like clear plastic but release chemicals that damage prints. Rubber bands degrade, stick to paper, and leave stains. Paperclips and staples rust and leave marks. Old sticky albums — often sold as “magnetic” albums — trap photos against adhesive pages that turn brown and brittle. If your collection is stored in any of these, replace the enclosures with archival materials as soon as you can.
Displaying Old Photos Without Risking Damage
UV-Protective Glazing and Archival Matting
Display is a form of storage, and the riskiest one, because it adds light and air exposure. When you frame an old photo, use UV-protective glass or acrylic and an archival mat so the print never touches the glazing — moisture can make it stick permanently. For more on keeping framed pieces safe, see our guide on how to protect framed art from sunlight at home.
Where to Hang and How to Rotate Your Display
Hang framed photos away from direct sun and avoid exterior walls, where temperature changes can cause condensation. Kitchens and bathrooms are poor choices because of cooking grease and steam. If you display several photos, rotate them every few months so no single print absorbs too much light. The rest of the collection stays safe in its boxes.
Final Recommendation: Build a Preservation System That Lasts
The Smart Approach in Summary
The smart way to store old family photos is to combine a stable, cool, dry location; archival enclosures; careful handling; and a digitized backup. Start with the most vulnerable items, replace any PVC or sticky-page enclosures first, and work through the collection in batches so the task stays manageable.
- Keep photos flat, dark, cool, and dry — not in attics, basements, or garages.
- Use acid-free, lignin-free, PAT-tested boxes and sleeves; avoid PVC, rubber bands, and paperclips.
- Handle prints by the edges, label enclosures rather than photos, and do not force old mounts apart.
- Digitize everything as a backup, and display only a small rotating selection under UV-protective glazing.
When to Consult a Professional Conservator
If a photo is severely moldy, stuck to another print, torn, or glued to a mount that is actively staining it, do not attempt a DIY rescue. A professional conservator has the training to stabilize and repair originals without causing further damage. Costs vary by condition, so ask for an assessment first. For the rest of your collection, this system will keep your family history safe for the next generation.
Frequently Asked Questions