DIY Desktop Standing Desk Ideas for Better Workspaces

The best DIY desktop standing desk is usually a simple, stable riser with correct monitor height and enough depth for a keyboard and mouse. It is worth building when your current desk is sturdy and your setup is light, but heavy or highly adjustable needs are better served by a purpose-built option.
A diy desktop standing desk can be a smart way to add sit-stand flexibility without replacing your entire desk. For many home offices, the best approach is a simple, stable topper that raises the monitor and keyboard to more ergonomic heights, fits the desk you already own, and can be removed or adjusted when your needs change.
- Best setup: A stable two-level layout usually works better than one tall platform.
- Main checks: Measure desk depth, standing height, and weight load before building.
- Smart materials: Plywood is often a practical balance of strength, cost, and stability.
- Best rooms: Desktop toppers suit small home offices, bedrooms, and shared spaces.
- Know the limit: Heavy dual monitors and shaky desks often need a full standing desk instead.
What Is the Best DIY Desktop Standing Desk Setup for Most Home Offices?
Quick answer: stable risers, correct monitor height, and enough surface depth matter most
The most reliable setup is usually not the tallest or most elaborate one. It is the one that stays steady under normal typing pressure, places the top of your screen near eye level, and leaves enough depth for your keyboard and mouse so your wrists are not forced into a cramped angle.
In practice, that often means building a two-level arrangement: an upper platform for a monitor or laptop stand and a lower work surface for the keyboard and mouse. If you use only a laptop, you still need external input devices once the screen is raised high enough for standing posture.
When a desktop standing desk makes more sense than a full standing desk frame
A desktop converter-style build makes the most sense when your current desk is in good condition, your budget is limited, or you are working in a rental where a larger furniture swap is inconvenient. It is also useful if you want to experiment with standing work before committing to a full sit-stand base.
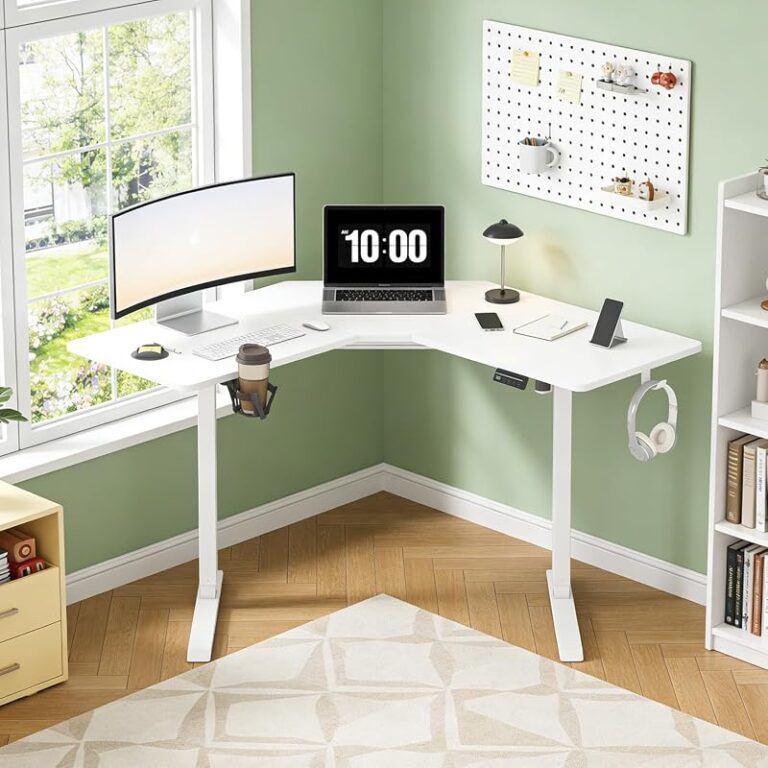
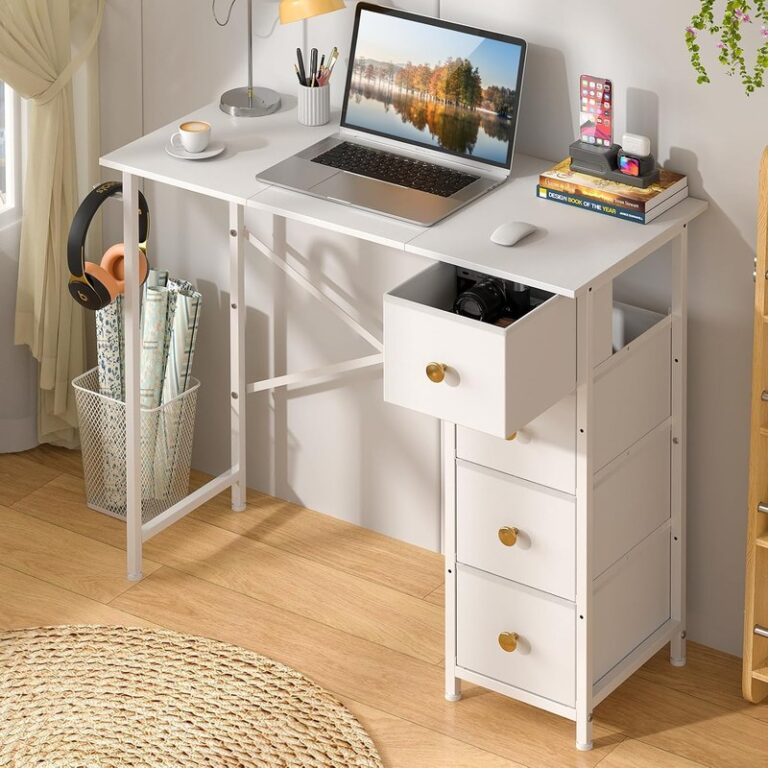
For small rooms, this route can be more realistic than replacing the whole workstation. If your existing desk already fits your layout, storage, and decor, a topper lets you change function without changing the room. Readers comparing compact desk footprints may also find it helpful to look at small desk options with storage if the current base desk feels too shallow or cluttered for a riser.
A full standing desk frame is usually the better choice when you need broad height adjustment, support for heavy equipment, or a cleaner long-term solution. Desktop builds are best treated as light- to medium-duty upgrades, not universal replacements.
What to Look for Before You Build a DIY Desktop Standing Desk
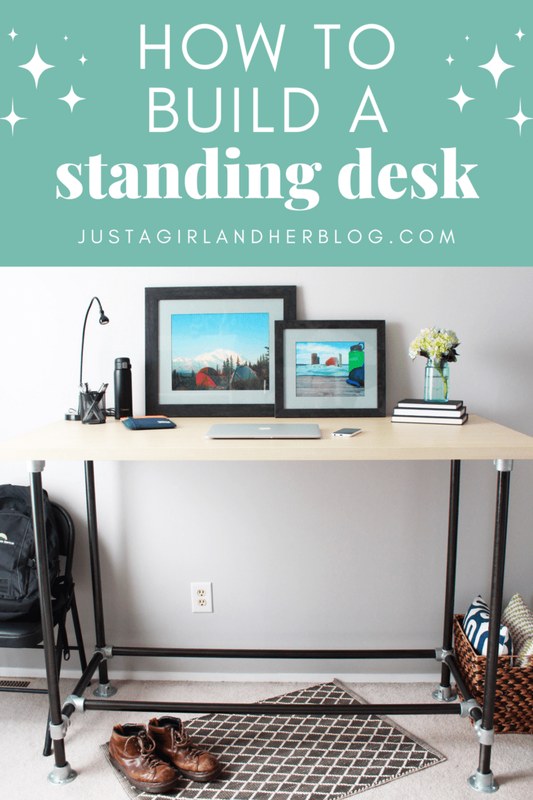
A person checks desk measurements and screen height for a standing desk setup.
Desk size, weight capacity, and available standing height range
Start with the desk underneath. A standing topper is only as stable as the surface supporting it. Measure the width and depth of your desk, then check how much room a raised platform will leave for writing, accessories, and cable routing.
You also need to think about total load. That includes the weight of the platform itself, the monitor, laptop, speakers, and any pressure from leaning while typing. If your desk already flexes, adding a riser can make the problem more noticeable.
Height range matters too. The final working height should let your elbows rest close to a 90-degree angle while standing naturally. Because body proportions vary, there is no single perfect number for every person, which is why adjustable supports or modular risers are often easier to live with than a fixed-height build.
Surface grip, wobble control, and keyboard positioning
Wobble is one of the biggest reasons DIY standing platforms disappoint. A smooth board on a slick desktop can shift more than expected, especially if the feet are narrow or the riser is top-heavy. Wider contact points, anti-slip pads, and a lower center of gravity usually help more than simply using thicker wood.
Keyboard placement deserves equal attention. If the keyboard sits too high, your shoulders rise and your wrists bend upward. If it sits too close to the monitor support, the mouse hand may end up cramped. A good layout leaves enough width for the keyboard and enough side space for mousing without twisting your torso.
- Measure your elbow height while standing before choosing platform height.
- Use non-slip feet or pads between the riser and the desk.
- Leave enough depth for the keyboard and mouse to sit fully supported.
- Building the monitor shelf first and hoping the keyboard height works out later.
- Using narrow legs that concentrate weight on a weak tabletop.
- Placing a laptop at eye level without adding an external keyboard and mouse.
Cable management, portability, and ease of setup
The best DIY option is often the one you will actually use every day. That means checking whether cables can move cleanly when the monitor or laptop is raised, whether the platform can be lifted off the desk if needed, and whether setup takes seconds instead of becoming a daily chore.
Portable builds suit shared desks, kitchen tables, and multi-use rooms. A bulky topper may work technically but still feel impractical if it dominates the desk after work hours. If you want a project with integrated organization, Hurrell Editions also has a guide on how to make a standing desk with storage for readers who need more than a simple riser.
DIY Desktop Standing Desk Ideas That Actually Work in 2026
Minimal riser using wood boards and furniture legs
This is the cleanest idea for most people. A flat board paired with short furniture legs, blocks, or a simple support frame creates an upper shelf for a monitor or laptop stand. Underneath, the original desk surface can remain the keyboard area if the height relationship works.
The appeal is simplicity: fewer moving parts, easier finishing, and a look that can blend with existing furniture. The limitation is adjustability. If the height is off by even a little, comfort can suffer, so careful measuring matters before cutting or assembling anything.
Stacked shelf or monitor stand conversion for renters
For renters or temporary setups, a no-drill conversion can be the easiest route. A sturdy monitor stand, shelf unit, or stackable desktop organizer can act as the upper tier, especially for a lightweight laptop-based setup. This option is less custom, but it is fast, reversible, and often easier to store.
Look for broad bases and flat contact points rather than decorative pieces with tiny feet. The goal is to distribute weight evenly and avoid wobble on the desk below.
Adjustable desktop converter hack with brackets or modular supports
If you need flexibility, modular supports can make a DIY build more practical. Shelf brackets, slot-based side supports, or interchangeable riser blocks let you change height without starting over. This can be especially helpful if more than one person uses the same desk.
Adjustability does add complexity. The more parts you introduce, the more you need to check for side-to-side movement, uneven loading, and pinch points around cables or accessories. Keep the design straightforward rather than trying to mimic a commercial spring-assisted converter.
Commercial standing desk converters often use engineered lift mechanisms and tested weight limits. A DIY version may look similar but should not be assumed to match the same stability or capacity.
Foldaway standing desk topper for small apartments
In very tight spaces, a foldaway topper can be surprisingly effective. A hinged or collapsible design lets the platform tuck away when the desk needs to return to writing, crafting, or dining use. This is especially useful in studio apartments or bedrooms where every surface has multiple jobs.
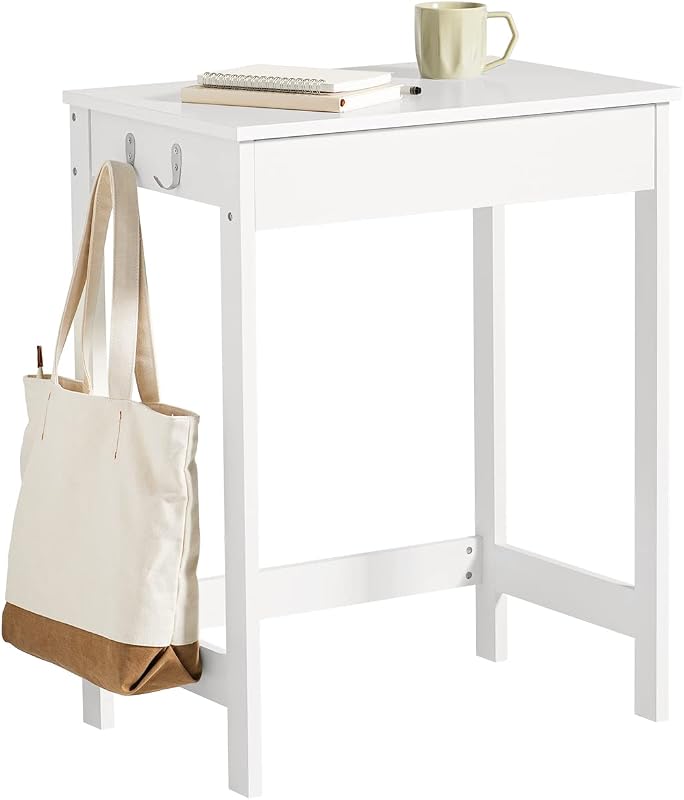
The tradeoff is rigidity. Folding parts are convenient, but each joint can introduce movement. Keep the load light and the mechanism simple. If your room is especially compact, you may also want to compare your base furniture against small writing desks for bedrooms to see whether the underlying desk itself is the real bottleneck.
Best Materials, Tools, and Specifications for a Safer Build
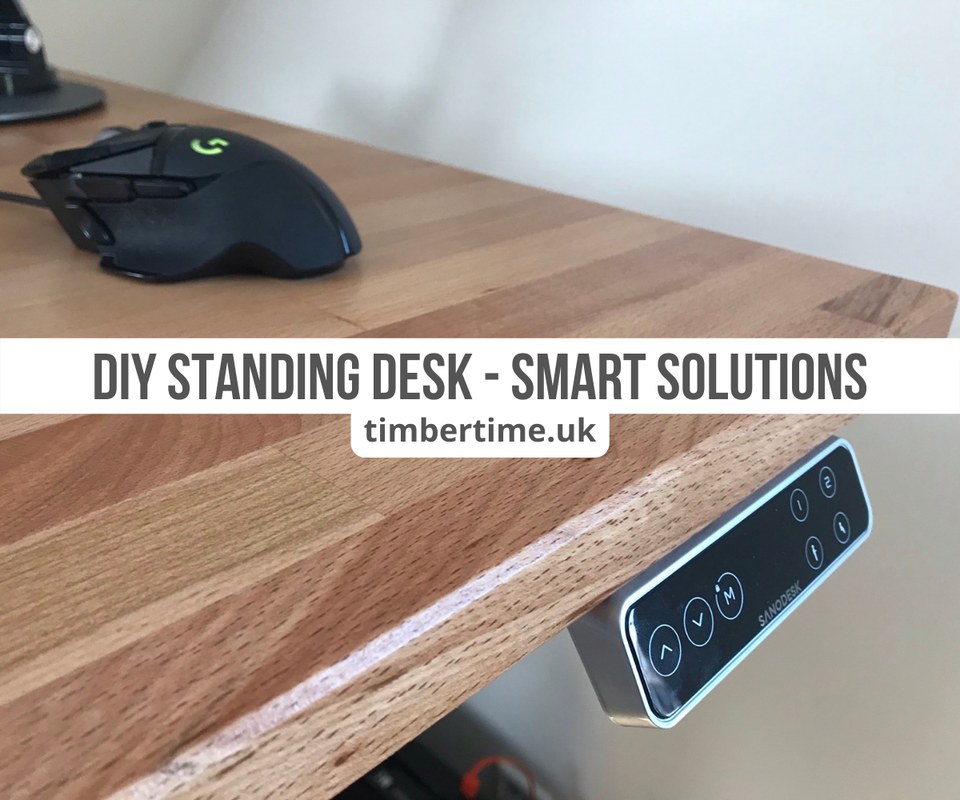
Common materials and tools for building a stable DIY standing desk.
Plywood, solid wood, bamboo, and laminated boards compared
Plywood is often the most practical material for a DIY standing desk topper because it balances strength, cost, and dimensional stability. A quality plywood panel can resist sagging better than some low-cost particleboard options, especially over wider spans.
Solid wood looks warmer and can feel more furniture-like, but it may cost more and can move with humidity. Bamboo can be attractive and relatively stable, though quality varies by manufacturer and construction. Laminated boards are easy to wipe clean and often budget-friendly, but their core material and edge durability vary widely.
If you are matching an existing desk, appearance matters almost as much as structure. A mismatched top can make the whole setup look improvised even if it functions well.
Ideal dimensions for monitor height, keyboard tray height, and standing posture
The exact dimensions depend on your height, footwear, and whether you use a monitor arm, laptop stand, or separate shelf. As a general rule, the screen should meet your natural gaze without forcing your chin upward or downward, and the keyboard surface should allow relaxed shoulders with elbows close to your sides.
Depth is frequently overlooked. A platform that is deep enough for a screen but too shallow for stable keyboard use can turn into an ergonomic compromise. If you use a mouse all day, make sure there is enough lateral space so your forearm stays supported rather than hovering off the edge.
Mock up the height with books or boxes before building. A 15-minute trial can reveal whether the keyboard height, screen position, and mouse space feel natural.
Non-slip pads, edge finishing, and load distribution basics
Small finishing details make a big difference in daily use. Non-slip pads reduce shifting and protect the desk below. Rounded or sanded edges are more comfortable for wrists and forearms. Even load distribution helps prevent pressure points on thinner desktops.
Try to keep heavier items centered or directly above the strongest support points. If you are using a monitor plus laptop dock, avoid pushing all the weight to one rear corner. And if the desk underneath is glass, delicate, or visibly unstable, a desktop standing solution may not be the right choice.
Which Rooms and Work Styles Suit a DIY Desktop Standing Desk Best?
Compact home offices, bedroom workstations, and shared living spaces
Desktop standing setups are especially useful in rooms where a full standing desk would feel oversized. In a compact home office, they let you keep existing drawers, shelving, or decorative pieces while adding some movement to the day. In bedroom workstations, they can be easier to blend into lighter, less corporate furniture.
Shared living spaces benefit too. If the desk doubles as a console, vanity, or family workstation, a removable topper can be less visually dominant than a full mechanical desk base.
Who benefits most: remote workers, students, makers, and occasional laptop users
Remote workers who spend part of the day on email, calls, and light computer tasks often do well with a desktop riser. Students can benefit when dorm or apartment rules make larger furniture changes unrealistic. Makers and creatives may like the flexibility for sketching, reference viewing, or short standing sessions between seated work blocks.
That said, task type matters. Long spreadsheet sessions, heavy typing, and detailed design work usually demand better ergonomics than a casual laptop check-in. Creative professionals comparing more robust options may want to review Hurrell Editions’ guide to the best standing desks for artists if their workflow includes larger tools or extended standing hours.
When not to use one: heavy dual-monitor setups or unstable tables
A DIY topper is usually a poor match for very heavy dual-monitor arrangements, large speakers, desktop towers, or desks that already shake. It can also be frustrating if your chair, foot support, and seated posture are already compromised, because standing part-time will not automatically fix an uncomfortable workstation.
If your current desk is undersized, overloaded, or structurally weak, replacing the base desk may create a better result than adding another layer on top.
Styling a DIY Desktop Standing Desk So It Looks Intentional
Matching wood tone, finish, and hardware to existing decor
The easiest way to make a DIY build look finished is to repeat materials already in the room. If your desk has warm oak tones, a cool gray laminated topper may feel disconnected. If the room uses black hardware, black brackets or legs can help the riser look integrated rather than temporary.
Finish also changes the mood. Matte surfaces tend to feel calmer and more architectural, while glossy laminates can look more utilitarian. Edge treatment matters visually too; clean banding or softened corners can make a simple board look far more intentional.
Layering task lighting, desk accessories, and storage without visual clutter
Once you add height to the desk, visual clutter becomes more noticeable. Keep accessories grouped and leave some negative space around the keyboard zone. A small tray, pen cup, or cable sleeve can look neater than several loose objects spread across two levels.
Lighting should support the new layout. If the monitor shelf blocks light from an existing lamp, reposition the lamp or use a slimmer design. The goal is to keep the standing area functional without turning it into a stack of platforms and gadgets.
- Match the topper finish to either the desk surface or nearby shelving for a cohesive look.
- Use one cable route behind the riser instead of letting cords drape from both sides.
- Keep the standing zone visually light with low-profile accessories and one defined storage catchall.
Placement tips for windows, wall shelves, and background styling in video-call spaces
If the desk faces a window, check screen glare at standing height, not just seated height. A monitor that looks fine while sitting can catch more reflection once elevated. If wall shelves hang above the desk, make sure the raised screen will not crowd them visually or physically.
For video calls, a standing setup can improve camera angle, but only if the background still looks balanced. A simple lamp, framed art, or shelf vignette can help the space feel polished without distracting from the work area.
Common Mistakes, Limitations, and Maintenance to Know Before You Commit
Overbuilding the top platform without checking ergonomics
One common mistake is focusing on strength and appearance while ignoring body position. Thick materials, oversized shelves, and decorative side panels can make the build heavier and deeper without improving comfort. In some cases, they actually reduce usable keyboard space.
A lighter, simpler platform is often the better answer if it keeps the screen and input devices in the right relationship.
Poor monitor elevation, wrist strain, and awkward keyboard angles
Another frequent problem is getting only one part of the setup right. A monitor may reach a comfortable viewing height while the keyboard ends up too high. Or the keyboard may feel fine while the screen stays too low, encouraging a forward head posture.
Watch for signs that the design is off: raised shoulders, bent wrists, leaning into the desk, or needing to spread your feet awkwardly to get close enough to type. These are cues to adjust the structure rather than simply trying to adapt your posture to it.
Cleaning finishes, tightening hardware, and checking stability over time
DIY desk toppers need occasional maintenance, especially if they are moved often. Wipe finishes according to the material, avoid excessive moisture on wood-based boards, and recheck screws, brackets, and feet from time to time. Small shifts can become noticeable after weeks of typing pressure.
If the platform starts rocking, sliding, or bowing, stop using it until the cause is fixed. Stability problems tend to worsen with daily use, especially under monitor weight.
Is a DIY Desktop Standing Desk Worth It? Cost, Value, Alternatives, and Final Recommendation
Budget breakdown versus ready-made standing desk converters
A DIY build can offer strong value when you already own a suitable desk and only need a straightforward standing option for light or moderate use. Material costs vary widely by board type, hardware, finish, and whether you already have tools, so it is important to price your exact plan before starting. Ready-made converters may cost more upfront, but they can save time and often provide easier adjustment.
The value question is less about the cheapest route and more about whether the final setup will actually fit your work habits. If a fixed riser leaves you avoiding standing because it feels awkward, the lower cost does not help much.
Best alternatives for different needs, from laptop stands to full sit-stand desks
If you mainly use a laptop for short sessions, a separate laptop stand with an external keyboard and mouse may be enough. If you want integrated storage or a more furniture-like build, a redesigned desk base may make more sense than a topper. And if you need frequent height changes, heavy equipment support, or a cleaner long-term setup, a full sit-stand desk is usually the better investment.
Before buying or building, confirm dimensions, weight guidance, material details, and care instructions on the official product listing or manufacturer page whenever you are mixing store-bought parts with a DIY design.
Transparent verdict: when DIY is the smart choice and when to buy instead
A DIY desktop standing desk is worth it when your existing desk is sturdy, your equipment is relatively light, and you are willing to plan around ergonomics instead of guessing. For most home offices, the smartest version is a simple, stable riser with enough depth for real keyboard use and a finish that suits the room.
If you need broad adjustability, support for heavy monitors, or all-day standing comfort, buying a purpose-built converter or full standing desk is usually the better call. DIY works best as a thoughtful, measured upgrade, not as a shortcut around basic stability and posture requirements.
Frequently Asked Questions