What Is Diy Digital Photo Frame

A wooden digital photo frame displays a family photo collage.
A DIY digital photo frame is a customizable display that shows rotating digital photos in a frame-like presentation. It works best when you plan for screen quality, power access, and styling so it looks like decor instead of a gadget.
A DIY digital photo frame is a custom-built display that lets you show rotating photos on a screen instead of using a printed image behind glass. It can be as simple as a repurposed tablet in a frame or as polished as a purpose-built digital display designed to look like wall art.
- Definition: It is a self-assembled frame-style display for digital photos.
- Best use: It suits homes that want rotating images and personalized decor.
- Key checks: Screen size, brightness, viewing angle, and mounting method matter most.
- Style tip: Treat the frame like wall art and coordinate finish, spacing, and placement.
- Main limitation: Power access, glare, and cable management can affect the final look.
What Is a DIY Digital Photo Frame? A Simple Definition for 2026
At its core, a DIY digital photo frame is any frame-style display you assemble yourself to present digital images in a decorative way. The “DIY” part usually means you choose the screen, frame, power setup, and image source rather than buying a fully finished product off the shelf.
That flexibility is the main appeal. Some people want a low-cost way to rotate family photos, while others want a clean, art-like display that blends into a gallery wall or shelf arrangement.
How a DIY Digital Photo Frame Works: Core Parts, Materials, and Setup
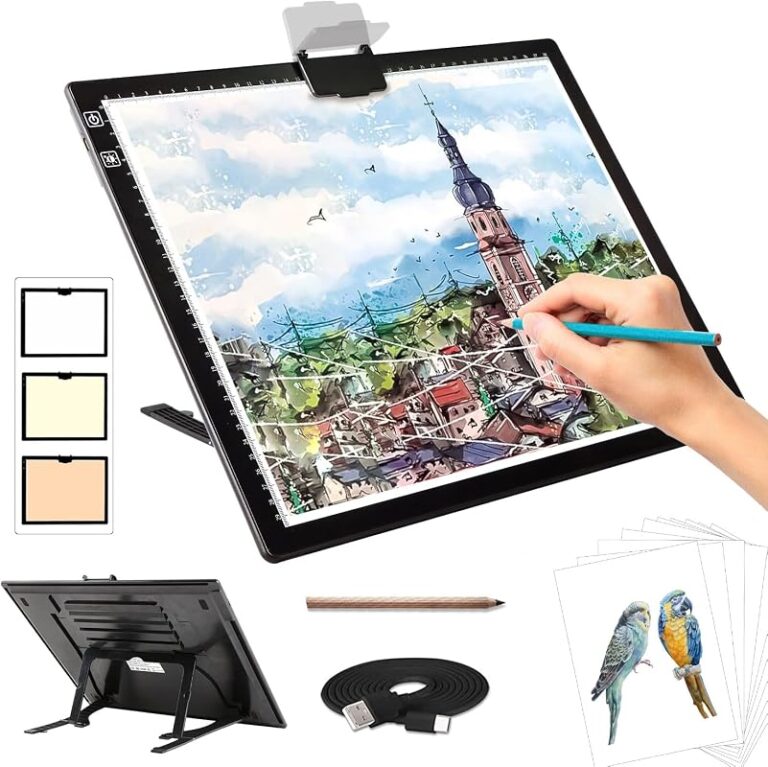
Most DIY digital photo frames combine four basic elements: a display, a frame or enclosure, a power source, and a way to load photos. The exact build varies by model or project, but the goal is the same—make digital content feel intentional and decorative.
Some builds use a tablet, smart display, or monitor inside a shallow frame. Others use a dedicated digital photo frame kit with a more finished look and simpler setup. If you want a deeper look at connected models, see Hurrell Editions’ guide to a Wi-Fi photo frame and how it differs from a more self-contained display.
Display type, power source, and storage options
The display is the most important choice because it determines image quality, size, and how much the frame looks like a screen. A tablet-style build is often easier to update, while a dedicated display may offer a cleaner appearance for wall use.
Power usually comes from a nearby outlet, so cable planning matters as much as the frame itself. Storage can be local—such as internal memory, a memory card, or USB drive—or cloud-based, depending on the device or app ecosystem. If the frame will show a lot of family albums, confirm how photos are transferred before buying.
Optional features to look for in modern DIY kits
Modern kits may include motion sensors, automatic brightness adjustment, slideshow scheduling, or app-based uploads. These features are not required, but they can make the frame easier to live with in a busy home.
If you want the frame to feel more like a decor object than a gadget, look for a slim bezel, simple controls, and a matte or low-glare display surface. A built-in clock or weather display can be useful in some rooms, but it may also make the frame feel more utilitarian than artistic; compare that tradeoff with our guide to a digital photo frame with clock.
Who a DIY Digital Photo Frame Is Best For and Which Rooms It Fits
This type of frame works best for people who want flexible, changing imagery without giving up the look of wall decor. It is especially useful for renters, family households, and anyone who likes to refresh their space without replacing the entire frame.
It also suits gift-givers, because the content can be personalized long after the frame is assembled. The main requirement is a willingness to manage power, placement, and image quality with a little more care than you would with a printed poster.
Ideal room placements: living room, bedroom, office, hallway, and kitchen
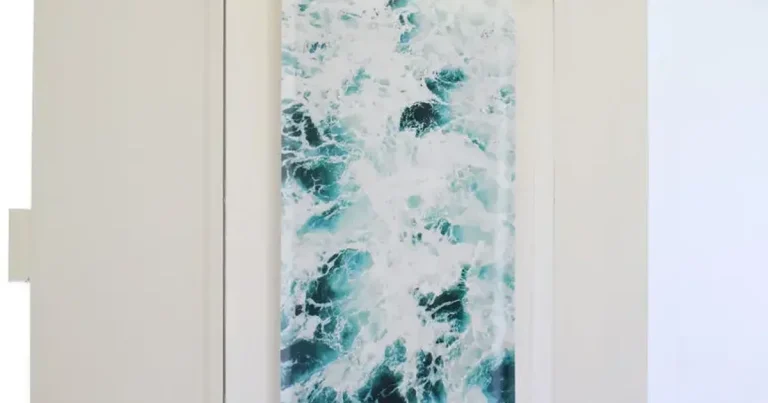
In a living room, a DIY digital photo frame can act as a focal point on a console, shelf, or gallery wall. In a bedroom, it usually works best with softer content and a calmer frame style so the display feels restful rather than bright or busy.
For a home office, the frame can show travel photos, artwork, or rotating inspiration images without adding clutter. Hallways are good if the frame is visible but not too close to direct sunlight, while kitchens benefit from compact placements where the screen won’t interfere with counters or cabinet doors.
Decor styles that pair well with a digital frame display
Minimalist, modern, Scandinavian, and transitional interiors tend to suit digital frames well because they already favor clean lines and visual simplicity. A frame with a thin border or wood-toned finish often blends more naturally than one that looks overly technical.
If your room leans traditional, choose a frame finish that echoes existing wood tones or picture frames so the display feels integrated. For more layered walls, a digital frame can work alongside printed art, but it should not compete with every other object in the room.
What to Look for Before Buying or Building One
Before you commit to a frame, think about how it will look from across the room, how it will be powered, and whether the image quality matches the space. A beautiful frame can still disappoint if the screen is too dim, too reflective, or awkward to mount.
- Match screen size to viewing distance and wall scale
- Confirm the frame finish works with your decor
- Check how photos are loaded and updated
- Verify power access, cable length, and wall compatibility
Screen size, resolution, brightness, and viewing angle
Screen size should feel proportional to the wall or furniture below it. A small screen can disappear in a large room, while an oversized one may overpower a narrow hallway or bedside setup.
Resolution matters because digital photos can look soft or pixelated if the screen is too low-quality for its size. Brightness and viewing angle matter just as much, especially in rooms with daylight or multiple seating areas. If a frame will be seen from the side, make sure the image stays clear without severe color shift.
Frame materials, finish, and build quality
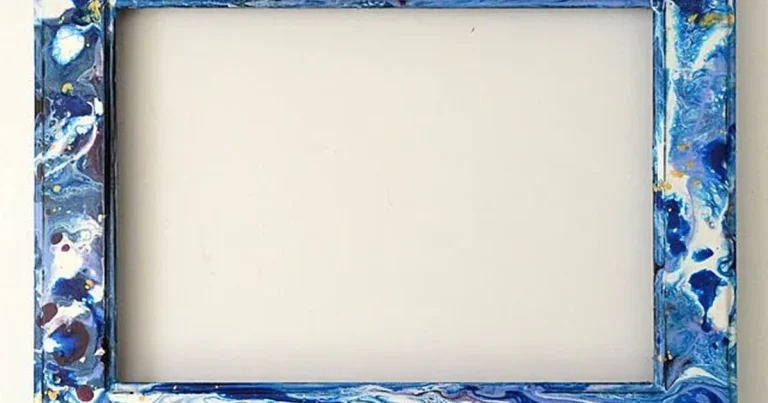
The frame should look like a decor object, not a temporary housing for electronics. Wood, aluminum, and well-finished composite frames can all work, but the right choice depends on the room style and how polished you want the final result to feel.
Check edges, seams, and backing quality if the product listing provides those details. A sturdy build is especially important if the frame will be moved often, placed on a shelf, or mounted in a high-traffic area. If your interest is more in frame construction than the digital component, Hurrell Editions also covers related framing formats such as a floating frame.
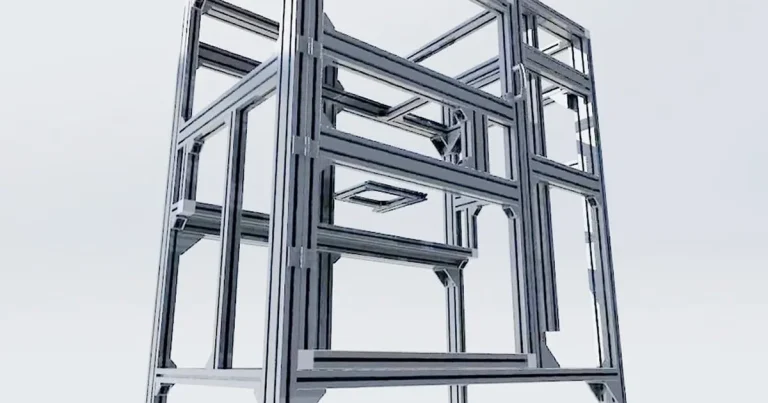
Mounting method, cable management, and wall compatibility
Mounting is one of the biggest practical differences between a DIY digital photo frame and a printed frame. You need to account for weight, outlet access, and whether the frame is meant to hang vertically, sit on a surface, or do both.
Good cable management makes the whole setup feel finished. Hide cords where possible, but do not force a wall installation that exceeds the frame’s weight rating or your wall type’s capacity. If the frame is heavy, unusually large, or requires structural changes, check the manufacturer’s instructions and consider a professional installer.
Do not assume every wall can support every frame. Drywall, plaster, brick, and paneling may each require different hardware, and the right anchor depends on the actual weight and mounting design.
How to Style a DIY Digital Photo Frame Like Wall Art
The best DIY digital photo frames feel placed, not parked. Styling matters because the frame should relate to the room’s scale, nearby art, and furniture instead of floating visually on its own.
Think of the screen content as part of the decor composition. A calm slideshow, a curated set of travel images, or a rotating art-inspired display will usually look more intentional than a random mix of files.
Sizing and placement tips for a balanced display
Center the frame with the furniture or wall section it belongs to, not just the nearest empty spot. Above a console or dresser, leave enough breathing room so the display doesn’t crowd the surface below.
For a shelf or mantel, the frame should feel anchored by nearby objects rather than isolated. If the room is small, a modest frame size often looks more refined than a large screen that dominates the wall.
Use the frame size to support the room’s visual rhythm. If your wall already has strong artwork or shelving, choose a quieter frame and let the photos do the work.
Spacing, alignment, and coordinating with existing decor
Keep spacing consistent if the frame is part of a larger wall arrangement. Uneven gaps can make a digital frame feel accidental, especially when it sits among printed pieces or mirrors.
Coordinate the frame finish with nearby materials such as wood furniture, metal lamps, or black picture frames. A little repetition in tone or material helps the display feel like it belongs in the room.
Using poster hangers, shelves, or gallery wall layouts
In some setups, a digital frame can be paired with a picture ledge or gallery wall rather than mounted alone. That approach works well when you want the frame to share visual attention with printed art and decorative objects. For layout ideas, Hurrell Editions’ guide to gallery wall frame sets can help you think through balance and spacing.
Poster hangers can also be useful when the goal is a lighter, less permanent wall presence, though the frame’s weight and design must still be appropriate for the hanging method. If you want a more minimal wall presentation, compare the look with a simple picture ledge arrangement.
Try treating the digital frame as a “living print” inside a calm gallery wall. The contrast between changing images and fixed surrounding art can feel polished and personal.
Benefits, Limitations, and Common Mistakes to Avoid
A DIY digital photo frame is appealing because it can refresh a room without changing the physical frame. That said, it also introduces technical and styling challenges that printed art does not have.
- Rotating photos keep the display fresh
- Seasonal or event-based content is easy to update
- It can be a meaningful personalized gift
- One frame can replace multiple printed swaps
- Needs power and careful cable planning
- Glare and brightness can affect visibility
- Setup may be more involved than a standard frame
- Poor image sizing can make photos look soft or awkward
Advantages for rotating photos, seasonal decor, and gifting
The biggest advantage is flexibility. You can change the display for holidays, family milestones, travel memories, or a new color palette without replacing the frame itself.
That makes it especially useful for gifting, since the recipient can enjoy a personalized display immediately and continue updating it later. It also works well in homes that like to refresh decor seasonally but prefer not to store multiple physical frames.
Potential drawbacks: glare, clutter, power access, and setup issues
Glare is one of the most common problems, especially near windows or bright lamps. A glossy screen can look sharp in one light condition and distracting in another, so placement matters.
Clutter is another risk if cords, adapters, and controls are visible. A frame that is technically functional but visually messy will usually feel less decorative than a simpler printed alternative.
Frequent mistakes in sizing, image quality, and placement
One common mistake is choosing a screen that is too small for the wall or too large for the room. Another is using low-resolution images that look fine on a phone but soft on a bigger display.
People also sometimes place the frame where it is easy to plug in but awkward to view. The best placement balances access, visibility, and the overall composition of the room.
- Choose images that match the screen’s aspect ratio
- Test the frame from the main seating area
- Plan for outlets and cable concealment early
- Ignoring glare from windows or overhead lighting
- Using mismatched image crops that cut off faces or subjects
- Mounting without checking the wall type and hardware first
Care, Maintenance, and Long-Term Value
Care is simple, but it matters. A digital photo frame will last longer and look better if you keep the screen clean, the files organized, and the setup stable.
Cleaning the screen and frame safely
Use the cleaning instructions provided by the manufacturer whenever possible, since screen coatings and frame finishes vary. In general, a soft, dry microfiber cloth is the safest first step for removing dust.
Avoid harsh cleaners, abrasive cloths, or excess moisture unless the instructions specifically allow them. If the frame has a glossy display, be extra gentle so you do not leave streaks or damage the surface.
Finish-specific care matters. Wood-look frames, matte coatings, and glass or acrylic covers may each need slightly different cleaning methods, so check the product details before using any liquid cleaner.
Updating content, protecting files, and extending lifespan
Long-term value comes from how easy the frame is to update. If the process is simple, you are more likely to keep the display fresh instead of letting it become stale.
Protect your photo files by keeping backups in more than one place, especially if the frame relies on local storage. For the device itself, avoid extreme heat, prolonged direct sun, and areas with high humidity unless the manufacturer says the frame is suitable there.
When a DIY digital photo frame is worth the investment
It is worth the investment when you want a display that changes often, fits your room style, and does not demand constant physical re-framing. It is also a smart choice when the emotional value of the photos matters more than having a traditional printed artwork.
If you mainly want a simple decorative object, a printed frame or wall art may be easier. But if you want a flexible, personalized display that can evolve with your home, a DIY digital photo frame can be a strong fit.
Final Recommendation: Is a DIY Digital Photo Frame Right for Your Space?
A DIY digital photo frame is a good choice if you want the warmth of personal photos with the flexibility of digital updates. It works best in rooms where you can manage light, power, and scale without turning the display into visual clutter.
For most readers, the right decision comes down to three things: how the frame will look on your wall, how easy it will be to update, and whether the screen quality suits the room. If those pieces line up, a DIY digital photo frame can feel like a thoughtful, modern piece of wall decor rather than a tech accessory.
Frequently Asked Questions
A DIY digital photo frame displays rotating digital images instead of one printed photo. It usually includes a screen, a frame or enclosure, and a power source.
Living rooms, home offices, and bedrooms are common choices because they give you enough wall presence and easy viewing. Hallways and kitchens can work too if the frame is placed away from glare and splashes.
Choose a size that matches both the wall and the viewing distance. A small frame can disappear on a large wall, while an oversized screen may overwhelm a narrow space.
Check screen resolution, brightness, viewing angle, mounting method, power access, and how photos are loaded. Also confirm the frame finish and hardware suit your wall type and decor style.
Use consistent spacing, align it with nearby furniture, and coordinate the frame finish with existing decor. Treat the screen content like wall art so the display feels intentional.
The main drawbacks are glare, visible cords, setup complexity, and the need for reliable power. Poor image quality or bad placement can also make the display feel less polished.