How to Take Pictures of Led Lights

Use manual or locked exposure, low ISO, and careful shutter speed so the LED keeps detail instead of blowing out. Then lock white balance and change your angle to reduce glare, reflections, and flicker.
Learning how to take pictures of led lights is mostly about controlling exposure, color, and angle so the light looks intentional instead of blown out. Whether you are shooting a neon sign, shelf lighting, a gaming setup, or a picture light over framed art, the goal is the same: keep the LEDs bright enough to feel vivid while preserving detail in the room around them.
LEDs are efficient and visually striking, but they can be tricky for cameras and phones. Flicker, banding, glare, weird white balance shifts, and clipped highlights are all common. The good news is that a few manual adjustments usually make a bigger difference than buying more gear.
- Expose for the light: Protect the brightest LED area first, then bring back room detail.
- Lock white balance: Prevent warm, cool, or RGB LEDs from shifting unpredictably between shots.
- Test shutter speed: Small changes can reduce flicker and banding from some LED drivers.
- Use angle strategically: Moving off center helps control glare, hotspots, and mirror reflections.
- Keep gear clean: Dusty diffusers and smudged lenses make glowing lights look hazy.
How to Take Pictures of LED Lights Without Glare, Flicker, or Washed-Out Colour
The fastest way to improve LED photos is to stop letting the camera decide everything. Auto mode often brightens the dark parts of a room too aggressively, then clips the LED itself into a white blob. A better approach is to expose for the light first, then bring back room detail with slower shutter speed, steadier support, or small editing adjustments afterward.
Use manual exposure, lower ISO, and adjust shutter speed to control brightness
Start by lowering ISO as much as your device allows without making the room unusably dark. A lower ISO reduces noise and helps preserve cleaner gradients around glowing strips, bulbs, and signs. Then use shutter speed to decide how much of the surrounding room you want visible.
If the LED source looks too harsh, your exposure is probably too bright overall. Shorten the exposure or reduce exposure compensation. If the room looks too dark but the LED itself finally looks good, keep the LED exposure where it is and lengthen shutter speed instead of raising ISO right away.
Expose for the brightest part of the LED, not the darkest corner of the room. It is usually easier to lift shadows slightly later than to recover a blown-out light source.
Match white balance to the LED colour temperature for accurate tones
White balance has a huge impact on whether warm LEDs look cozy or muddy, and whether cool LEDs look crisp or overly blue. If your phone or camera keeps changing the scene between shots, lock white balance manually. That gives you consistency across multiple angles.
Warm LEDs often sit around a soft amber tone, neutral LEDs look cleaner and less yellow, and cool LEDs shift toward blue-white. RGB lights add another layer because the camera may struggle to interpret saturated magenta, cyan, or deep blue accurately. If exact color matters, shoot RAW when possible and fine-tune later.
Change angle and distance to reduce hotspots, reflections, and lens flare
Many bad LED photos are angle problems rather than settings problems. Shooting directly into a bare diode, glossy diffuser, mirror, or glass frame can create flare, giant hotspots, and distracting reflections. Move a few inches left or right, lower the camera slightly, or back up and zoom in a bit to soften the effect.
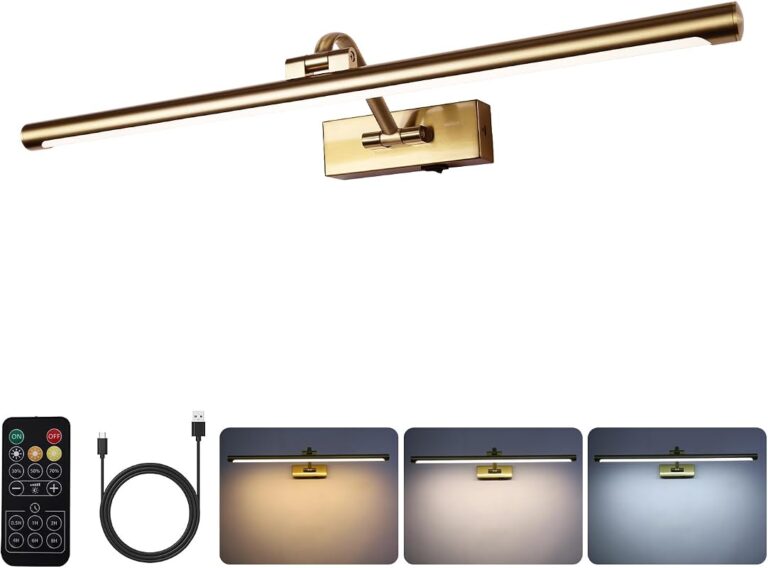
This matters even more around framed art, acrylic glazing, and mirrors. If you are styling gallery walls or picture lights, a slight off-axis viewpoint usually looks more polished than a perfectly head-on shot. For art displays, it also helps to understand whether LED lights fade pictures so the lighting choice supports both the photo and the artwork itself.
What to Look for Before Photographing LED Lights
Not all LEDs behave the same on camera. Two fixtures that look similar to the eye can produce very different photographic results because of brightness control, driver quality, beam pattern, and color rendering.
Brightness, dimmability, and beam spread
Very bright LEDs are harder to capture cleanly, especially in small rooms or dark scenes. If the light is dimmable, lower it until shape and color return to the source. Beam spread also matters: narrow beams create dramatic pools of light, while wide beams fill a room more evenly and are often easier to balance in photos.
Strip lights with exposed points can create dotted highlights on glossy surfaces. Diffused channels, frosted covers, or hidden placement behind furniture often photograph more smoothly.
Colour temperature, RGB settings, and CRI
Color temperature affects mood, while CRI affects how accurately nearby objects appear. A warm strip behind a headboard can make wood, fabric, and skin tones look softer. A neutral or slightly cool light can make a workspace or kitchen feel cleaner. Lower-quality RGB products may look vivid in person but produce uneven or strange color transitions on camera.
If decor color matters, check manufacturer specifications for color temperature range and CRI where available. Those details are more useful than marketing phrases like “daylight” or “ultra bright.”
Power source, driver quality, and flicker risk
Driver quality plays a major role in flicker and banding. Some LEDs use pulse-width modulation dimming or lower-quality drivers that pulse in ways cameras can detect even when your eyes do not. That is why one lamp may photograph smoothly while another shows dark stripes.
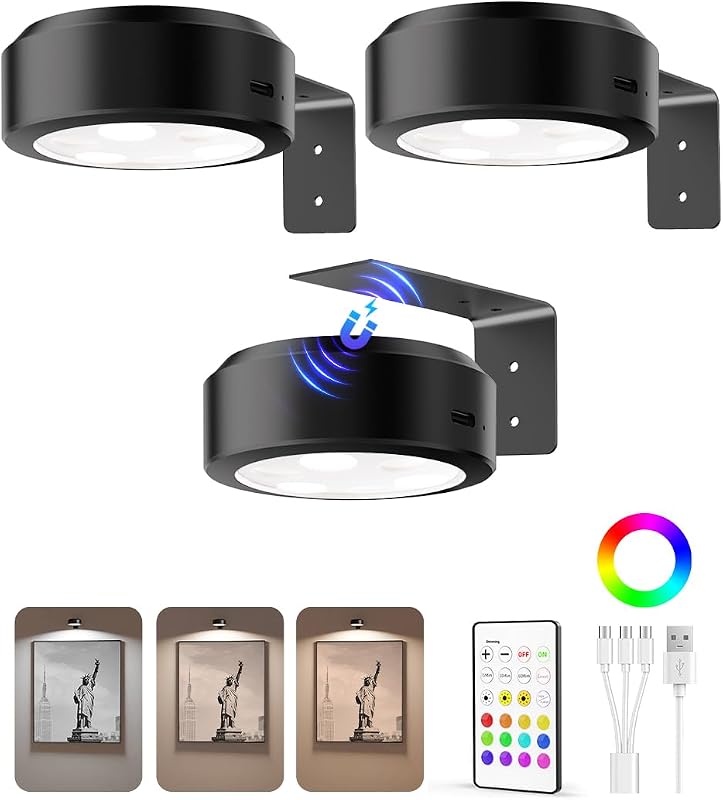
Battery-powered picture lights can also change output as charge drops or settings change. If you are working with rechargeable fixtures, it helps to know whether battery picture lights need to be charged before a shoot, and to check how long battery operated picture lights last if you need consistent brightness across several setups.
Lens choice, sensor limitations, and phone versus camera differences
Phones are convenient, but their software often tries to smooth contrast, boost shadows, and neutralize color automatically. That can work against dramatic LED scenes. A mirrorless or DSLR camera gives more direct control, but it also reveals flicker and clipping more clearly if settings are off.
Wide lenses exaggerate bright points and can make strip lighting feel more intense than it is. Standard focal lengths often produce a more natural interior look. Small phone sensors may struggle with dynamic range in dark rooms, while larger camera sensors usually hold highlight and shadow detail better.
Best Camera and Phone Settings for LED Light Photography
There is no single perfect setting because brightness, room size, and fixture quality vary. Still, a few starting points work well for most indoor LED scenes.
Recommended starting settings for smartphones
If your phone has Pro, Manual, or Expert mode, start with the lowest practical ISO, then reduce exposure slightly until the LED source regains shape. Tap to focus on the lit object or area near it, then lock focus and exposure if your camera app allows.
Night mode can help in darker rooms, but it may also over-process glowing lights and smear edges if anything moves. For cleaner results, use a tripod or prop the phone on a stable surface and work with a manual app when available.
Recommended starting settings for mirrorless and DSLR cameras
A useful baseline is a low ISO, a mid-range aperture for interior sharpness, and a shutter speed adjusted to protect the light source. From there, fine-tune based on whether you want the room moody or bright. If the LED itself is the subject, prioritize highlight control. If the room styling matters equally, slow the shutter and stabilize the camera.
Manual mode is usually best. Aperture priority can work too, but only if you watch the shutter speed and exposure compensation carefully.
How shutter speed affects banding and flicker under LED lighting
Shutter speed is often the key to fixing visible flicker. If you see horizontal or vertical bands, try changing shutter speed in small steps rather than making huge jumps. Some LEDs photograph better at slower shutter speeds because the camera averages more of the light pulse cycle.
There is no universal number that fixes every fixture, because the result depends on local power frequency, dimmer behavior, and driver design. The practical method is simple: test a few shutter speeds, zoom in, and pick the cleanest file.
When to use RAW, exposure compensation, focus lock, and a tripod
RAW is most helpful when you need to recover highlight detail, refine white balance, or tame strong RGB tones. Exposure compensation is useful on phones and semi-automatic camera modes when the image looks bright overall but the LED is clipping. Focus lock helps prevent the device from hunting in low light.
A tripod is the easiest upgrade for LED photography because it lets you keep ISO low and shutter speed slower without blur. That is especially helpful in desks, maker corners, and creative workspaces; if you are refining the room itself as part of the image, our guide on how to set up a home art studio space may help with background planning as much as camera settings.
- Lock exposure and white balance before recomposing.
- Use a tripod when the room is darker than the light source.
- Test a few shutter speeds if banding appears.
- Relying on full auto in a dark room with bright LEDs.
- Boosting ISO first when the room looks dim.
- Shooting every reflective surface straight on.
Placement, Brightness, and Colour Temperature: How to Style the Shot
Good LED photography is not only technical. Placement and styling decide whether the light feels architectural, decorative, cozy, or harsh.
Where to place strip lights, lamps, neon signs, and picture lights in frame
Hidden strip lights often look best when the fixture itself is mostly concealed and the glow defines edges, shelves, desks, or headboards. Neon-style signs can work as focal points, but they usually need surrounding negative space so the shape reads clearly. Picture lights should illuminate the art without dominating the frame.
If the fixture hardware looks bulky, crop tighter or shift the angle so the glow becomes the story. For shelf lighting, include a little shadow; completely flat lighting can make the scene feel less dimensional.
Choosing warm, neutral, or cool LEDs for the mood you want
Warm light usually feels intimate and residential. Neutral light feels cleaner and more versatile. Cool light can look sleek and futuristic, especially in gaming spaces or minimalist interiors. The choice should support the room, not fight it.
For a calm editorial look, pair warm LEDs with textured materials like wood, linen, matte ceramics, and framed artwork. For a sharper modern look, pair cooler LEDs with glass, metal, and darker wall colors.
Balancing ambient room light with the LED source
Mixed lighting is one of the biggest reasons LED photos look off. A warm lamp, cool overhead fixture, daylight from a window, and blue strip lights can all push the camera in different directions. If possible, simplify the scene by turning off unnecessary lights or blocking daylight.
When you want both ambient light and LEDs, choose one as the visual priority. Then adjust the other until it supports rather than competes. That often means dimming overheads, moving lamps, or waiting until dusk so the room feels more controlled.
Safety basics around heat, cables, power adapters, and wet locations
Most LEDs run cooler than older lighting types, but fixtures, drivers, and adapters can still become warm. Keep cables tidy and out of walkways, avoid stressing connectors, and follow manufacturer guidance for indoor, damp, or wet-rated use. Bathrooms, vanities, and kitchen splash zones need extra caution.
Do not improvise electrical changes for a photo setup. If a fixture is hardwired, near water, or behaving inconsistently, check the manufacturer instructions and use a qualified installer when needed.
How to Photograph LED Lights in Different Rooms and Setups
The best composition changes with the room. A gaming corner needs a different balance than a bathroom mirror or framed art display.
Living rooms, bedrooms, and gaming spaces
In living rooms and bedrooms, use LEDs to support the atmosphere rather than overpower it. Let practical decor stay visible: bedding texture, throw pillows, artwork, side tables, and wall tone all help the image feel finished. In gaming setups, stronger color contrast can work well, but keep one anchor area neutral so the photo does not become visually chaotic.
Kitchens, bathrooms, and mirror lighting
These rooms often have reflective surfaces that amplify glare. Avoid standing directly opposite glossy cabinets, polished stone, or mirrors. Shift your angle slightly and watch for hotspots along backsplash tile, chrome hardware, and mirror edges.
Under-cabinet LEDs usually look best when they create a clean line of illumination instead of appearing as individual bright points. In bathrooms, try to keep skin-tone-damaging color casts under control by simplifying mixed light.
Wall art, shelving, and gallery-style displays with picture lights
Picture lights should flatter the art and the wall, not create a hard bar of glare across the frame. Step off center, lower brightness if possible, and make sure the art still shows detail. Shelving scenes benefit from layered light, with brighter accents near key objects and softer falloff elsewhere.
Studio corners, desks, and small product setups
For desks and compact content setups, keep the background clean and intentional. A single LED accent can define depth behind the subject, while a separate key light or window light handles the main exposure. If every light in the frame is equally bright, the image can feel cluttered and harder to read.
Common Mistakes That Ruin Photos of LED Lights
Overexposing the light source and underexposing the room
This is the classic LED mistake. The light becomes a white patch with no shape, while the room falls into muddy darkness. Protect the highlights first, then rebuild the rest of the scene with slower shutter speed, steadier support, or gentle editing.
Letting auto white balance shift the scene unpredictably
If one image looks warm and the next looks cool from the same angle, auto white balance is likely drifting. Lock it manually so your series stays consistent.
Shooting reflective surfaces head-on
Mirrors, glossy frames, glass tabletops, polished appliances, and acrylic art covers can bounce the LED source straight back into the lens. A small angle change often fixes what exposure changes cannot.
Ignoring mixed light sources and uneven colour casts
A room can look fine to your eyes and still photograph badly when several light sources compete. If one side of the image looks green, blue, or orange, simplify the lighting before you start editing. It is easier to prevent a color cast than to correct a severe one later.
Benefits and Limitations of Photographing LED Lights for Interiors and Content
Why LEDs can create dramatic, clean, modern images
LEDs are flexible, compact, and available in a wide range of color temperatures and styles. They can outline architecture, spotlight art, define shelves, and add mood without requiring large fixtures in frame. For interiors and content creation, that makes them especially useful for polished, modern imagery.
Where LEDs are harder to capture than daylight or incandescent light
LEDs can be less forgiving than daylight because they create brighter points and steeper contrast in darker rooms. They can also flicker, band, or render color unevenly depending on dimming method and camera processing. Incandescent light is often easier for cameras to interpret smoothly, even if it is less efficient.
Evidence limits: why results vary by bulb quality, driver design, and camera software
Results vary widely by fixture quality, dimmer behavior, phone software, camera sensor, and editing workflow. Manufacturer specs can tell you part of the story, but they do not guarantee identical results across every room and device. That is why testing a few settings in your own space matters more than copying one exact exposure from someone else.
- Strong mood and visual drama
- Flexible placement in small spaces
- Wide choice of color temperatures and RGB looks
- Efficient for long content sessions
- Can flicker or band on camera
- Easy to overexpose
- Reflective rooms need careful angles
- Phone software may distort color
Care, Maintenance, and Final Recommendations for Better LED Light Photos
Cleaning fixtures, diffusers, and lenses before shooting
Dust, fingerprints, and haze are more visible around glowing lights than many people expect. Clean the LED diffuser, nearby reflective surfaces, and your phone or camera lens before you shoot. That alone can improve contrast and reduce messy flare.
Checking connections, dimmers, and power supplies for consistent output
If brightness seems unstable, inspect the obvious basics first: loose plugs, half-seated connectors, inconsistent dimmer settings, and low battery charge. For rechargeable picture lights, confirm charging status ahead of time and verify run-time expectations with the product listing or manufacturer instructions.
When simple phone edits add value and when they degrade the image
Small edits usually help: slight highlight reduction, a modest shadow lift, minor white balance correction, and a touch of contrast. Heavy HDR, aggressive saturation, and too much noise reduction often make LED photos look artificial. If the glow starts to lose edge definition or the room turns muddy, pull the edit back.
The best overall approach for clear, stylish LED light photography in 2026
The best overall method is simple: reduce auto decisions, expose for the LED first, lock white balance, and adjust your angle before chasing complicated edits. In 2026, phone cameras are better than ever at low-light scenes, but manual control still matters when LEDs are the subject.
- Dim or expose down until the LED keeps shape and color.
- Use lower ISO and a slower shutter speed instead of forcing brightness with noise.
- Lock white balance for consistency, especially with warm or RGB LEDs.
- Change angle to control glare, reflections, and flare before editing.
- Clean fixtures and lenses so the final image looks crisp rather than hazy.
Frequently Asked Questions