Ring Light for Nail Photos

A ring light for nail photos is useful when you want even, repeatable lighting that shows polish color and detail clearly. It works best in a simple setup with adjustable brightness, neutral color temperature, and careful positioning to reduce glare.
A ring light for nail photos can make small details easier to see, but the best results depend on size, placement, and how naturally it fits your workspace. For nail techs, creators, and home users, the real question is less “Do I need one?” and more “What kind of light will show color, shine, and shape without making the nails look flat?”
- Best use: Clean, consistent close-up nail photos for salons, creators, and beginners.
- Key specs: Adjustable brightness, neutral color temperature, and a stable stand matter most.
- Main limitation: Strong reflections can flatten texture or create glare on glossy finishes.
- Best alternative: Softboxes or LED panels can be better for softer, more editorial lighting.
What a Ring Light for Nail Photos Actually Does—and Whether You Need One
A ring light gives you even, front-facing illumination that reduces harsh shadows and helps glossy finishes read clearly on camera. That makes it especially useful for manicures, press-ons, nail art close-ups, and short-form content where color accuracy and detail matter.
It is not automatically the best light for every setup, though. Because ring lights shine from near the camera axis, they can sometimes flatten texture or create bright reflections on highly reflective topcoats, chrome, and crystals.
If your goal is simple, consistent nail photography at a desk or station, a ring light is often the easiest starting point. If you already shoot more editorial or highly styled content, you may eventually want a softer or more directional setup as well.
How to Choose the Best Ring Light for Nail Photography
The best choice depends on how close you shoot, how much control you want over brightness, and whether the light needs to move between a salon, a home desk, or a content corner. For nail work, the details that matter most are not just brightness, but also how the light behaves at close range.
Brightness, color temperature, and dimming range
Look for a ring light with adjustable brightness so you can avoid washing out pale polish or overexposing reflective finishes. Dimming matters because nails often photograph best at a lower setting than faces or general room lighting.
Color temperature is equally important. A neutral white range is usually the safest choice for showing polish accurately, while very warm light can make pinks, beiges, and whites look yellowish.
If a model offers multiple color temperatures, check how each one affects your polish collection before buying. Manufacturer claims can vary by brand, so it is worth confirming the specifications on the official product page.
Size, shape, and light quality for close-up shots
For nail photography, a larger ring light often creates softer, more flattering light because the source wraps around the subject more gently. Smaller lights can still work, especially for tight desk setups, but they may produce harsher reflections and a more obvious hotspot.
The shape matters less than the quality of diffusion. A well-diffused ring light can help show nail art cleanly, while a poorly diffused one may leave bright rings in topcoats or chrome finishes.
If your photos often include both hands and some surrounding props, a medium-to-larger ring light is usually easier to work with than a very compact model.
Power source, portability, and setup convenience
Ring lights may be plug-in, USB-powered, rechargeable, or battery operated depending on the model. For a fixed salon station, plug-in power is often the simplest choice because it avoids charging interruptions.
If you move between rooms, teach classes, or create content in different locations, portability may matter more than maximum output. In that case, check battery life, charging method, and whether the stand folds down easily.
For readers comparing power options more broadly, Hurrell Editions also covers why battery-operated lighting can be practical in spaces where outlets are limited.
Materials, build quality, and stability for salon or home use
For nail photography, the stand and mounting hardware can matter as much as the bulb or LED array. A light that wobbles when you adjust the angle can make it harder to keep hands framed the same way from one shot to the next.
Metal components, a sturdy base, and smooth adjustment joints usually make the setup feel more dependable. Lightweight plastic can be fine for occasional use, but it may feel less stable over time if the light is moved often.
- Check brightness control, color temperature range, and whether the light can dim smoothly
- Confirm the stand height, phone mount compatibility, and whether the base is stable enough for your desk
- Review the official product listing for power type, included accessories, and care instructions
Where a Ring Light Fits Best: Salon, Studio, or Home Nail Content Setup
A ring light can work in several environments, but the best setup depends on your room size, available surfaces, and how much gear you want visible in the background. The goal is to create a repeatable corner that makes it easy to photograph nails without rearranging everything each time.
Best room types and desk layouts for nail photography
A small salon station, a craft desk, or a dedicated tabletop near a window can all work well if the surface is uncluttered and easy to clean. You want enough room for the light, your hands, and your camera or phone without crowding the frame.
If your desk is narrow, a ring light with a slim stand or clamp-style mount may be easier to manage than a wide tripod base. If you work from home, a corner setup with a neutral wall behind it can keep the focus on the nails instead of the room.
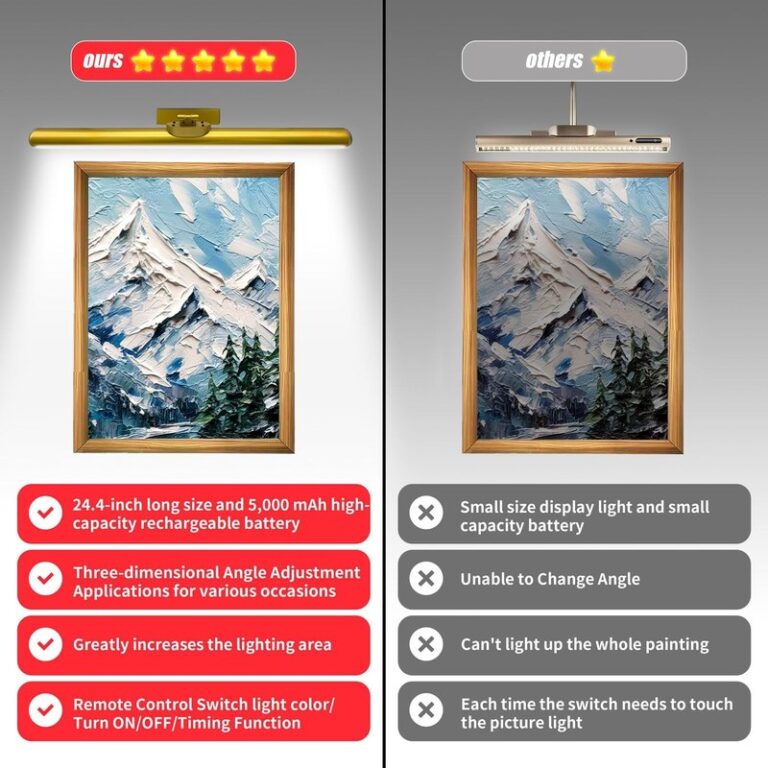
For readers planning a broader lighting setup, our guide to choosing a picture light for artwork explains how placement and light direction change the look of a subject, which is a useful idea to borrow for nail photos too.
Matching the light to your existing decor and workspace style
Even though the light is functional, it still becomes part of the room visually. A black, white, chrome, or matte-finish ring light may blend differently with minimalist, glam, or creative studio decor.
If your workspace already feels polished and intentional, choose a light that does not distract from the scene. If the area is more casual, a simple and compact model may be easier to tuck away when not in use.
Choose a ring light finish that disappears into the background as much as possible. The less visual clutter around the hands, the more polished the final photo usually feels.
How to Position a Ring Light for Clean, Professional Nail Photos
Positioning matters as much as the light itself. A good ring light can still produce flat or shiny photos if it sits too close, too high, or directly at the wrong angle for the polish finish.
Placement for hands, angles, and shadow reduction
For most nail photos, place the ring light so it faces the hands evenly and reduces shadows across the fingers. A slight adjustment off-center can help keep the image from looking too stiff while still preserving the soft, even look ring lights are known for.
If you are photographing one hand, try angling the fingers so the nail surface catches the light without pointing straight back at the camera. That usually helps the shape and color read more naturally.
Distance from subject and camera positioning
Distance changes everything. When the light is too close, reflections can become harsh and skin texture may look exaggerated; when it is too far away, the effect may be weak and the workspace can pick up unwanted room light.
Keep the camera or phone aligned with the subject so the composition feels balanced. For close-up nail shots, a stable tripod or phone stand often gives better consistency than hand-holding the device.
Common setup mistakes that flatten color or create glare
The most common mistake is placing the light so directly in line with glossy nails that the reflection hides the design. Another frequent issue is using maximum brightness when a softer setting would show the polish more accurately.
Overly warm room lighting can also distort the final image. If the ring light is neutral but the room is yellow, the photo may still look mixed and inconsistent.
- Adjust brightness gradually until the polish looks true to life
- Use a stable phone mount or camera support for repeatable framing
- Test a few angles before shooting a full set of photos
- Pointing the light straight at mirror-like topcoats without checking for glare
- Mixing several different color temperatures in the same shot
- Assuming maximum brightness will always improve detail
Styling Ideas: Making Nail Photos Look Polished Without Overediting
Good nail photography is not only about the light source. Backgrounds, surfaces, and props all affect whether the final image feels clean, luxurious, playful, or editorial.
Background choices, props, and surface materials
Neutral backgrounds usually work best because they let the nail design stay visually dominant. Soft stone textures, matte acrylic, clean wood, or plain fabric can all support the look without competing with it.
Props should be used sparingly. A ring, polish bottle, dried flower, or jewelry piece can add context, but too many objects make the photo feel busy and distract from the manicure itself.
If you like a more refined presentation, pairing the light with a simple surface and one accent item often feels more elevated than adding several decorative elements.
Using the ring light to show gloss, texture, and detail
Ring lights are especially useful when you want to show shine, chrome effects, encapsulated details, or fine line art. The trick is to let the reflection support the design rather than overpower it.
For matte finishes, a lower brightness setting may preserve texture better. For glossy or dimensional work, a slight angle shift can reveal depth without turning the nails into a bright white reflection.
Think of the setup like a small still-life: one clean surface, one strong light source, and just enough styling to support the manicure rather than compete with it.
Benefits, Limitations, and Alternatives to a Ring Light for Nail Photos
A ring light is popular because it is simple and predictable, but it is not the only good option. Understanding the tradeoffs helps you decide whether it is the right purchase for your style of photography.
When a ring light is the best choice
A ring light is often the best choice when you want fast setup, repeatable results, and a compact footprint. It is particularly useful for salon owners, nail techs, and creators who need to photograph work often and do not want to rebuild the lighting each time.
It also makes sense for beginners because the learning curve is relatively low. Once the light is positioned well, the setup can be easier to repeat than a more complex multi-light arrangement.
Drawbacks to consider before buying
The biggest limitation is that ring lights can make some photos feel a little too uniform. That can reduce depth, especially if you want a more editorial look with visible shadow and shape.
They can also reflect strongly on glossy nails, glass, and metallic accessories. If you shoot many chrome, mirror, or high-shine finishes, you may need to experiment more to avoid bright hotspots.
- Simple to set up and easy to repeat
- Helps reduce harsh shadows in close-up shots
- Useful for mobile content creation and small spaces
- Can flatten texture if used too directly
- May create glare on glossy or metallic finishes
- Not always ideal for a dramatic, editorial lighting style
Alternatives: softbox lights, LED panels, and natural light
Softbox lights create a broader, softer spread and can be excellent if you want a more diffused look. LED panels are compact and flexible, especially if you need to change direction quickly or work in a tighter space.
Natural light remains a strong option when it is available and consistent, though it depends heavily on weather, time of day, and window direction. For some readers, the best answer is not one light type but a hybrid setup that includes a ring light for consistency and another source for softer fill.
If you are comparing other compact lighting styles, Hurrell Editions also has guides on rechargeable gallery lights and dimmable picture lights, both of which show how adjustability changes the final look of a lit subject.
Care, Maintenance, and Long-Term Value
A ring light can last a long time if it is stored carefully and kept free of dust, polish residue, and cable stress. Long-term value depends not only on the initial build quality, but also on how easy the light is to live with.
Cleaning, storage, and cable management
Dust the light and stand regularly with a soft, dry cloth. If the diffuser or ring surface picks up residue, follow the manufacturer’s cleaning guidance rather than using harsh products that could cloud the finish.
Wrap cords loosely instead of bending them tightly around the stand. If the light is portable, store the parts together so the phone mount, adapter, and remote are not misplaced between uses.
What makes a ring light worth the investment in 2026
In 2026, the best value usually comes from a model that balances consistent output, stable construction, and enough adjustability to handle both product-style nail shots and casual content. A light that feels flexible in several settings is often more useful than a model with one standout feature and several compromises.
Before buying, confirm the current specifications, included accessories, and warranty terms on the official listing. Those details vary by model and can change by retailer or finish.
Avoid storing the light in damp areas or tightly packed spaces where the stand and cable can be bent under pressure. If any part of the setup feels unstable, check the manufacturer’s instructions before continued use.
Final Recommendation: Who Should Buy a Ring Light for Nail Photos
A ring light for nail photos is a smart buy for people who want a simple, repeatable way to show polish color, shine, and detail with minimal setup. It is especially well suited to nail techs, small business owners, content creators, and beginners who need dependable results more than dramatic lighting effects.
Best fit for nail techs, content creators, and beginners
Nail techs will usually appreciate the speed and consistency. Content creators benefit from the clean look and easy framing. Beginners get a forgiving starting point that does not require much technical knowledge to use well.
If your work leans heavily toward glossy finishes or highly styled editorial images, you may eventually want to add a softer secondary light. But for most everyday nail photos, a good ring light remains one of the most practical tools you can choose.
Transparent verdict on performance, versatility, and value
The best ring light is the one that gives you controllable brightness, a neutral color temperature, and enough stability to fit your space. If those basics are right, the light can do a lot of heavy lifting for both salon documentation and social content.
It is not the only path to beautiful nail photography, but it is one of the easiest to use well. For readers who want reliable, polished results without building a complex studio, it is usually a worthwhile place to start.
- Choose adjustable brightness and a neutral color temperature for the most accurate nail color.
- Match the light size and stand stability to your desk, salon station, or portable setup.
- Use angle, distance, and simple styling to reduce glare and keep the manicure as the focus.
- If you need a softer or more editorial look, consider softboxes or LED panels as alternatives.
Frequently Asked Questions