15 Home Studio Organization Ideas for a Clutter Free Space

Create a clutter-free home studio by dividing the room into clear zones, choosing storage that fits your workflow, and keeping the main work surface easy to reset. Use vertical space carefully, manage cords and lighting safely, and style only what adds function or inspiration.
home studio organization ideas work best when they reduce setup friction, keep tools visible without crowding the room, and make cleanup simple enough to repeat every day. Whether your studio is a spare bedroom, a loft corner, or one side of a shared office, the goal is not to store everything out of sight—it is to create a space where your most-used supplies are easy to reach, your surfaces stay clear, and the room still feels calm enough to create in.
- Use zones: Separate making, storing, editing, and display areas to stop clutter from spreading.
- Match storage to use: Open shelves suit daily tools, while closed cabinets hide messy or bulky supplies.
- Think vertically: Pegboards, rails, and shelves save floor space, but wall type and load limits matter.
- Protect the desk: Trays, cable control, and under-desk storage help you start faster and stay focused.
- Style with restraint: A limited palette and selective display keep the studio inspiring without feeling crowded.
What Actually Keeps a Home Studio Clutter Free
A clutter-free studio is usually the result of a system, not a single storage purchase. The most functional rooms balance access and restraint: the tools you use often stay close, the bulky or messy items get contained, and the room has a clear reset point at the end of a work session.
Start with zones for making, storing, editing, and displaying
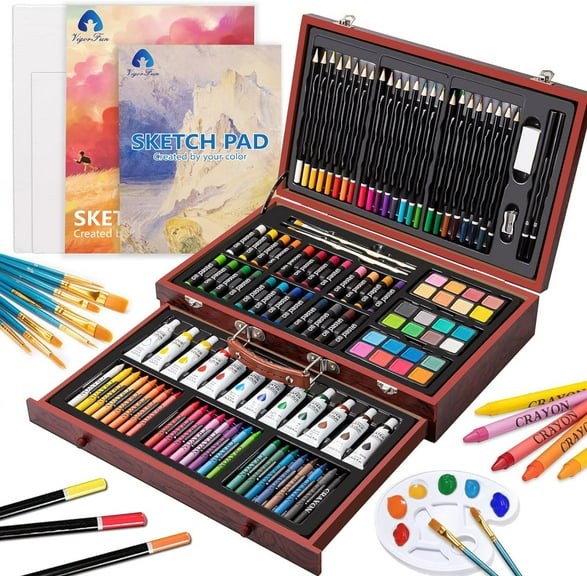
The easiest way to organize a studio is to divide it into task-based zones. In an art studio, that may mean one surface for creating, one cabinet for materials, one shelf for drying or staging, and one wall for finished work. In a music, photo, or content-creation space, the zones may shift toward recording, editing, charging, and backdrop storage.
Even in a small room, zoning helps prevent crossover clutter. Paints stop migrating onto your laptop desk. Camera batteries do not end up mixed with sketchbooks. Framing supplies stay near the display area instead of piling onto the main worktable.
Prioritize visibility, access, and easy reset routines
If a storage solution makes supplies hard to see or annoying to put away, clutter usually returns fast. Clear bins, shallow drawers, open trays, and labeled categories reduce decision fatigue. The point is to know where things belong at a glance.
A good reset routine is equally important. Try ending each session with a two-minute sweep: return tools to one cart, stack active projects in one tray, and clear the center of the desk. That small habit does more for long-term order than buying more containers.
Assess Your Space Before You Organize
A home studio is measured and reviewed before organizing furniture and storage.
Before choosing shelves, carts, or desk accessories, look closely at the room itself. The size, shape, light, and wall construction of your space will determine which ideas actually work.
Best organization ideas for small spare rooms, loft corners, and multi-use spaces
Small spare rooms usually benefit from one dominant workstation plus vertical storage. A wide desk with shelving above it often works better than several small furniture pieces that break up the floor plan.
Loft corners and alcove studios need compact storage with visual discipline. Rolling carts, narrow bookcases, and wall rails can keep tools close without making the area feel boxed in. If the studio shares space with a bedroom or living area, closed storage often looks calmer than open supply racks.
Multi-use rooms need boundaries. A folding screen, a rug under the desk, or a consistent furniture finish can visually separate the studio from the rest of the room. If you are still planning the overall layout, Hurrell Editions’ guide on how to set up a home art studio space is a useful companion to the organization process.
What to look for in layout, traffic flow, outlets, natural light, and wall type
Start by noting where you naturally walk. Paths to doors, closets, and windows should stay clear, especially if your studio includes light stands, instrument cases, or drying racks. Furniture that narrows those paths tends to collect clutter because it is always in the way.
Next, count outlets and note where chargers, lamps, printers, speakers, or cameras will plug in. If your desk is far from power, cord sprawl can quickly become the room’s biggest visual problem.
Natural light also matters. Place detail work near a window when possible, but avoid storing delicate paper, fabric, or finished artwork in direct sun for long periods. Finally, check your wall type before planning heavy wall storage. Drywall, plaster, brick, and concrete all require different hardware, and manufacturer instructions should guide weight and installation decisions.
Wall-mounted shelves, pegboards, and rail systems vary widely in weight capacity by wall type, bracket design, and hardware. Confirm the official specifications and installation guidance before buying or mounting anything heavy.
Choose Storage That Fits Your Tools, Materials, and Workflow
Not all studio storage solves the same problem. The right choice depends on whether you need instant access, dust protection, portability, or long-term preservation.
Open shelving vs closed cabinets vs rolling carts
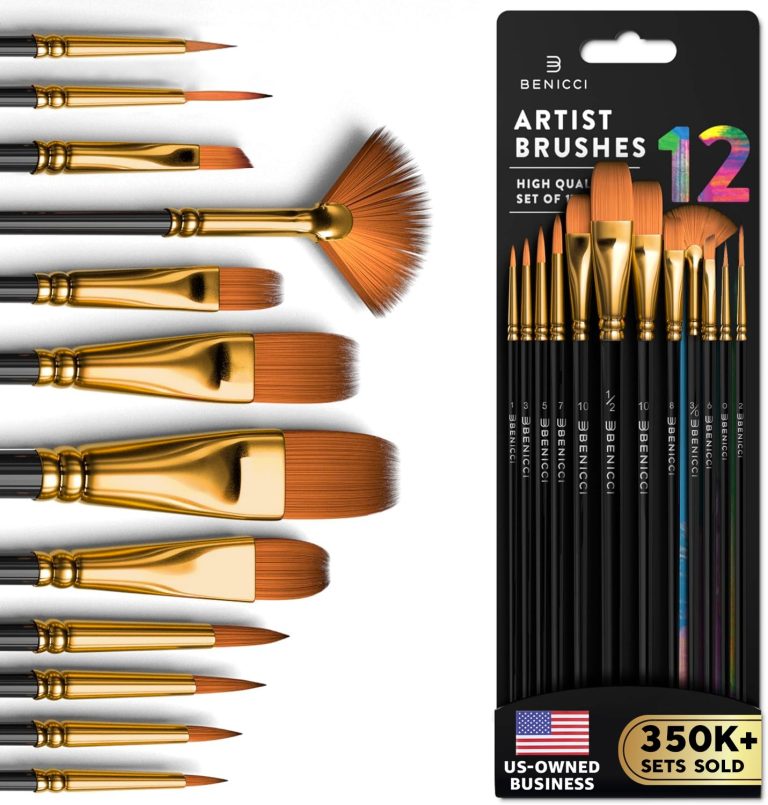
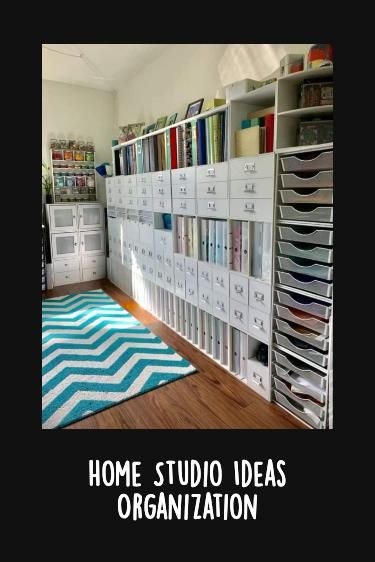
Open shelving works well for attractive, frequently used items: baskets of fabric, jars of brushes, books, speakers, and neatly grouped storage boxes. It keeps supplies visible and encourages quick setup, but it also demands regular tidying.
Closed cabinets are better for messy materials, backups, packaging, and anything that makes the room feel visually noisy. They are especially useful in hybrid spaces where the studio shares a wall with a guest room or home office.
Rolling carts are ideal for flexible workflows. They can move beside an easel, next to a sewing table, or under a window for natural light. The tradeoff is limited capacity and a tendency to become catch-alls if each tier does not have a clear purpose.
- Open shelving keeps everyday tools visible and easy to grab.
- Closed cabinets reduce visual clutter in shared rooms.
- Rolling carts adapt well to changing creative tasks.
- Open storage can look messy quickly.
- Closed storage can hide supplies too well and slow setup.
- Carts can become overflow storage without labels or limits.
Best materials and specifications: wood, metal, acrylic, weight limits, and adjustable shelves
Wood storage often feels warmer and blends easily with home decor, but some finishes are more sensitive to moisture, paint splatter, or heavy wear. Metal shelving tends to feel more utilitarian and durable, especially for heavier bins, equipment, or tool storage. Acrylic organizers help with visibility and can work well for smaller supplies, though they may show dust and scratches more easily.
Adjustable shelves are one of the most useful features because studio inventory changes over time. Tall paint bottles, stacked paper pads, camera lenses, and storage boxes rarely fit one fixed shelf spacing. Weight limits matter too, especially for books, ceramics, tech gear, or boxed materials. Always verify those limits on the official listing rather than assuming shelves can hold more.
When labeled bins, drawers, and archival boxes add the most value
Labeled bins are best for grouped categories such as cables, adhesives, stamps, spare bulbs, or fabric trims. Drawers help when you need quick access to many small items without visual clutter on display. Archival boxes are the better choice for storing finished prints, photographs, specialty paper, or keepsakes that need more protection from dust and light.
If you work with paper media, use labels that describe function rather than just material. “Current sketch tools” or “pack-and-go supplies” is often more helpful than “miscellaneous.”
Use Vertical Space Without Making the Studio Feel Busy<

Wall-mounted shelves and pegboard keep supplies off the desk.
Wall-mounted shelves and pegboard keep supplies off the desk.
/h2>
Vertical storage can transform a small studio, but it should support the room rather than dominate it. The best setups keep wall storage concentrated, balanced, and visually consistent.
Pegboards, rail systems, wall shelves, and over-desk organizers
Pegboards suit tools that benefit from instant visibility, such as scissors, rulers, cords, and hand tools. Rail systems can look cleaner and more modular, especially in modern spaces. Wall shelves are better for books, decor, bins, and display pieces, while over-desk organizers can hold small essentials without eating up the work surface.
If your desk is the room’s anchor, installing one organized vertical zone above or beside it usually looks better than scattering storage across every wall. For display-friendly shelving ideas, these picture ledge wall shelf ideas can help you mix function and style more effectively.
Wall type, anchors, hanging hardware, and safe load placement
Lighter items should generally go higher, while heavier items belong lower and closer to brackets or studs where possible. That keeps storage safer and makes daily access easier. Follow the shelf or organizer manufacturer’s instructions, confirm compatibility with your wall type, and use a professional installer if you are unsure about load-bearing limits or older walls.
Avoid overloading wall storage above desks, seating, or equipment. Weight capacity depends on the wall, hardware, bracket spacing, and installation method—not just the shelf itself.
How to match wall storage to existing decor for a styled look
Wall storage looks calmer when it repeats finishes already in the room. Black metal can echo lamp bases or desk legs. Oak shelves can connect to frames or flooring. White rails and shelves often recede best in bright, minimal rooms.
Try limiting visible wall-storage colors to one or two finishes. Too many mixed materials can make even a tidy setup feel busy. If your studio doubles as a styled room in the home, broader decorating ideas from how to create an artful home with style and soul can help you connect storage with the rest of your decor.
Organize the Work Surface for Better Focus and Faster Setup
Your desk or main table is where clutter becomes most disruptive. The more often you need to clear space before starting, the less efficient the room becomes.
Desktop trays, cable management, monitor risers, and under-desk storage
Desktop trays are useful for active projects, incoming papers, and tools that should stay out but contained. Monitor risers can free up a surprising amount of surface area by creating storage below for notebooks, keyboards, or slim supply bins.
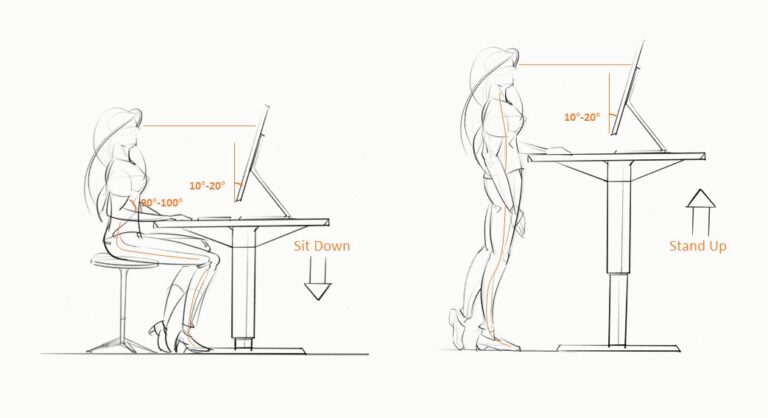
Cable management matters in nearly every modern studio. Clips, sleeves, baskets, and under-desk channels can reduce tangles and keep charging gear from spreading across the surface. If your setup includes a sit-stand desk, this guide to best standing desk cable management ideas offers more focused solutions.
Under-desk drawers or rolling file cabinets work best for tools you use often but do not want visible all day. Just avoid filling that space so tightly that legroom and comfort suffer.
Placement ideas for art, craft, music, photo, and content-creation studios
Art and craft studios usually work best with wet or messy supplies on the non-dominant side and a clear center area for active work. Music studios often benefit from a symmetrical desk layout, with interfaces and speakers placed intentionally and accessories grouped nearby. Photo and content-creation spaces need quick transitions, so batteries, cards, microphones, and clamps should live close to the editing station or shooting area.
Where possible, keep your most-used tools within easy seated reach and your occasional tools one step away. That simple rule helps maintain flow without overloading the desktop.
Common desk-clutter mistakes that slow down creative work
One common mistake is storing too many categories on the desk at once. Another is using deep containers for small items, which turns simple retrieval into rummaging. A third is allowing packaging, duplicate tools, or old project scraps to stay in prime workspace.
Visual inspiration is helpful, but too many objects at eye level can also reduce focus. A cleaner work surface usually supports faster starts and fewer interruptions.
Plan Lighting and Equipment Placement for a Safer, More Functional Studio
Lighting affects accuracy, comfort, and safety. A well-organized studio places lights where they support the task without creating glare, heat buildup, or cable hazards.
Where task lights, photography lights, and floor lamps work best
Task lights belong close to detail work such as sketching, editing, cutting, or keyboard use. Photography lights need enough clearance to avoid crowding traffic paths and should be positioned with backdrop, stand footprint, and storage in mind. Floor lamps can soften the room and reduce eye strain in darker corners, but they should not block drawers, carts, or walking routes.
Brightness, color temperature, and power source basics to compare
Brightness needs vary by task and room size, so compare official specifications rather than guessing from product photos. Color temperature affects how warm or cool the light appears, which matters for color-sensitive work and overall room mood. Plug-in lights offer steady power, while rechargeable or battery-powered options can reduce visible cords but may require more frequent charging or brightness compromises.
For a deeper look at choosing lamps for creative work, see Hurrell Editions’ guide to best lighting for a home art desk.
Safety essentials for cords, heat, trip hazards, and overloaded outlets
Keep cords routed along walls, desk frames, or dedicated channels instead of across walking paths. Leave airflow around hot lights and power adapters, and avoid stacking fabric, paper, or storage bins too close to heat-producing equipment. If your studio relies on multiple lights, chargers, and electronics, review the ratings on power strips and confirm safe use instructions from the manufacturer.
Style the Studio So It Feels Inspiring, Not Overfilled
A studio should support creativity, but that does not mean every surface has to be decorated. The most inspiring rooms usually combine practical storage with a small number of intentional visual moments.
How to display supplies, books, and finished work without visual clutter
Display only the most attractive or meaningful items openly: a stack of art books, a few ceramic vessels, neatly sorted thread spools, or one row of finished pieces. Repetition helps. Matching containers, similar frame finishes, or grouped book colors can make practical storage look more deliberate.
Leave some negative space on shelves. A fully packed shelf reads as storage overflow, while a shelf with breathing room feels styled.
Wall art sizing, spacing, layout, and frame choices for creative rooms
Wall art in a studio should fit the scale of the room and the furniture below it. Over a desk or credenza, one larger piece or a tight grouping often looks calmer than many scattered small frames. Consistent spacing usually creates a more polished effect than uneven gaps.
Frame choice matters too. Thin black, natural wood, and simple white frames are versatile because they support creative work without competing with it. If you want a casual, flexible display, ledges or tabletop easels can make rotating finished work easier than committing every piece to the wall.
- Repeat one frame finish across the room to make display walls feel intentional.
- Use closed storage for backup supplies and open storage for beautiful, everyday essentials.
- Limit visible decor on the desk so the workspace still feels functional.
Color palettes, texture, and decor pairings that keep the room cohesive
Choose one dominant base palette—such as warm neutrals, black and oak, or soft white and muted color—and let storage follow it. Texture can add warmth without adding clutter: linen pinboards, woven baskets, wood frames, and matte metal lamps all layer well in creative spaces.
If the room already contains bold art or colorful supplies, keep the larger storage pieces quieter. That balance helps the studio feel curated instead of crowded.
Maintain the System: Cleaning, Upkeep, Budget, and Final Recommendations
Good organization lasts when the system is easy to maintain. The more complicated it becomes, the more likely clutter will return during busy weeks.
Care and maintenance for shelves, containers, fabrics, and tech accessories
Dust open shelves regularly, especially near paper, lenses, audio gear, or fabric supplies. Wipe acrylic and metal organizers with materials recommended by the manufacturer to avoid scratches or finish damage. Empty desktop catch-alls often, and check cords, chargers, and adhesive clips periodically so wear does not become a safety issue.
Budget-friendly upgrades vs premium organization solutions
Budget-friendly organization usually starts with editing what you own, then adding labels, bins, drawer dividers, and one versatile cart or shelf. Premium solutions tend to offer better finishes, stronger hardware, more modularity, and a more furniture-like look for shared rooms. Neither approach works well if the categories are unclear.
Before buying, confirm dimensions, shelf adjustability, included hardware, finish care, and weight limits on the official product listing. Availability and specifications can vary by retailer and model.
Limitations to expect and the best next step for your studio type
No system removes all clutter from active creative work. Ongoing projects, drying time, charging gear, and reference materials will always create some visual activity. The goal is not perfection—it is faster setup, better focus, and an easier reset.
If you have a small shared room, start with closed storage and one clean desktop zone. If you have a dedicated studio, build around clear task zones and vertical storage. If you create in a corner of another room, prioritize mobility with a cart, compact wall storage, and a limited palette so the area feels integrated rather than improvised.
- Divide the studio into clear work, storage, editing, and display zones.
- Choose storage based on access, protection, and how often you use each item.
- Use vertical space carefully and verify wall type, hardware, and load limits.
- Keep the desk clear enough to start quickly and reset easily after each session.
- Style selectively so the room feels inspiring without becoming visually crowded.
Frequently Asked Questions