How to Pack Art Prints for Moving Without Bending

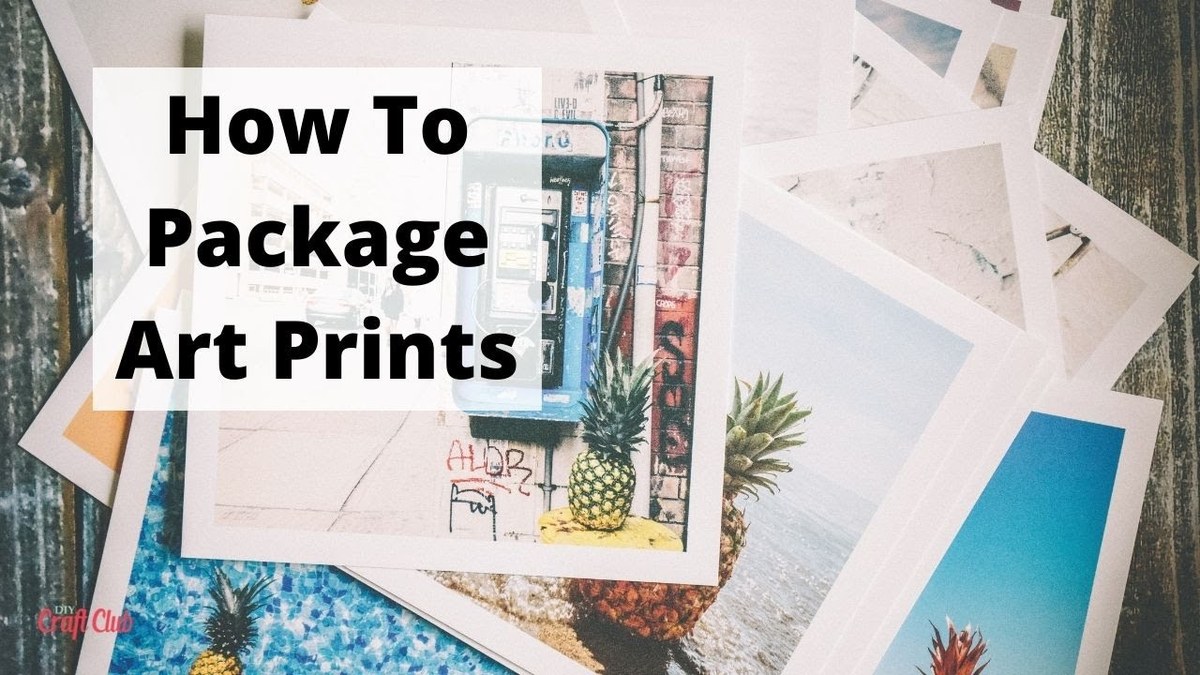
Pack art prints flat whenever possible using glassine or acid-free tissue, rigid backing boards, and a sturdy flat box or portfolio. Only roll less delicate unframed prints in a wide-diameter tube, and never let heavy items rest on top.
Knowing how to pack art prints for moving without bending comes down to one principle: keep every print protected from pressure, friction, and moisture while giving it enough rigid support to stay flat. Whether you are moving a few open-edition posters or a portfolio of signed works on fine paper, the right packing method can prevent creases, crushed corners, surface scuffs, and the slow curl that often shows up after a rushed move.
This guide walks through the safest packing options for loose, matted, and framed prints, plus when flat packing is best and when a wide art tube can still be acceptable. It also covers the materials worth buying, the shortcuts to avoid, and what to do once your prints arrive at the new space.
- Pack flat first: Flat packing is usually safest for valuable, signed, matted, or textured prints.
- Use archival layers: Glassine, acid-free tissue, and sleeves help prevent scuffs, ink transfer, and moisture issues.
- Add rigid support: Sandwich prints between sturdy boards larger than the artwork to stop bending.
- Match the method: Loose, framed, oversized, and delicate prints each need different protection.
- Control the environment: Heat, humidity, sunlight, and heavy stacking can damage prints during transit and storage.
How to Pack Art Prints for Moving Without Bending: The Safest Method at a Glance
Use a rigid backing, protective sleeves, corner guards, and a flat pack or portfolio
For most art prints, the safest method is flat packing. Start with a clean protective layer such as glassine, acid-free tissue, or an archival sleeve. Then place the print against a rigid backing board, add corner protection if needed, and sandwich the piece between two sturdy boards before placing it inside a flat art box, portfolio case, or reinforced outer carton.
This approach works because it addresses the three most common causes of damage during a move: flexing, rubbing, and impact. A print usually bends when it is left unsupported, when too much empty space lets it slide around, or when something heavier presses on top.
When to pack flat versus when to use a wide-diameter art tube
Pack prints flat whenever possible if they are signed, limited edition, older, brittle, heavily textured, mounted, matted, or larger works on substantial paper stock. Flat packing is also the better option for prints with delicate surface finishes or deckled edges.
A wide-diameter art tube may be acceptable for less fragile unframed prints that are designed to ship rolled, especially if storage space is limited. If you do roll, use a large tube rather than a narrow one, place a protective interleaving sheet around the print first, and avoid rolling it tightly. The tighter the roll, the more memory the paper can retain, which makes flattening harder later.
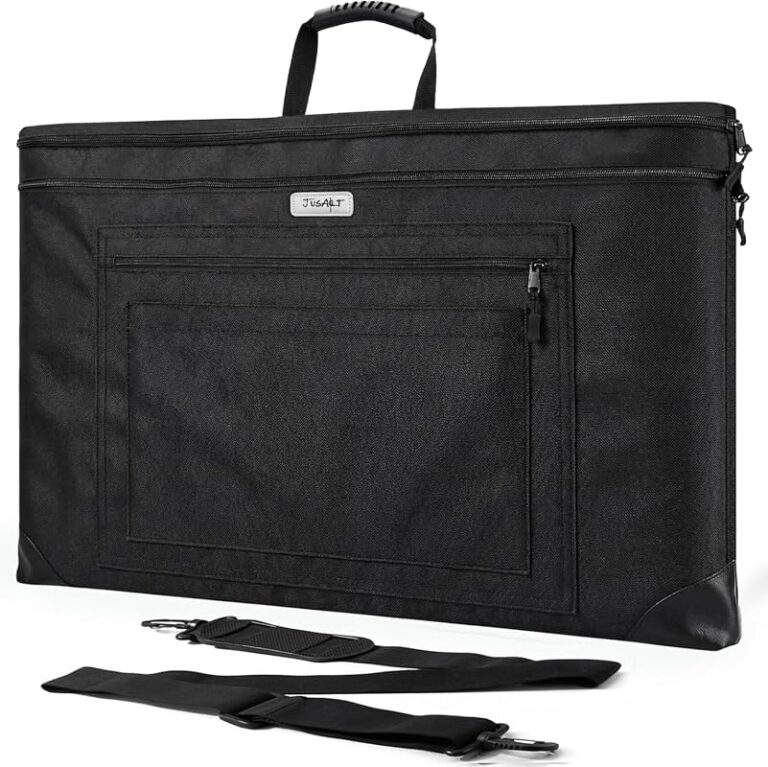
If you are deciding between methods for a reusable storage solution, Hurrell Editions also has a guide on how to use an art portfolio presentation case, which can help if you transport prints regularly rather than only during a move.
What to Look for Before Packing Art Prints for a Move
Art prints are checked for damage before packing materials are prepared.
Print size, paper weight, finish, and whether the work is signed or limited edition
Before you wrap anything, look closely at the print itself. Size matters because larger sheets flex more easily and usually need thicker support boards. Paper weight matters because lightweight poster paper wrinkles faster, while heavier fine art paper can crack if forced into a curve. Finish matters because glossy surfaces can scuff, matte surfaces can burnish, and textured papers can catch on rough packing materials.
If the print is signed, numbered, embossed, or part of a limited edition, treat it more conservatively. Even minor edge wear or a pressure mark can affect both presentation and long-term value. In those cases, flat archival packing is usually worth the extra effort.
Framed, unframed, matted, or loose prints: why each needs a different approach
Loose unframed prints need surface protection and rigidity. Matted prints need the same, but with extra care to keep the mat corners clean and the window opening from shifting. Framed prints add another layer of risk because glazing can crack, frame corners can split, and hanging hardware can scratch nearby pieces.
Oversized framed art often fails at the frame rather than the print. That is why corner guards, padding around the frame edges, and separation from other items matter just as much as the wrapping itself.
Condition check and documentation before packing
Do a quick condition check before packing. Look for existing corner wear, rippling, foxing, scratches, loose backing, or frame damage. Take clear photos of the front, back, signature area if present, and any pre-existing flaws.
This is useful for insurance records, mover claims, and your own unpacking process. It also helps you tell the difference between old wear and fresh transit damage once the move is over.
If a print came with publisher, gallery, or framer care instructions, keep those with your move records and follow them over any generic packing advice.
Essential Packing Materials That Help Prevent Creases, Curling, and Edge Damage
Acid-free tissue, glassine, archival sleeves, foam board, corrugated pads, and corner protectors
The best packing materials are clean, smooth, and stable. Glassine is a common choice for protecting print surfaces because it resists grease and reduces friction. Acid-free tissue can work as an interleaving layer, especially between multiple prints. Archival sleeves add another level of protection for smaller works and make handling easier during unpacking.
For rigidity, foam board, archival mount board, or heavy corrugated pads are common options. Corner protectors help prevent blunt edge damage, especially on matted and framed pieces. The exact combination depends on the print’s fragility, but the goal is the same: no direct abrasion and no unsupported flex.
Flat art boxes, portfolio cases, and telescopic mirror boxes compared
Flat art boxes are usually the simplest option for standard-size prints. They are easy to label, stack carefully, and fit with other moving cartons as long as nothing heavy goes on top. Portfolio cases are useful if you want a reusable solution for storing or carrying prints after the move. Telescopic mirror boxes can work for framed pieces because they adjust to different sizes, but they often need extra internal padding and corner reinforcement.
If you are making your own transport solution, a structured DIY option can be useful for short moves. For that, see how to make an art portfolio case out of cardboard for a more durable homemade approach than a single thin carton.
What to avoid: newspaper, direct bubble wrap contact, weak cardboard, and tight rubber bands
Some common packing shortcuts create more problems than they solve. Newspaper can transfer ink. Direct bubble wrap contact can leave impressions or stick to delicate finishes in heat. Weak cardboard bends too easily to protect anything valuable. Tight rubber bands can dent edges and leave pressure marks.
Low-quality tape is another risk if it touches the artwork or sleeve directly. Use tape only on outer protective layers, and keep adhesives away from paper surfaces whenever possible.
- Use clean archival barriers between the print and outer packing layers.
- Choose rigid boards larger than the print so the edges stay protected.
- Label cartons clearly as fragile and art.
- Wrapping prints directly in bubble wrap or newsprint.
- Using soft mailers for anything you care about keeping flat.
- Securing stacks with tight bands or excessive tape.
Step-by-Step: How to Pack Unframed Art Prints Flat Without Bending<
Unframed prints are layered with protective sheets and cardboard to prevent bending.
Unframed prints are layered with protective sheets and cardboard to prevent bending.
/h2>
Layering and interleaving prints safely
If you are packing several unframed prints together, sort them by size first. Keep similar sizes in the same stack so smaller pieces do not shift under larger ones. Place a sheet of glassine or acid-free tissue between each print. If one print has a particularly delicate surface, give it its own sleeve or separate sandwich pack rather than stacking it with others.
Try not to overbuild the stack. A few prints packed securely are safer than a thick pile that becomes heavy, hard to lift, and more likely to bow in the middle.
Securing prints between rigid boards without over-taping
Place the protected print or small stack between two rigid boards that are slightly larger than the artwork. Align the edges carefully, then secure the boards together with painter’s tape or another low-residue tape on the outside only. The tape should hold the sandwich closed without compressing it so tightly that the contents buckle.
Once the board sandwich is stable, place it inside the outer flat box. Add cushioning around the board unit if needed, but avoid thick soft fill that creates uneven pressure. The rigid support should do most of the protective work.
Use glassine, acid-free tissue, or an archival sleeve before the print touches anything else.
Sandwich the print between sturdy boards that extend beyond all edges.
Place the supported print inside a flat art box with minimal movement and clear fragile labeling.
How much empty space is acceptable inside the outer box
A little empty space is fine. A lot is not. The contents should not rattle, slide corner to corner, or sag when the box is lifted. At the same time, the fit should not be so tight that you have to force the boards in or out.
As a practical rule, fill gaps just enough to stop movement while keeping pressure even. Thin foam sheets, clean kraft paper around the board sandwich, or fitted pads are usually safer than random packing scraps.
How to Pack Framed Prints, Oversized Pieces, and Delicate Editions
Protecting glazing, frame corners, and hanging hardware
For framed prints, start by protecting the face. If the piece has glass or acrylic glazing, use a clean barrier layer first, then wrap the frame with padding that does not press hard against the artwork. Add corner protectors to every frame corner and secure hanging wire, D-rings, or sawtooth hardware so they cannot scratch the frame or another piece during transit.
If glazing breaks easily or the frame is especially valuable, some movers use specialty wrap and carton systems designed for framed art. For higher-value pieces, it is often worth asking a professional framer or art shipper what they recommend for that specific frame and glazing type.
Do not place tape directly on a frame finish, glazing surface, mat, or paper dust cover unless the manufacturer or framer specifically says it is safe for that material.
Oversized prints: when a custom crate, portfolio, or specialist mover is worth it
Large prints are harder to keep flat because they flex under their own weight. Once a piece becomes awkward for one person to carry without bowing, the risk rises quickly. That is the point where a large portfolio, reinforced flat pack, custom crate, or specialist fine-art mover may be the better choice.
Specialist help is especially worth considering for valuable editions, glazed oversized frames, or works with sentimental importance that would be difficult to replace. The cost varies by size, route, and service level, so confirm details directly before booking.
Canvas transfers, textured papers, and other formats that need extra caution
Not every “print” behaves like smooth poster paper. Canvas transfers can dent. Textured fine art papers can abrade. Metallic, gloss, or resin-coated surfaces can mark if anything presses or rubs against them. These formats usually benefit from individual wrapping and less stacking, even if they are technically unframed.
If you are unsure what the surface can tolerate, check the original seller, publisher, or framer documentation first. When the finish is unclear, the safest assumption is that the surface is more delicate than it looks.
Storage, Transport, and Placement During the Move
Why art prints should travel upright or flat depending on format
Loose flat-packed prints often do best lying flat on an even surface, provided nothing heavy is stacked above them. Framed pieces usually travel better upright like furniture, not flat under weight, because pressure across the face can stress the glazing and frame joints.
The key is stability. Flat works need support across the full surface. Upright works need secure placement so they cannot tip, slide, or vibrate against hard objects.
Temperature, humidity, and sunlight considerations in vans, storage units, and spare rooms
Paper and board react to the environment. Heat can soften adhesives and increase curl. Humidity can cause rippling, cockling, and mold risk. Direct sunlight can fade inks and warm wrapped materials more than expected inside a vehicle or room.
Try to avoid leaving prints in a hot van for long periods, especially in summer. If prints must go into storage, a cleaner, drier, more temperature-stable space is usually safer than a damp garage or attic. Even a spare room inside the home is often better than an uncontrolled outbuilding.
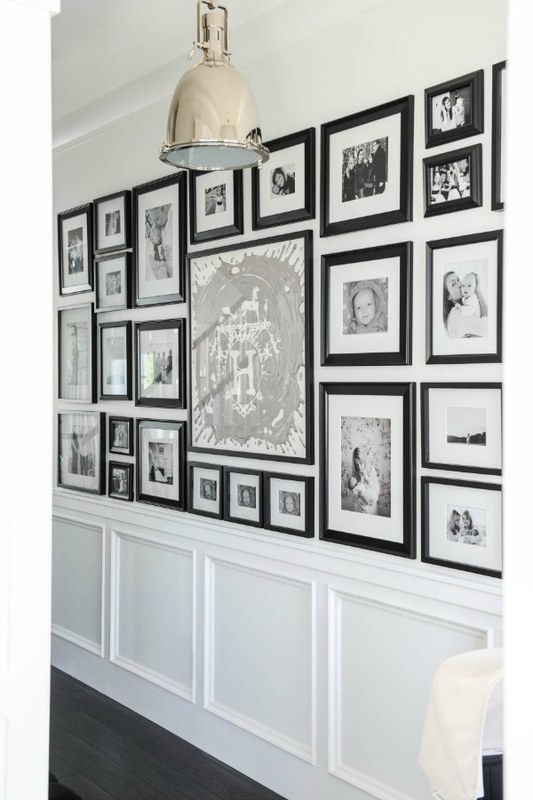
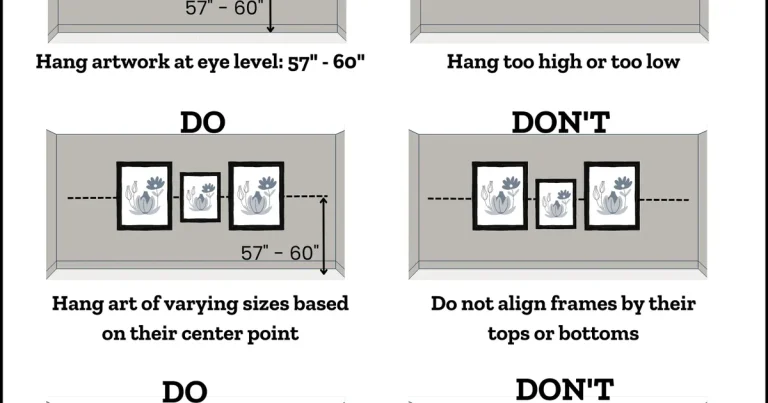
Once you are ready to display the work again, related guides like how to display art at home like a designer and how to light a gallery wall without hardwiring can help you plan placement without rushing the rehanging stage.
Best rooms to unpack and inspect prints after moving
Choose a clean, dry room with a large flat surface such as a dining table, cleared desk, or bed topped with a clean sheet and rigid support underneath. Good indirect light helps you spot edge wear, surface marks, and any new waviness without exposing the print to harsh sun.
Avoid unpacking in cramped hallways, garages, or near food prep areas where moisture, dirt, or accidental spills are more likely.
Common Mistakes That Cause Bending and How to Avoid Them
Overstuffing boxes, rolling valuable prints too tightly, and stacking heavy items on top
One of the biggest mistakes is treating prints like ordinary paper goods. Overstuffed boxes bow outward, tight rolls force paper memory, and a single heavy carton stacked on top can leave a permanent bend. If the package flexes when you lift it, it probably needs more support or fewer contents.
Another issue is mixing art with general household items. Books, lamps, tools, and decor objects should not share a box with prints unless the art is fully isolated in its own rigid protective structure.
Using non-archival materials that transfer ink, adhesive, or moisture
Many moving supplies are designed for convenience, not conservation. Colored tissue, printed paper, low-grade cardboard, and aggressive tape can all transfer something unwanted to the artwork. This may not show immediately, which is why damage sometimes appears only after unpacking.
If you are buying supplies and the labeling is vague, check the material details carefully. Hurrell Editions has a broader guide on how to read an art supply label correctly if you want help interpreting packaging claims before you buy.
Skipping labels, orientation marks, and fragile handling notes
Even excellent packing can be undermined if nobody knows what is inside the carton. Label boxes on more than one side with clear notes such as “Art Prints,” “Fragile,” “Do Not Bend,” and “This Side Up” where relevant. Orientation arrows are especially helpful for framed pieces and boxed portfolios.
These labels do not guarantee perfect handling, but they reduce the chance that a carefully packed print ends up under a stack of kitchenware.
After the Move: Unpacking, Flattening Minor Curl, Framing, and Long-Term Care
How to assess damage safely before display
Unpack slowly and handle prints by the edges with clean, dry hands. Check for corner blunting, new creases, glazing cracks, frame separation, moisture signs, and surface scuffs before deciding what to do next. If a valuable print shows serious damage, avoid trying a quick home fix that could make the problem worse.
Minor curl is common after rolling or after a move with shifting humidity. In many cases, letting the print rest in a clean, dry environment under gentle, even weight between protective layers can help it relax gradually. If the print is valuable, signed, or visibly stressed, a professional framer or paper conservator is the safer next step.
Sizing, spacing, wall type, and hanging hardware for rehanging prints
Before rehanging, confirm the print size, frame depth, and wall type so you can choose appropriate hardware. Lightweight unframed pieces may suit poster hangers or clip systems, while framed works need hardware matched to the frame and wall surface. For heavier pieces, check weight limits and consider professional help if you are unsure about anchors or masonry.
If you are rehanging without a traditional frame, guides on how to choose magnetic poster hanger width for prints can help you avoid a fit that looks undersized or stresses the paper edges.
Matching moved prints to existing decor and deciding when reframing adds value
A move is often a good time to reassess what still works in the room. A print that felt too small in one home may look right in a narrower hallway or above a desk. Likewise, a tired frame can make a good print feel temporary even when the artwork itself deserves better presentation.
Reframing may add value when the current frame is damaged, visually dated, poorly sized, or not protective enough for the paper. Look for UV-filtering glazing, acid-free mats, and a frame style that fits the room without overpowering the work.
- Pack valuable or delicate prints flat whenever possible using archival barriers and rigid boards.
- Use different methods for loose, matted, framed, and oversized works rather than one catch-all box.
- Keep prints away from heat, humidity, and heavy stacking during transport and storage.
- Label clearly, unpack slowly, and seek professional help for valuable works with damage or stubborn curl.
Frequently Asked Questions