How to Make an Art Portfolio Case

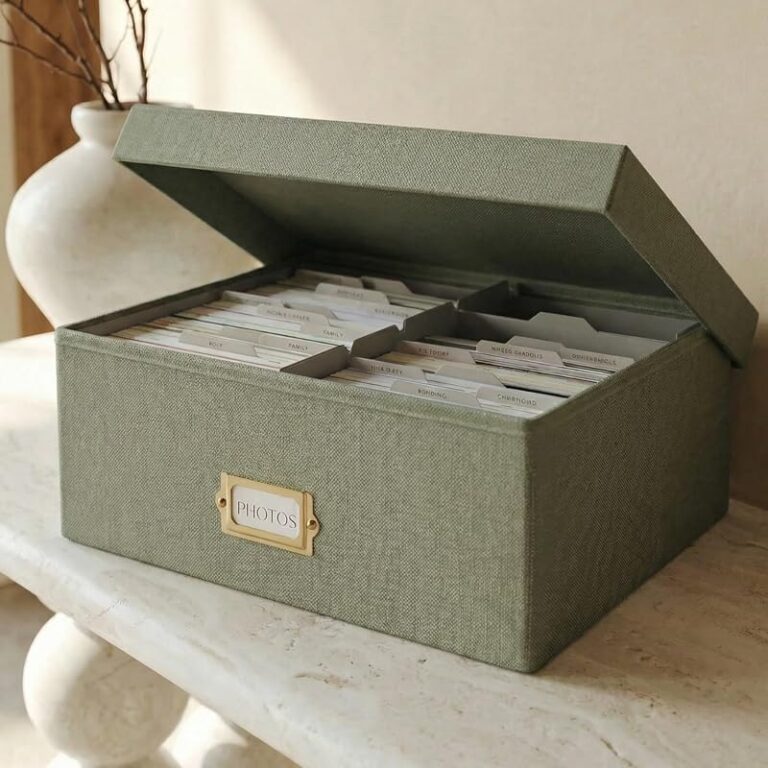
Materials laid out for making an art portfolio case.
Make the case slightly larger than your biggest artwork, then build a rigid shell with an archival-safe interior and a secure closure. Keep the design simple so it protects the work without adding unnecessary weight or bulk.
If you want a simple, protective way to store or carry artwork, the best version of how to make an art portfolio case is a rigid, flat case with a strong spine, archival interior surfaces, and a closure that keeps pages or sleeves from shifting. The goal is not just to look polished; it is to keep art clean, supported, and easy to organize.
- Measure first: Size the case to your largest artwork, not the average piece.
- Use safe interiors: Acid-free paper, sleeves, or folders help protect delicate surfaces.
- Keep the structure simple: A rigid cover, solid spine, and reliable closure do most of the work.
- Match the use case: Choose lighter materials for transport and sturdier materials for shelf storage.
How to Make an Art Portfolio Case: The Fast Answer and What It Should Do
A good DIY art portfolio case is basically a flat archive box with a book-like structure. It should fit your largest artwork comfortably, protect the edges and surface from bending, and open and close without scraping the contents.
For most people, the smartest design is a sturdy cover made from board or thin wood, a reinforced spine, and an acid-free interior lined with paper or sleeves. If you want the case to function as both storage and presentation, keep the outside clean and the inside neutral so the artwork remains the focus.
Why an Art Portfolio Case Matters for Archival & Storage in 2026
Even in a digital-first creative world, physical artwork still needs a safe home. A portfolio case helps reduce dust, fingerprints, curling, and corner damage while making it easier to sort finished pieces, works in progress, prints, and presentation boards.
For archival and storage use, the case matters because it gives you one controlled place to keep flat work instead of stacking pieces loosely in drawers or leaning them against furniture. That is especially helpful in small spaces, shared rooms, and studios where art may need to move between storage and display.
Who Needs One: Students, Professionals, Collectors, and Gift Buyers
Students often need something lightweight and affordable for transport between home, class, and critique. Professionals may want a more refined case for client presentations, print storage, or protecting work before shipment.
Collectors and gift buyers may use a portfolio case differently: as a presentation container for prints, drawings, or curated paper art. In that situation, the case should feel orderly and giftable, not improvised.
If the case is meant for original artwork, check the medium’s sensitivity before choosing sleeves, adhesives, or inserts. Some media can smudge, transfer, or react to pressure more easily than others.
Where It Fits Best: Studio, Home Office, Shelf Storage, and Transport
A portfolio case works well on a shelf, inside a flat file, or in a home office where you want art stored upright and easy to retrieve. It also makes sense for transport when you need a clean, flat container that can move between locations without exposing the work.
For studio storage, keep the case in a dry area away from direct sun and damp walls. For a home office or living area, choose a finish that blends with existing storage so it feels intentional rather than purely utilitarian.
Key Materials and Specifications to Choose Before You Build
Before you cut anything, decide whether the case is meant to be archival, decorative, or both. That choice affects every material, from the board you use to the way the closures are attached.
Cover Materials, Boards, Adhesives, and Fasteners
Common DIY options include bookboard, binder’s board, mat board, foam board, corrugated board, or thin plywood, depending on the level of rigidity you want. A more rigid shell offers better protection, while a lighter shell is easier to carry.
For adhesives, use a product suitable for paper and board work if archival quality matters. Avoid anything that stays gummy, bleeds through, or can discolor over time. Fasteners can include ribbon ties, elastic bands, brass screws, or concealed magnets, but the best choice depends on how often you expect to open the case.
Interior Protection: Acid-Free Surfaces, Sleeves, and Corner Support
The inside of the case does the most important preservation work. Acid-free paper, buffered interleaving, polyester sleeves, or archival folders can help keep artwork from rubbing against rough surfaces.
Corner support matters too, especially for mounted prints, drawings, or pieces on delicate paper. If you want more context on material labeling, our guide on how to read an art supply label correctly can help you separate marketing language from actual material details.
Do not assume “safe” or “premium” on a package means archival. Confirm whether the board, paper, or adhesive is acid-free, lignin-free, or otherwise suitable for the artwork you plan to store.
Size, Capacity, and Weight Considerations for Different Artwork Formats
The case should be larger than your tallest or widest piece, but not so oversized that work slides around inside. If you plan to store sleeves, backing boards, or multiple artworks, allow extra depth for that stack.
Weight is another practical issue. A larger rigid case can become cumbersome quickly, especially if you add wood, metal fasteners, or thick lining. For frequent transport, keep the build simple and prioritize portability over decorative bulk.
- Measure the largest artwork first, then add a small margin for sleeves or backing
- Choose board thickness based on how often the case will travel
- Confirm that the interior lining is appropriate for the medium you store
- Decide whether the case needs to stand up to shelf storage, transport, or both
Step-by-Step Structure for a Durable DIY Art Portfolio Case
The simplest durable structure is a front panel, back panel, and spine connected so the case opens like a book. From there, you add an interior lining, a closure, and any support pieces needed to keep the contents flat.
Measuring Artwork and Planning the Outer Dimensions
Start by measuring the largest artwork you expect to store, including any backing sheet or sleeve. Then plan the outer dimensions so the interior cavity is slightly larger than the art, but not loose enough to let pieces slide.
If you store multiple sizes, it is usually better to build for one main format and use folders or dividers for smaller work. Trying to make one case fit everything often leads to wasted space and poor support.
Include any sleeve, board, or protective layer you plan to use.
Add just enough room for easy insertion without allowing the artwork to shift.
Account for board thickness, spine depth, and the closure system before cutting materials.
Creating the Spine, Panels, and Closure System
The spine is what lets the case open smoothly without stressing the panels. If the spine is too tight, the case will strain; if it is too loose, the contents may wobble or the cover may not close evenly.
Panels can be wrapped, laminated, or covered with paper or fabric depending on the look you want. For a cleaner structure, think in terms of simple geometry: two rigid panels, one flexible or slightly wider spine, and a closure that keeps the case aligned when closed.
Closure choice depends on use. Ribbon ties are simple and elegant. Elastic bands are quick. Hidden magnets can create a neat finish, but they need careful placement so the case closes evenly.
Adding Protective Layers and a Clean Presentation Finish
After the structure is assembled, line the interior with an acid-free surface or insert removable folders. This makes the case easier to maintain and helps protect the art if the outer cover gets scuffed.
For presentation, trim edges carefully and keep corners crisp. A neat finish matters because a portfolio case often lives in visible spaces and may be opened in front of clients, teachers, or guests.
If you want the case to feel more archival, keep adhesives off the artwork-contact surfaces and make removable parts do the protective work whenever possible.
Design and Styling Ideas for a Case That Looks Professional
A portfolio case can be practical and still look polished. The best designs tend to be simple, balanced, and visually calm so they do not compete with the art inside.
Minimal, Studio, and Gallery-Inspired Finishes
Minimal finishes use plain linen, smooth paper, or matte board for a quiet, professional look. Studio-inspired cases may show subtle texture, visible tape lines, or utilitarian labels, which can feel honest and functional.
Gallery-inspired cases usually lean toward restrained colors, clean edges, and careful proportions. If you like building related storage pieces, the structure principles overlap with projects like how to make a simple frame and how to make a shadow box frame, where finish quality matters as much as structure.
Labeling, Color Choices, and Matching Existing Storage or Decor
Labels help when you store multiple series, sizes, or media types. Keep them subtle and legible so the case remains useful without looking crowded.
Color choice can also help the case blend into a room. Neutrals suit most home offices and studios, while a deeper tone can make the case feel more substantial on a shelf. If you are designing for a specific room, consider the same visual logic used when styling a picture ledge or console display: calm tones usually make the artwork easier to live with.
- Use one main material or color family for a more professional look.
- Keep labels small and consistent across multiple cases.
- Choose a finish that matches nearby shelves, drawers, or desk surfaces.
Benefits, Limitations, and Common Mistakes to Avoid
DIY portfolio cases are appealing because they can be tailored to your exact size, style, and storage needs. But they also depend on careful measurement and material choices, so the build quality matters more than the idea itself.
Protection, Portability, and Presentation Value
The biggest benefits are protection and organization. A well-made case keeps art flat, reduces handling damage, and makes it easier to carry or store a body of work in one place.
There is also presentation value. A neat case can make a portfolio feel more intentional when you are showing work to a teacher, client, or collector. For artists who move between studio storage and display, that can be a real advantage.
- Custom sizing for unusual artwork formats
- Better protection than loose stacks or folders
- Can be styled to match a studio or home office
- Requires accurate measuring and careful assembly
- May not be as durable as a professionally made case
- Heavier materials can reduce portability
Typical DIY Errors: Poor Sizing, Weak Binding, and Inadequate Archival Materials
The most common mistake is building too tight or too loose. Too tight, and the art can buckle or catch on the edges. Too loose, and the contents shift during storage or transport.
Weak binding is another issue. If the spine or hinge area is flimsy, repeated opening will wear it out quickly. The third common problem is using the wrong materials inside the case, especially non-archival paper or adhesive near sensitive artwork.
- Test the fit with a single sheet before finishing the whole case
- Use acid-free or archival-friendly interior materials when the artwork needs long-term care
- Reinforce the spine and corners before decorative finishing
- Guessing dimensions instead of measuring the actual artwork
- Using thick glue or tape where it can touch the art
- Choosing decorative materials that shed, stain, or warp
Care, Maintenance, and Long-Term Storage Guidance
Once the case is built, its long-term usefulness depends on how you store and handle it. A good case should make care easier, not create another object that needs special treatment.
Cleaning, Handling, and Safe Placement in Different Rooms
Keep the outside dusted with a soft, dry cloth or a gentle surface-safe method appropriate to the finish. Avoid damp cleaning if the cover is paper-wrapped or otherwise moisture-sensitive.
Place the case in a dry room away from direct sunlight, heaters, and damp floors. In a studio or home office, a shelf or cabinet is usually safer than a spot near a window. If the case stores work on paper, humidity control matters as much as the outer shell.
Heat, moisture, and direct sun can damage both the case and the artwork inside. If a room is prone to humidity swings, choose storage that keeps the case off the floor and away from exterior walls when possible.
When to Repair, Replace, or Upgrade to a Professional Case
Repair the case if the problem is limited to worn corners, a loose hinge, or a weak closure. Those issues are often fixable if the main structure is still sound.
Replace or upgrade if the case no longer lies flat, the interior materials are no longer safe for the artwork, or the contents have outgrown the design. If you regularly transport valuable work, a professionally made case may be worth considering for better durability and more predictable protection.
Final Recommendation: When to Make Your Own and When to Buy Instead
Make your own art portfolio case when you need a custom size, a specific look, or a thoughtful storage solution for a home studio or office. Buy instead when the artwork is especially valuable, the case must travel often, or you need a more consistent archival build than a DIY project can realistically deliver.
For most readers, the best approach is to start with the artwork itself: measure carefully, choose archival-safe interior materials, and keep the structure simple. If you want more project ideas that support art storage and display, Hurrell Editions also covers related builds such as poster frames, magnetic hangers, and other practical storage solutions.
Frequently Asked Questions
Build it around the largest artwork you plan to store, then add a little room for sleeves or backing boards. Too much extra space lets pieces slide, while too little can bend the work.
Rigid board, thin wood, or bookboard are common choices for the shell, while acid-free paper or sleeves work well inside. The best option depends on whether you want a lighter transport case or a more archival storage case.
Use acid-free interior surfaces, sleeves, or folders, and make sure corners are supported. Avoid rough surfaces, excess glue near the artwork, and tight closures that press directly on the contents.
It can be, if you use archival-friendly materials and store it in a dry, stable room. For highly valuable work or sensitive media, a professional case may offer more reliable protection.
The biggest mistakes are poor sizing, weak spine construction, and using non-archival materials inside the case. Those issues can cause shifting, bending, or long-term damage.
Make one if you need a custom size or want a specific look for studio storage or presentation. Buy one if you need frequent transport, stronger durability, or a more consistent archival build.