How to Build a Travel Art Kit for Beginners
A beginner travel art kit should be small, easy to pack, and built around the tools you’ll actually use most. Start with a sketchbook, pencils, a pen, and one compact color option, then add only the extras that support your travel style.
If you’re learning how to build a travel art kit for beginners, the goal is not to pack everything you own. It’s to create a small, reassuring set of tools that makes sketching, journaling, and painting feel easy wherever you are.
A good beginner kit should be portable, simple to reset, and flexible enough for trains, cafés, museums, hotel rooms, and outdoor stops. The best version is the one you’ll actually open and use.
- Start simple: Paper, pencil, pen, and eraser are enough for many beginners.
- Choose the right case: Pouch, tin, roll, or box should match how you travel.
- Add color carefully: A small watercolor set or a few pencils is usually plenty.
- Pack for your subject: City sketching, landscapes, and interiors each need slightly different tools.
- Protect your supplies: Keep paper dry, brushes clean, and the kit reset after each use.
Why a Travel Art Kit Matters for Beginners in 2026
Travel art kits have become especially appealing because more beginners want creative habits that fit real life, not just a desk or studio. A compact set lets you respond to a place while it’s still fresh: a café corner, a museum façade, a hotel view, or the changing light in a park.
For many art lovers, the appeal is less about producing polished finished pieces and more about visual memory. A small kit supports quick sketches, color notes, and travel journaling without turning the experience into a performance.
Creative living on the move: sketching, journaling, and visual memory
Travel art is often at its best when it stays loose. A few pages of notes, a thumbnail sketch, or a wash of color can capture atmosphere better than a highly detailed drawing that takes too long to finish.
This is why beginners benefit from a kit that encourages observation rather than pressure. The materials should invite you to sit down quickly, make a mark, and move on without a complicated setup.
What beginners usually want: portability, simplicity, and low-pressure making
Most beginners are looking for three things: a kit that is light enough to carry, easy enough to understand at a glance, and forgiving enough to use in public. If the kit feels fussy, it tends to stay in the bag.
The sweet spot is a small collection of tools that can handle drawing, light color work, and a little experimentation. That balance keeps the experience enjoyable instead of overwhelming.
Choose materials that can be packed and unpacked in under a minute. If a kit takes too long to set up, beginners usually use it less often.
Choose the Right Format: Pouch, Tin, Roll, or Compact Box
The container matters as much as the supplies. A travel art kit should protect materials, keep them organized, and make it obvious what belongs where.
For beginners, the best format is usually the one that feels intuitive rather than clever. If you can open it and immediately see your tools, you’re more likely to sketch on the go.
Style trade-offs: ultra-light travel kits vs. more complete studio-on-the-go setups
Ultra-light kits are ideal if you want to move quickly and carry only the essentials. They’re especially good for city travel, museum visits, or anyone who prefers drawing to painting.
More complete kits are better if you want to work in watercolor, layer color, or spend longer sessions outdoors. The trade-off is weight, drying time, and a little more cleanup.
- Pouch kits for flexible packing
- Tins for compact drawing sets
- Rolls for brushes and pencils
- You need rigid protection for fragile tools
- You dislike rummaging for small items
- You want room for wet media and extras
Best formats for trains, cafés, interiors sketching, and outdoor studies
Train travel usually suits a pouch or tin, because you can keep everything close and stable on a small surface. Cafés are similar: a compact box or zip case keeps the footprint neat and discreet.
For interiors sketching, a slightly larger box can be useful if you like rulers, clips, or multiple pens. For outdoor studies, a light roll or secure tin is often easiest, especially if you’re standing or moving between spots.
| Option | Best For | Note |
|---|---|---|
| Pouch | Flexible, lightweight packing | Easy to carry, but less protective |
| Tin | Drawing-focused kits | Great for small tools and quick access |
| Roll | Pencils and brushes | Neat organization, ideal for longer sets |
| Compact box | Mixed media travel kits | More structured, slightly bulkier |
Build the Core Supplies: The Essential Travel Art Kit Checklist
Start with the basics. A beginner travel art kit does not need every medium; it needs the right few. Think in layers: paper, drawing tools, and one compact color option if you want it.
Paper choices for beginners: sketchbook size, watercolor paper, and mixed media pads
Paper is the foundation of the whole kit, so choose it around how you like to work. A smaller sketchbook is easier to carry and less intimidating, while a larger one gives more room for architecture, interiors, and panoramic views.
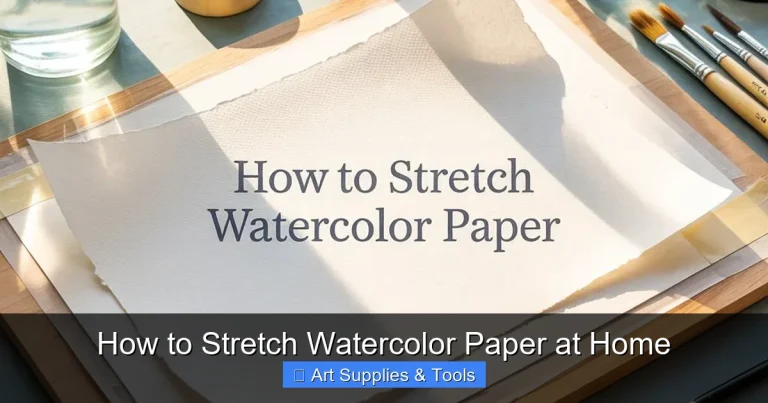
If you plan to use wet media, look for watercolor paper or a mixed media pad with enough weight to handle light washes. Beginners who mostly draw may prefer a smoother sketchbook that works well with pencil and pen.
If you want more guidance on paper and format, our article on what are the best sketchbooks for beginners is a useful place to compare options.
Pencils, pens, erasers, and a few versatile color tools
For drawing, keep the set lean: one or two graphite pencils, one fineliner or gel pen, and a small eraser. That is enough for line work, shading, note-taking, and quick composition studies.
Many beginners also like a limited color layer, such as a few colored pencils or a small set of travel markers. The point is not variety for its own sake; it’s having one or two tools that can add emphasis without clutter.
If your kit includes graphite pencils, a sharper point will make a big difference in detail work. For that, see our guide on how to sharpen graphite pencils for fine art.
Compact painting options: travel watercolor set, water brush, and small palette
If you want color, a travel watercolor set is the most beginner-friendly place to start. It keeps the palette small, dries quickly, and works beautifully for atmosphere, buildings, plants, and quick landscape notes.
A water brush can reduce the need for cups and extra containers, though some artists prefer a separate brush and small water bottle for better control. A tiny mixing palette or even a lid with wells can be enough for most travel sessions.
Not every beginner needs watercolor on day one. If you already feel comfortable drawing, it can be wiser to master line and composition first, then add paint once your kit routine feels natural.
- Lower setup time means more spontaneous sketching
- A small palette encourages confident color choices
- Simple tools reduce decision fatigue while traveling
Curator-Recommended Additions That Elevate the Kit
Once the essentials are in place, a few small additions can make the kit feel much easier to use. These are the tools that improve comfort, control, and neatness without adding much bulk.
Tools that improve results without adding bulk: masking tape, clips, sharpeners, and cloths
Masking tape can hold paper flat or create a clean border for a page. Clips are useful in breezy outdoor settings or when you want your sketchbook to stay open.
A small sharpener, a soft cloth, and maybe a tiny tissue pack are practical additions that beginners often appreciate more than another pen. These are the quiet tools that keep a session running smoothly.
- Masking tape for page control
- Binder clips for wind or uneven surfaces
- Sharpener for clean pencil points
- Cloth or tissue for brush cleanup
Optional extras for interiors, architecture, and still-life sketching
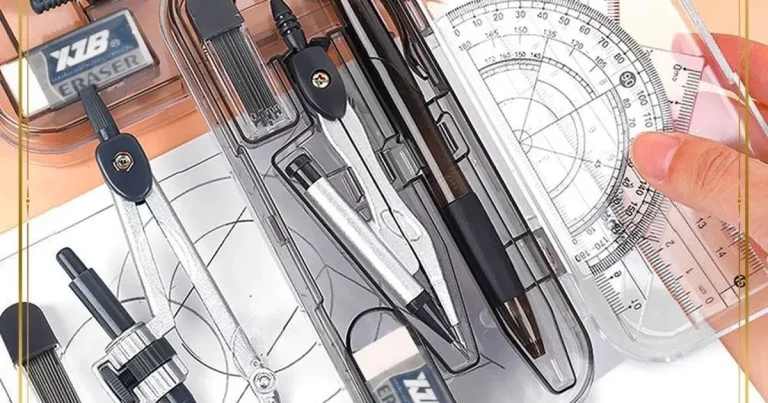
If you enjoy interiors or architecture, consider a small ruler, a mechanical pencil, or a fineliner with a consistent line. These tools help with windows, edges, and perspective without making the kit feel technical.
Still-life sketchers may also like a tiny folding reference card or a small notebook for notes about light, shadow, and color. These extras are not essential, but they can deepen the practice.
Small luxuries and gift-worthy upgrades for creative gifting
For gifting, a travel art kit becomes especially charming when one or two pieces feel elevated. A better sketchbook cover, a beautifully made tin, or a compact brush roll can make the set feel considered rather than generic.
If you’re choosing a present for someone artistic, our guide to how to choose a gift for an artist friend offers a helpful way to think about taste, use, and budget.
A small, hard-cover sketchbook paired with one excellent pen often makes the most satisfying beginner travel kit. It feels elegant, dependable, and much less intimidating than a crowded case of supplies.
How to Match Your Kit to Your Travel Style and Creative Subjects
The best travel art kit is always shaped by where you go and what you like to draw. A city-break kit looks very different from a landscape kit, and both are valid.
City breaks, museum visits, and café sketching
For cities, keep the kit discreet and quick to use. A small sketchbook, pencil, pen, and perhaps one color tool are usually enough for façades, street scenes, and museum notes.
Café sketching benefits from a tidy setup that does not spread across the table. A compact case is ideal, especially if you like drawing people, cups, chairs, or the atmosphere of the room.
Landscape trips, garden visits, and light-sensitive outdoor work
For landscapes and gardens, color becomes more useful. A travel watercolor set, a water brush, and a few pencils can capture foliage, skies, and changing light more effectively than line alone.
Outdoor work also means thinking about sun, wind, and moisture. Paper clips, a cloth, and a secure container matter more than they might at home.
Watercolor paper, sketchbooks, and pigment pans can warp or deteriorate if they are repeatedly exposed to humidity or damp bags. Keep the kit sealed and dry, especially in warm or coastal travel conditions.
Books, interiors, and slow-looking inspiration for visual journaling
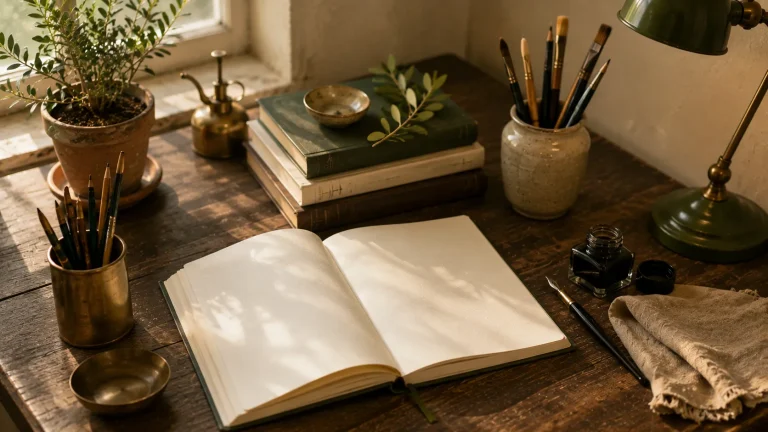
If your travel art practice is more about observation than on-site painting, build around visual journaling. That might mean a notebook, a pen, a pencil, and a few pages reserved for notes, quotes, or small studies of objects and rooms.
Interior lovers often enjoy sketching lamps, chairs, shelving, and window light. The process is slower, more reflective, and beautifully suited to bookshops, galleries, hotels, and lived-in spaces.
Think of your travel kit as a portable way to notice beauty. A good page does not need to be finished; it only needs to hold a moment well enough for you to remember it later.
Price Context: What a Beginner Travel Art Kit Can Cost in 2026
Travel art kits vary widely in cost, and price often reflects paper quality, container durability, and the refinement of the tools. Beginners do not need the most expensive version, but it helps to know where quality matters most.
Budget starter kit vs. mid-range curated kit vs. premium artist kit
A budget starter kit usually focuses on a simple sketchbook, a pencil or two, an eraser, and one pen. It’s a sensible way to test whether travel sketching fits your habits before investing further.
A mid-range curated kit often includes better paper, a more durable case, and a small watercolor set or a few higher-quality pens. This is the sweet spot for many beginners because it feels dependable without becoming precious.
A premium artist kit may include archival paper, a beautifully made storage case, and more refined tools. Those extras can be lovely, but they are most worthwhile if you already know you will use the kit often.
Where to spend more for quality and where to save
Spend more on paper, a case that closes securely, and a brush or pen that feels reliable in the hand. These are the items you will notice every time you use the kit.
You can usually save on accessories like clips, cloths, and simple sharpeners. Those pieces matter, but they do not need to be luxury items to work well.
Giftable kit ideas for birthdays, holidays, and creative beginners
Travel art kits make thoughtful gifts because they feel personal without requiring a full studio setup. For birthdays or holidays, a compact set with a sketchbook, pen, and one color medium can be both practical and lovely.
If you’re building a present around the kit, our roundup of best birthday gifts for art lovers can help you pair supplies with something more special, like a notebook, bag, or display piece.
Care, Packing, and Maintenance for Long-Lasting Use
A travel art kit lasts longer when it is packed with a little intention. Good care keeps paper flat, brushes usable, and pigments from drying out or cracking in transit.
Protecting paper, pigments, and brushes while traveling
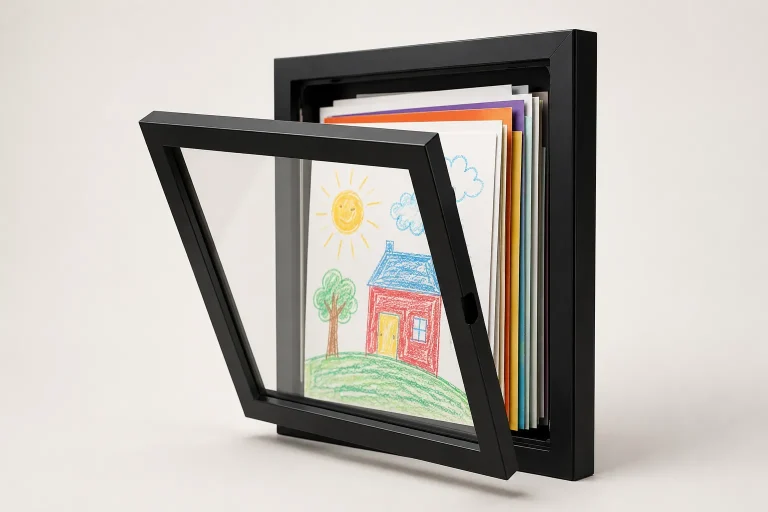
Keep paper in its own sleeve or inside a rigid cover if possible. Loose sheets can bend easily, and sketchbooks do better when they are not pressed under heavy items in a bag.
For watercolor pans and brushes, make sure lids close properly and bristles are dry before storage. A damp brush left sealed in a case can cause odor, mildew, or damage over time.
Cleaning, drying, and reorganizing after each sketch session
After each session, reset the kit while the memory is still fresh. Wipe tools, check for missing items, and return everything to the same place so the next outing feels easy.
This small habit matters more than people expect. It prevents the slow drift that turns a neat kit into a jumble of unused supplies and half-dried tools.
If you’re using watercolor, it can also help to review how you store related materials at home. Our guide on how to store acrylic paint tubes correctly is useful for understanding the broader logic of keeping art supplies clean, sealed, and organized.
Storage tips for humid, cold, and high-movement travel conditions
In humid conditions, prioritize breathable drying time before closing the kit. In cold weather, keep liquids and brush containers from freezing or cracking.
If you travel by train, bus, or plane, choose a case that tolerates movement without spilling small items. A little structure goes a long way when the kit is being opened and closed repeatedly.
Do not leave paper, brushes, or watercolor pans in direct sun or in a hot car for long periods. Heat and moisture can shorten the life of even very good materials.
Final Creative Recap: A Beginner Travel Art Kit That Feels Inspiring, Not Overwhelming
The best beginner travel art kit is portable, personal, and ready to use without much thought. It should make you want to pause, look closely, and make a page rather than worry about whether you packed enough.
Simple formula for a balanced kit: portable, personal, and ready to use
A balanced kit usually includes a small sketchbook, one or two pencils, a pen, an eraser, and a compact color option if you want one. Add only the extras that genuinely support your way of seeing.
That formula works because it leaves room for both discipline and spontaneity. You can sketch a building, note a textile pattern, or paint a quick wash without unpacking your whole life.
Encouragement to start small, refine with experience, and make travel part of the practice
Beginners often improve fastest when they start with a modest kit and let real use guide the upgrades. After a few outings, you’ll know whether you need more color, better paper, a sturdier case, or simply fewer distractions.
Travel art becomes more rewarding when the kit disappears into the background and the looking takes center stage. That is the real aim: a small, beautiful set of tools that supports a lasting creative habit.
Recommended Products
SHOP THIS SETUP
ARTISTRO Watercolor Paint Set, 48 Colors with Water Brush Pens and Accessories
This set is a strong pick for beginners building a travel art kit because it combines a wide color range with portable, all-in-one convenience. The compact case makes it easy to pack, and the included brush pens help reduce the need to carry extra water containers and tools, which is ideal for sketching on the go.
Frequently Asked Questions
Start with a small sketchbook, one or two pencils, an eraser, and a pen. Add watercolor or colored pencils only if you want a little color without making the kit too busy.
A pouch, tin, roll, or compact box can all work well. Beginners usually do best with the format that lets them see and reach their tools quickly.
No, watercolor is optional. Many beginners are happier starting with drawing tools first, then adding a small travel watercolor set once the routine feels comfortable.
Choose a size that fits comfortably in your bag and is easy to open on the go. Smaller sketchbooks are more portable, while slightly larger ones are better for interiors and landscapes.
Store tools in the same place every time and reset the kit after each session. A simple system with sleeves, clips, and a secure case keeps everything easier to use.
Costs vary by brand and quality, but beginners can start with a modest budget and upgrade gradually. It often makes sense to spend more on paper and a durable case, then save on simple accessories.